Managing Users
This page explains how to add, edit, and delete users on ACTIVATE.
The steps included on this page can only be completed by ACTIVATE platform administrators and users with either the org:admin or org:users role. For more information, please see About Group Roles.
Listing Users
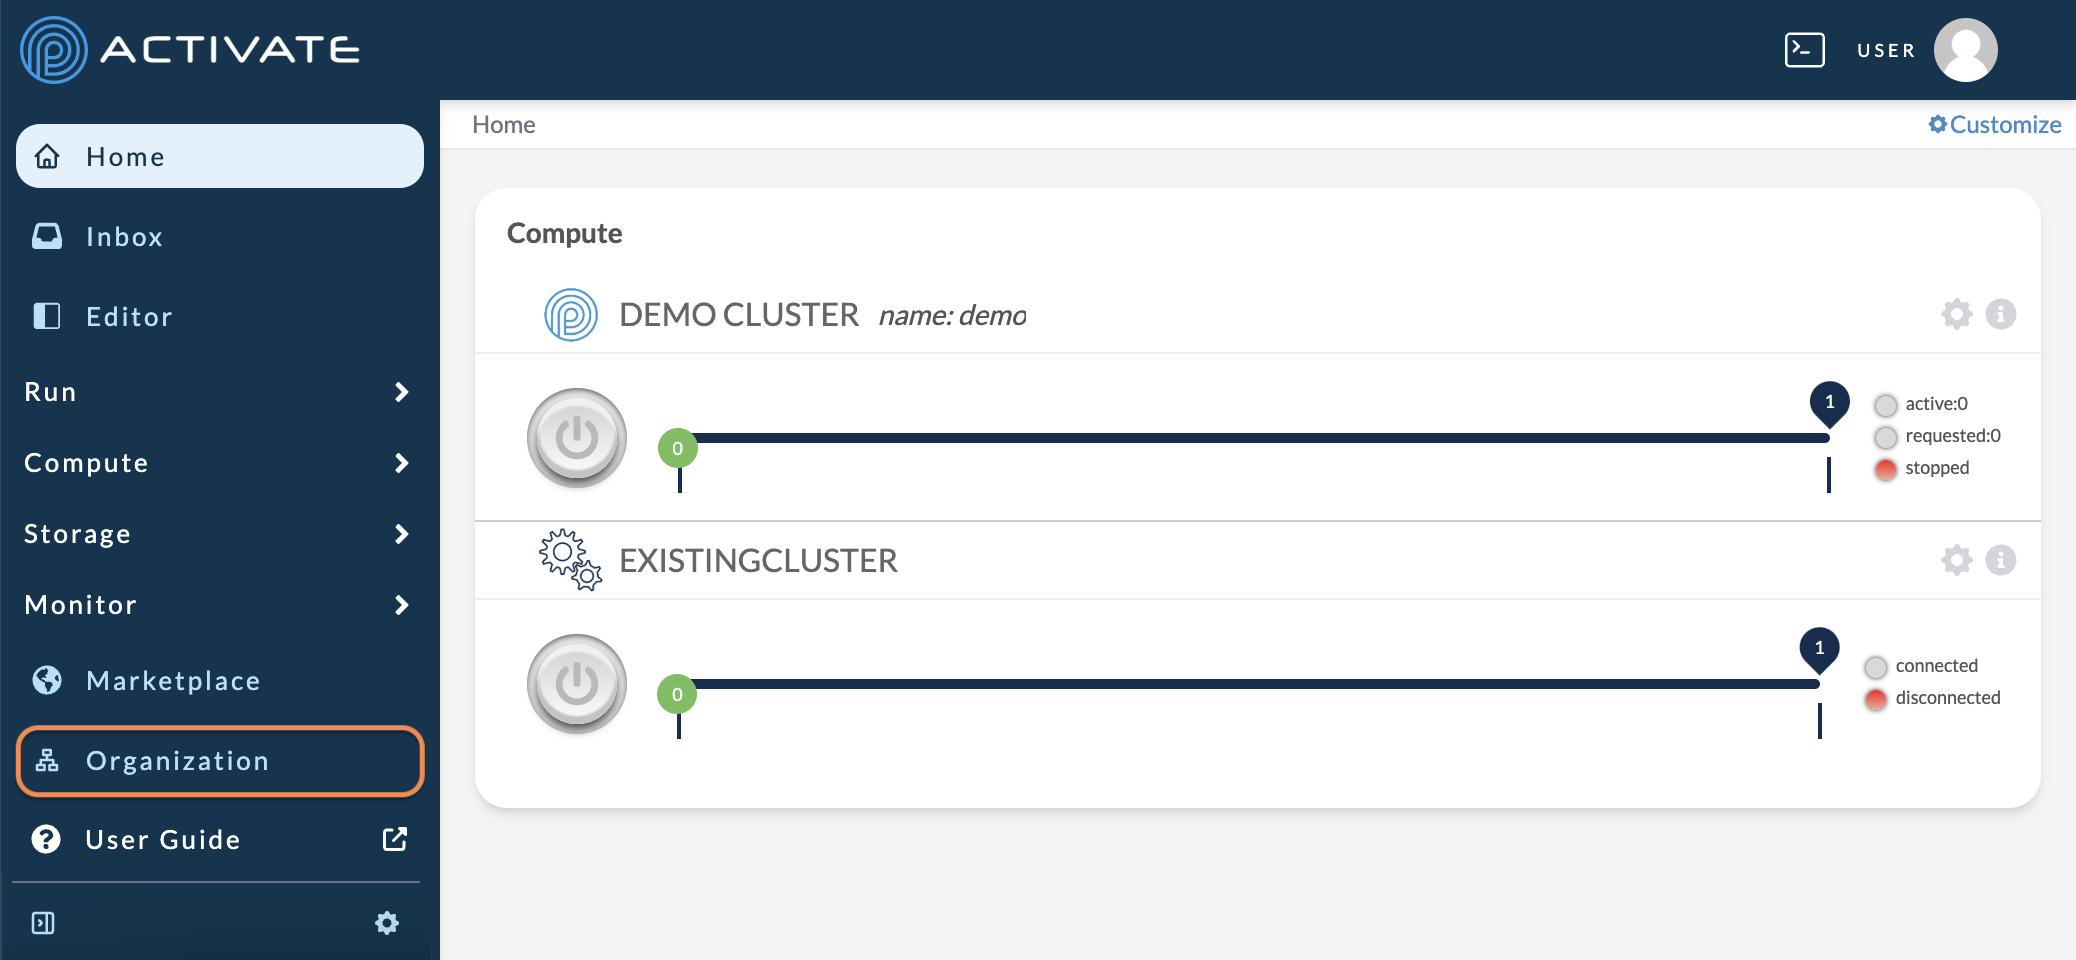
Navigate to your Organization settings.
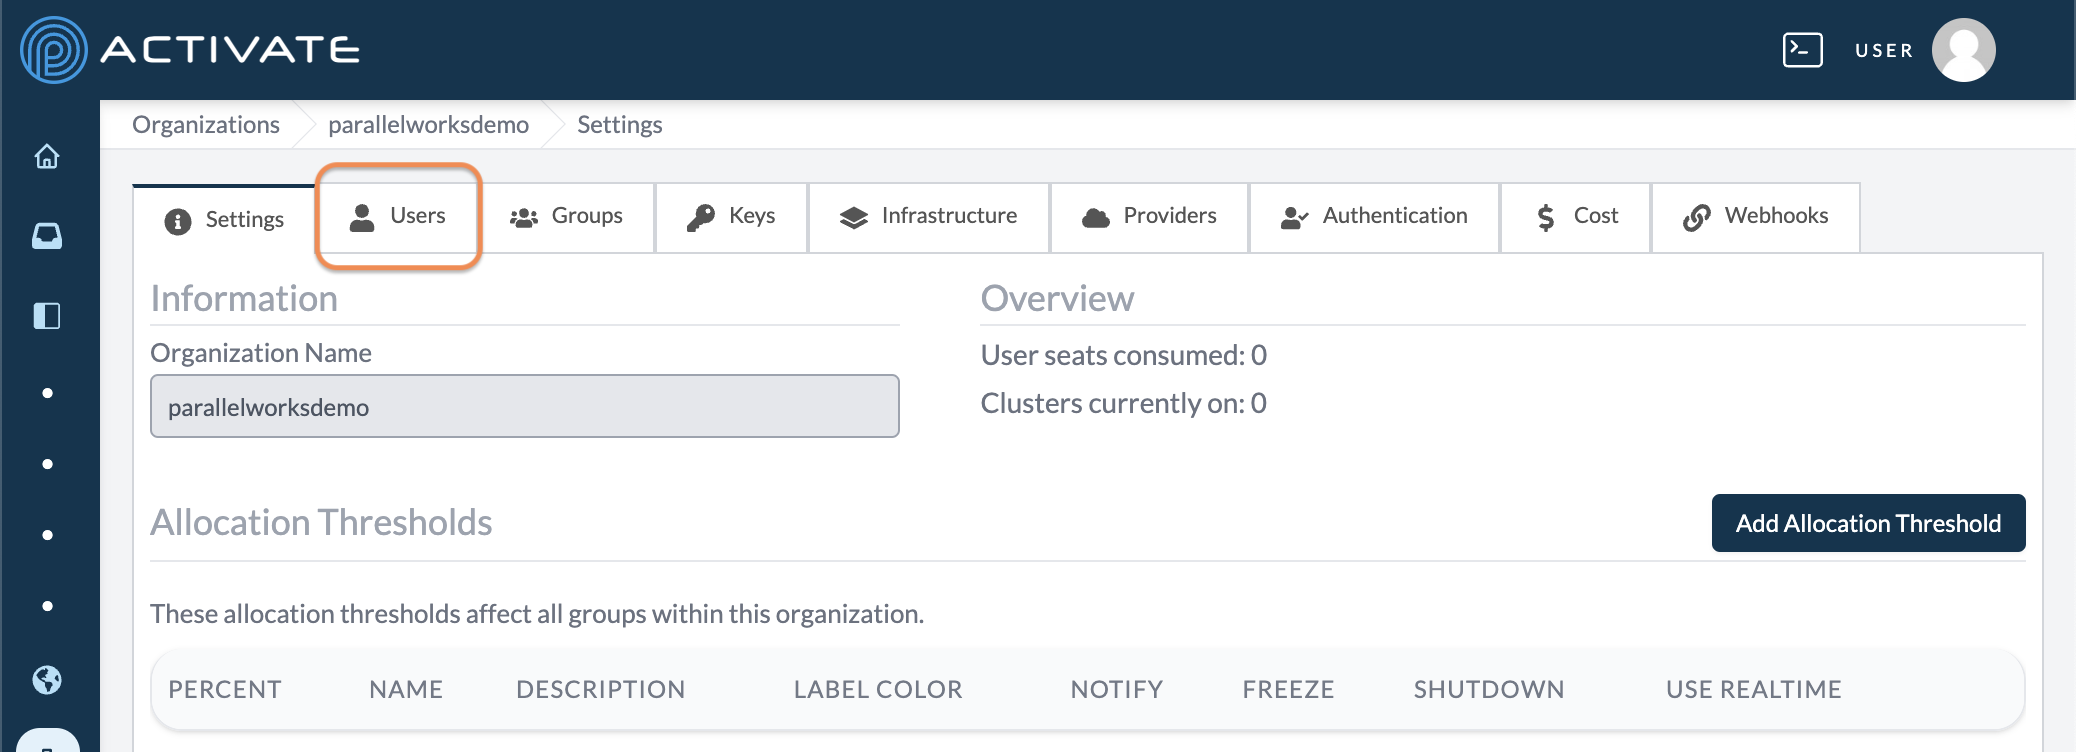
On the next page, click Users.
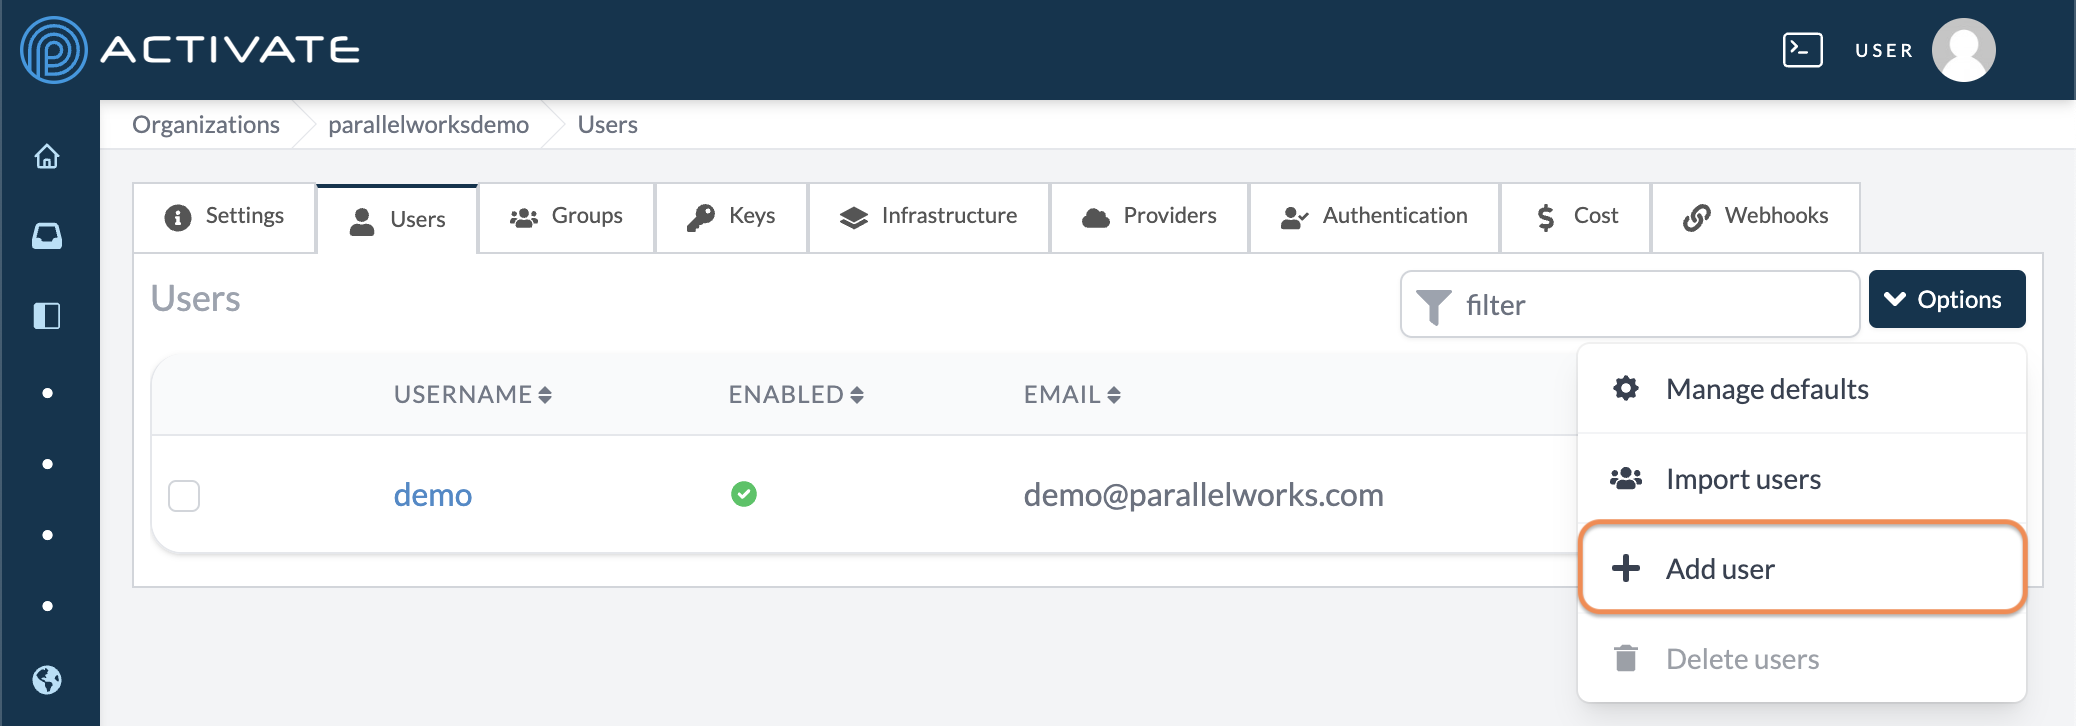
By default, all users in your organization are listed in the order of creation, from oldest to newest.
Use the filter field to search for users by their Username or Email.
Use the sort arrows to list users:
- alphabetically by Username
- whether their account is Enabled
- alphabetically by Email
- chronologically by Last Login

Creating New Users Individually
This method is useful if you only need to add one or two new users to your organization.
Navigate to your organization settings.

On the next page, click Users.

In Users, click Options then Add user.
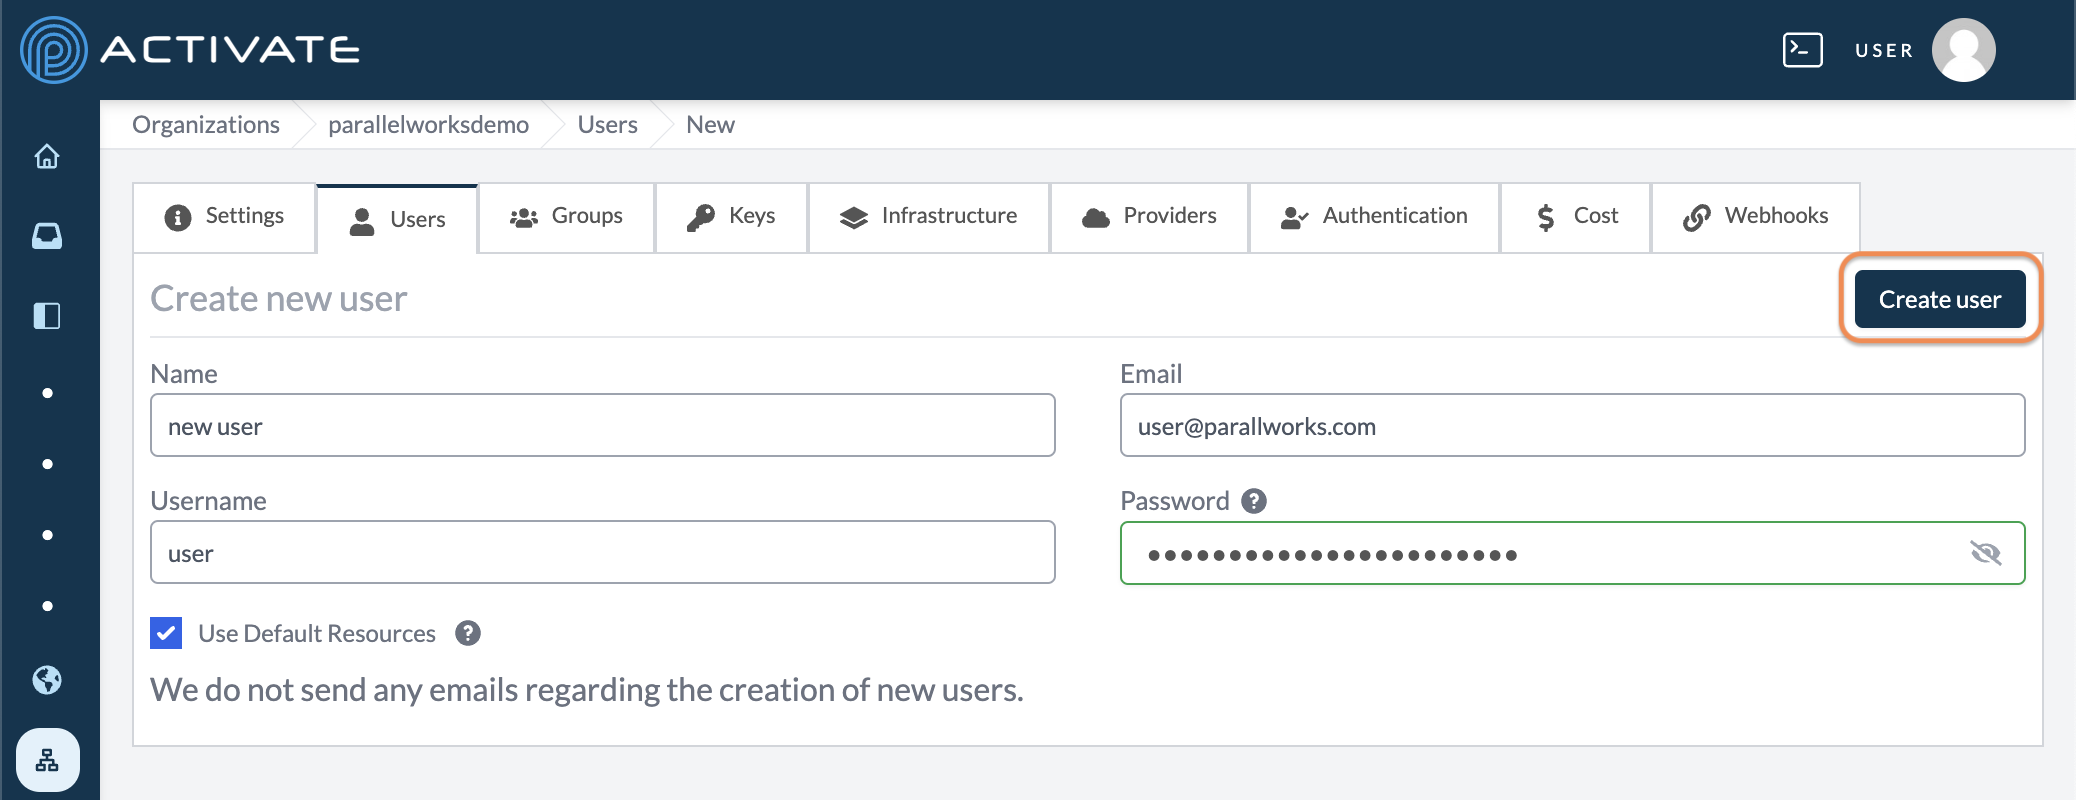
On the next page, enter a name, username, email, and password.
Please note that passwords must be at least 15 characters and include at least one of each of the following:
- uppercase
- lowercase
- number
- special character (@!%&#)
The box for Use Default Compute Resources is checked by default. If checked, the new account will have the default compute resources selected in the settings tab. Otherwise, the new account will have no compute resources.
When you’re finished, click Create user.
The new user will now be listed in the Users tab.
Mass Importing New Users
This method is useful if you need to add several new users at once.
Navigate to your organization settings.

On the next page, click Users.

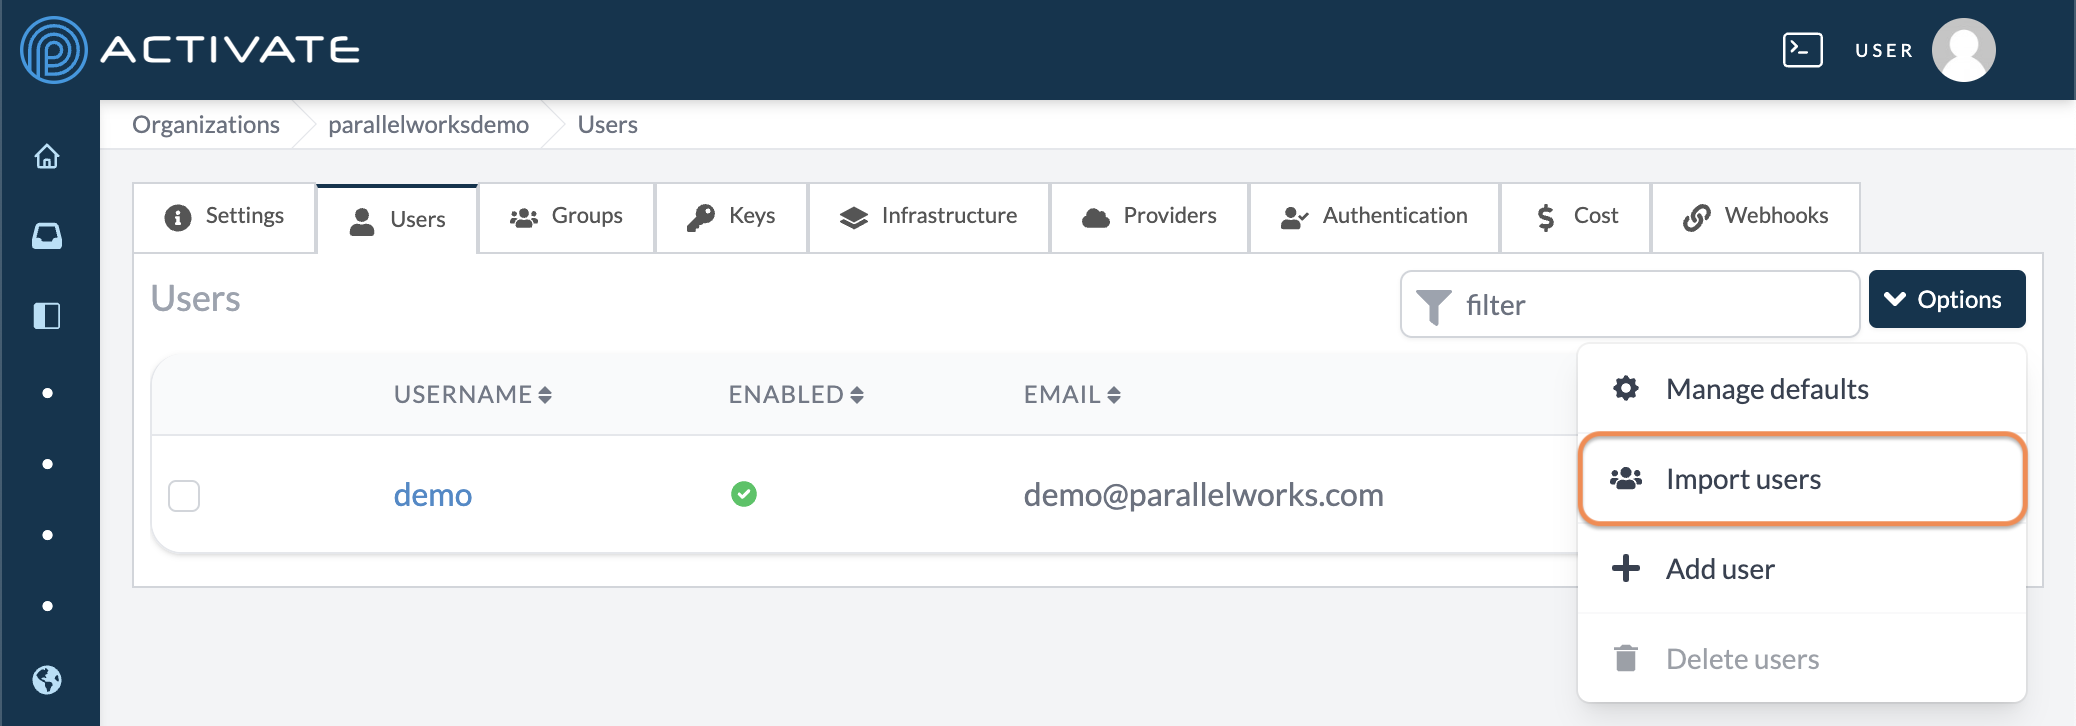
In Users, click Import users.
On the next page, click Download template.
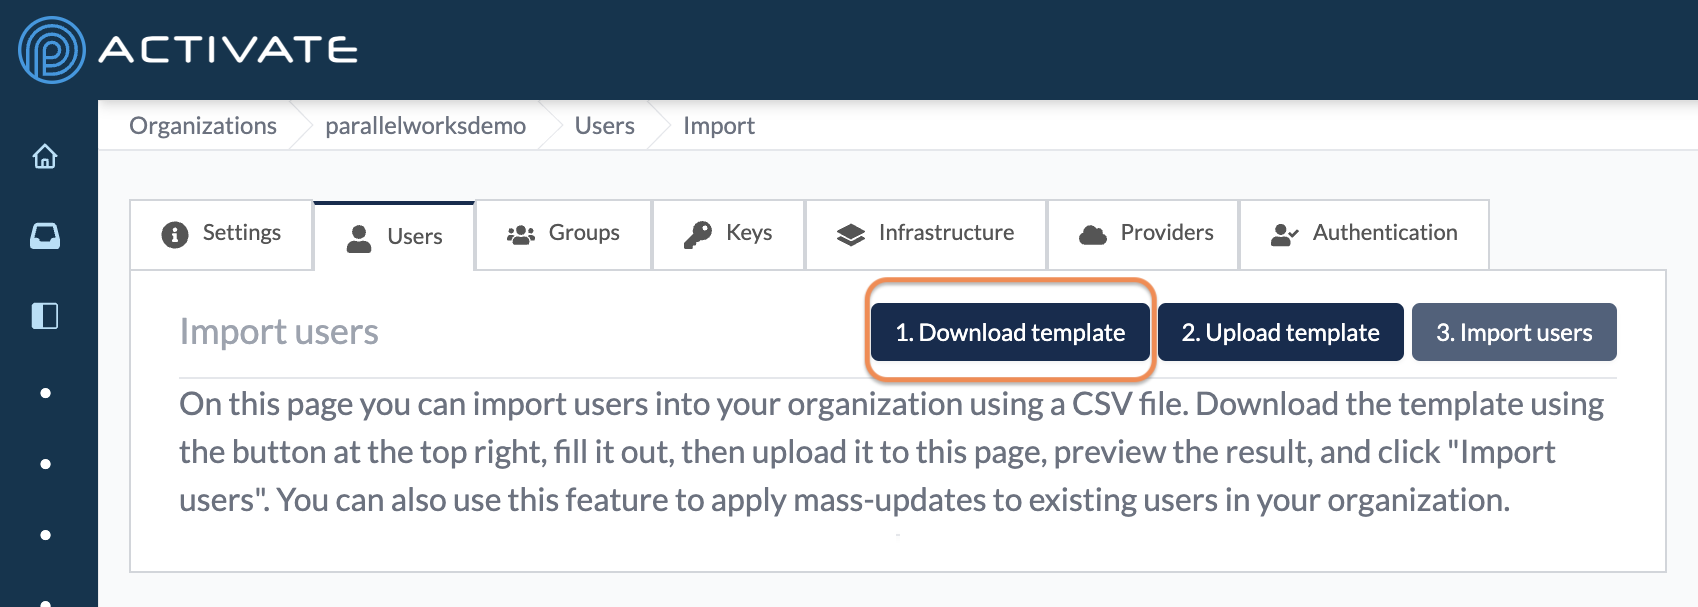
Your browser will download a .csv file, which you can open in any spreadsheet editor like Excel or Numbers.
In the template, enter these credentials for the new users:
- Username
- Password (optional)
- Name
- Email address
- UID (optional)
- Groups (optional)
- Active status

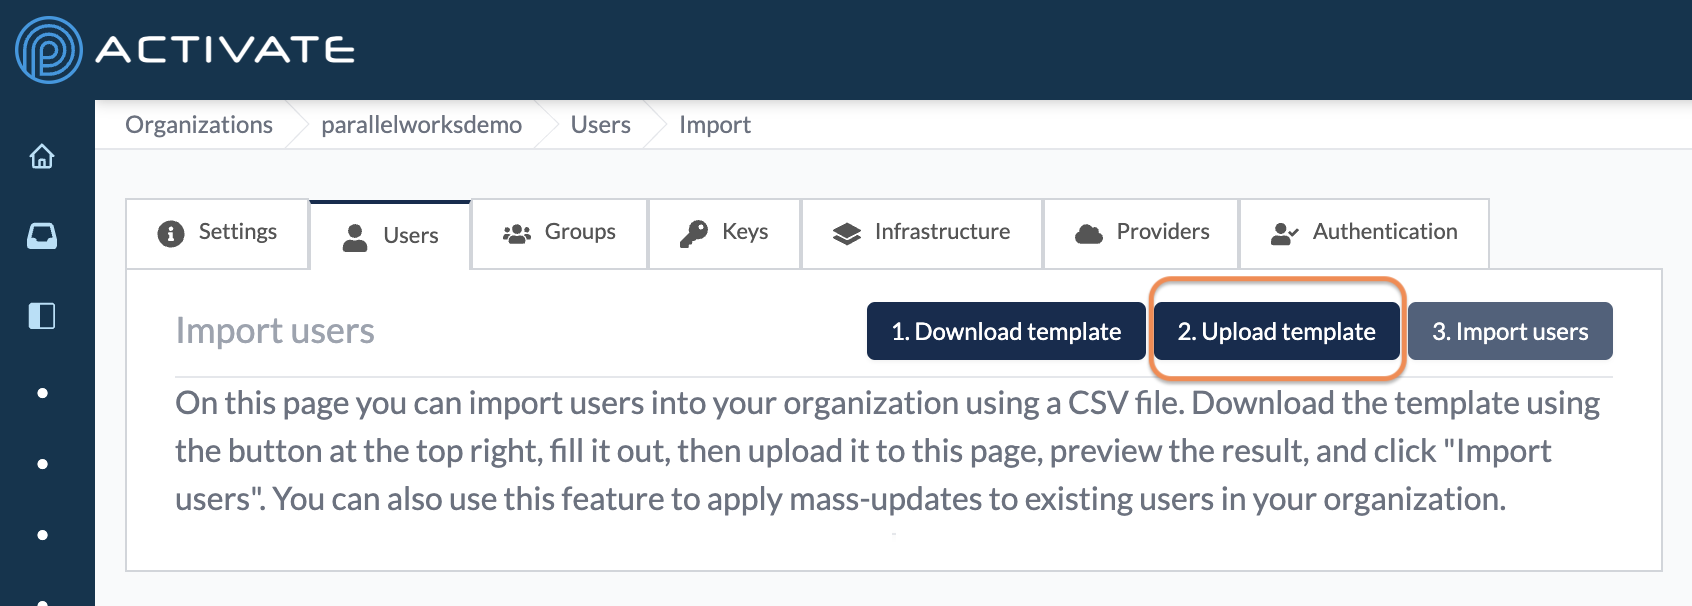
On the ACTIVATE platform, click Upload template and select your edited file.
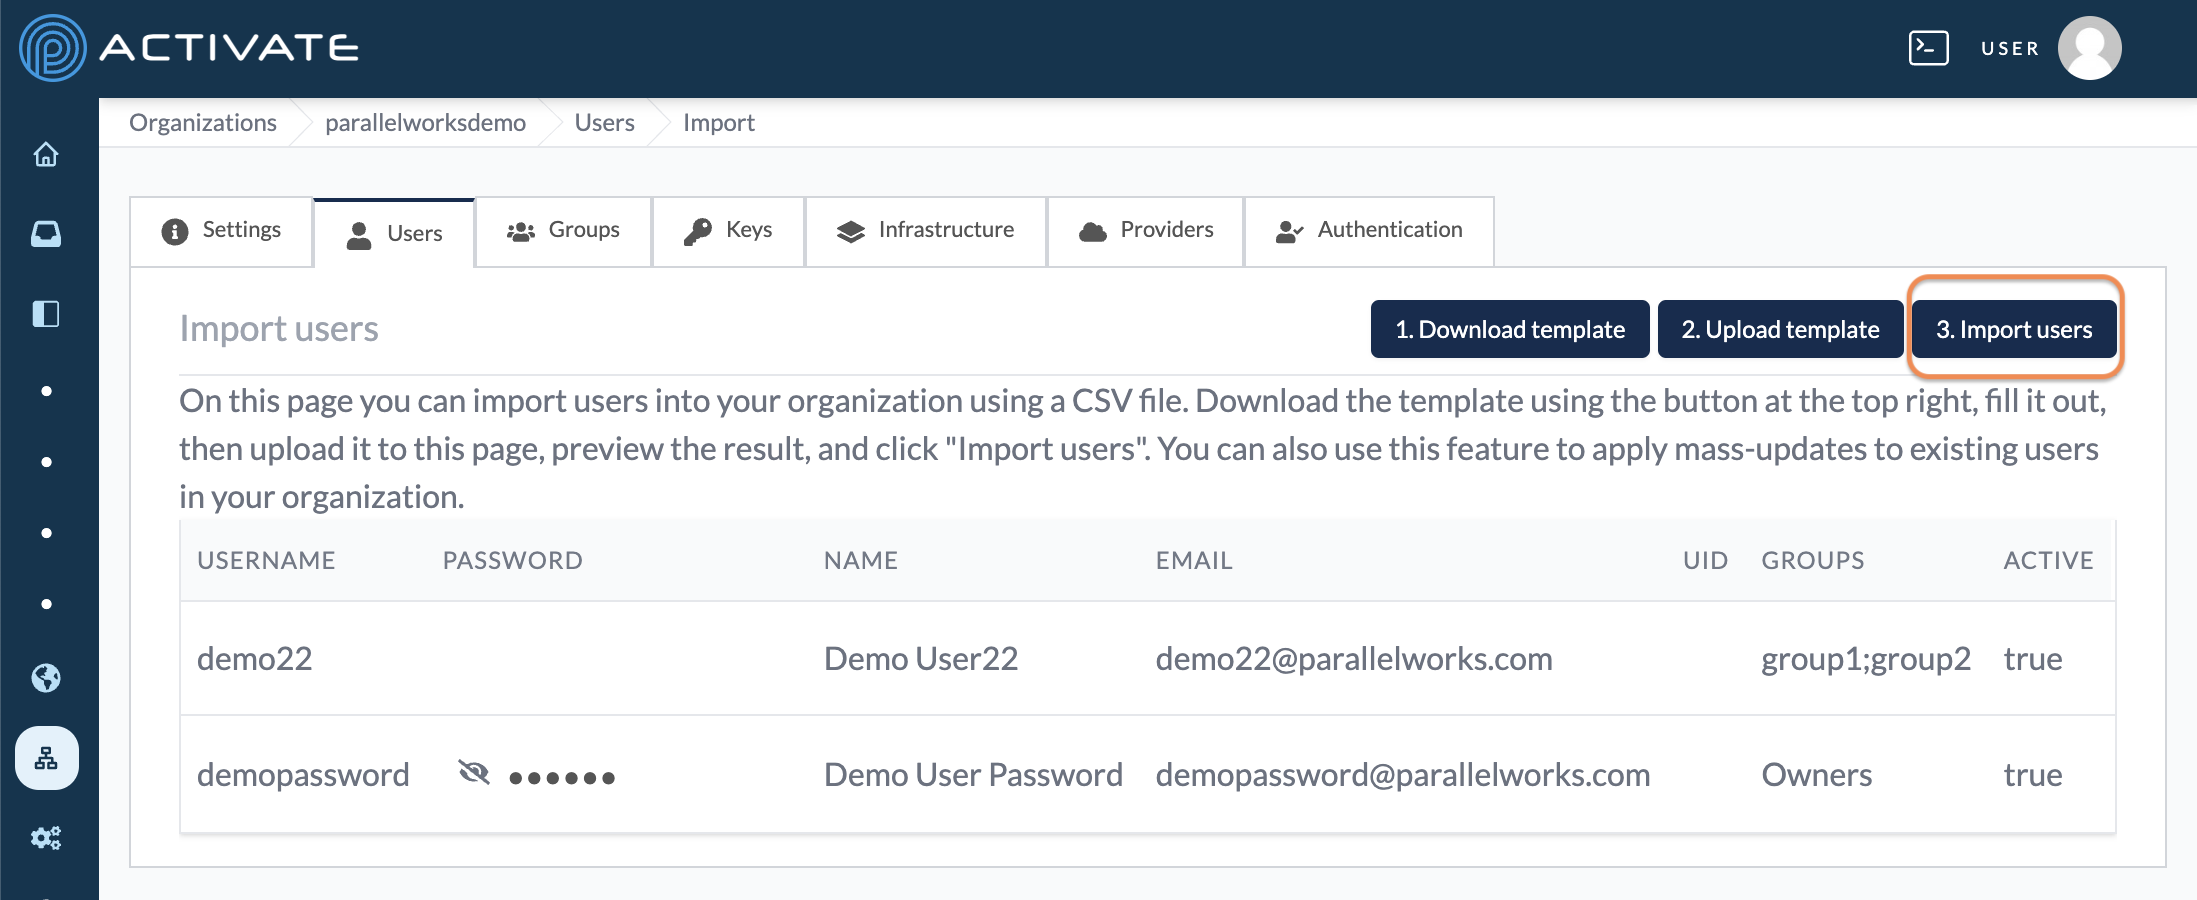
Check that the preview for the new users is correct. Click Import users.
An Import Log will appear at the bottom of the screen. If any errors occurred during the importing process, they will be displayed here.
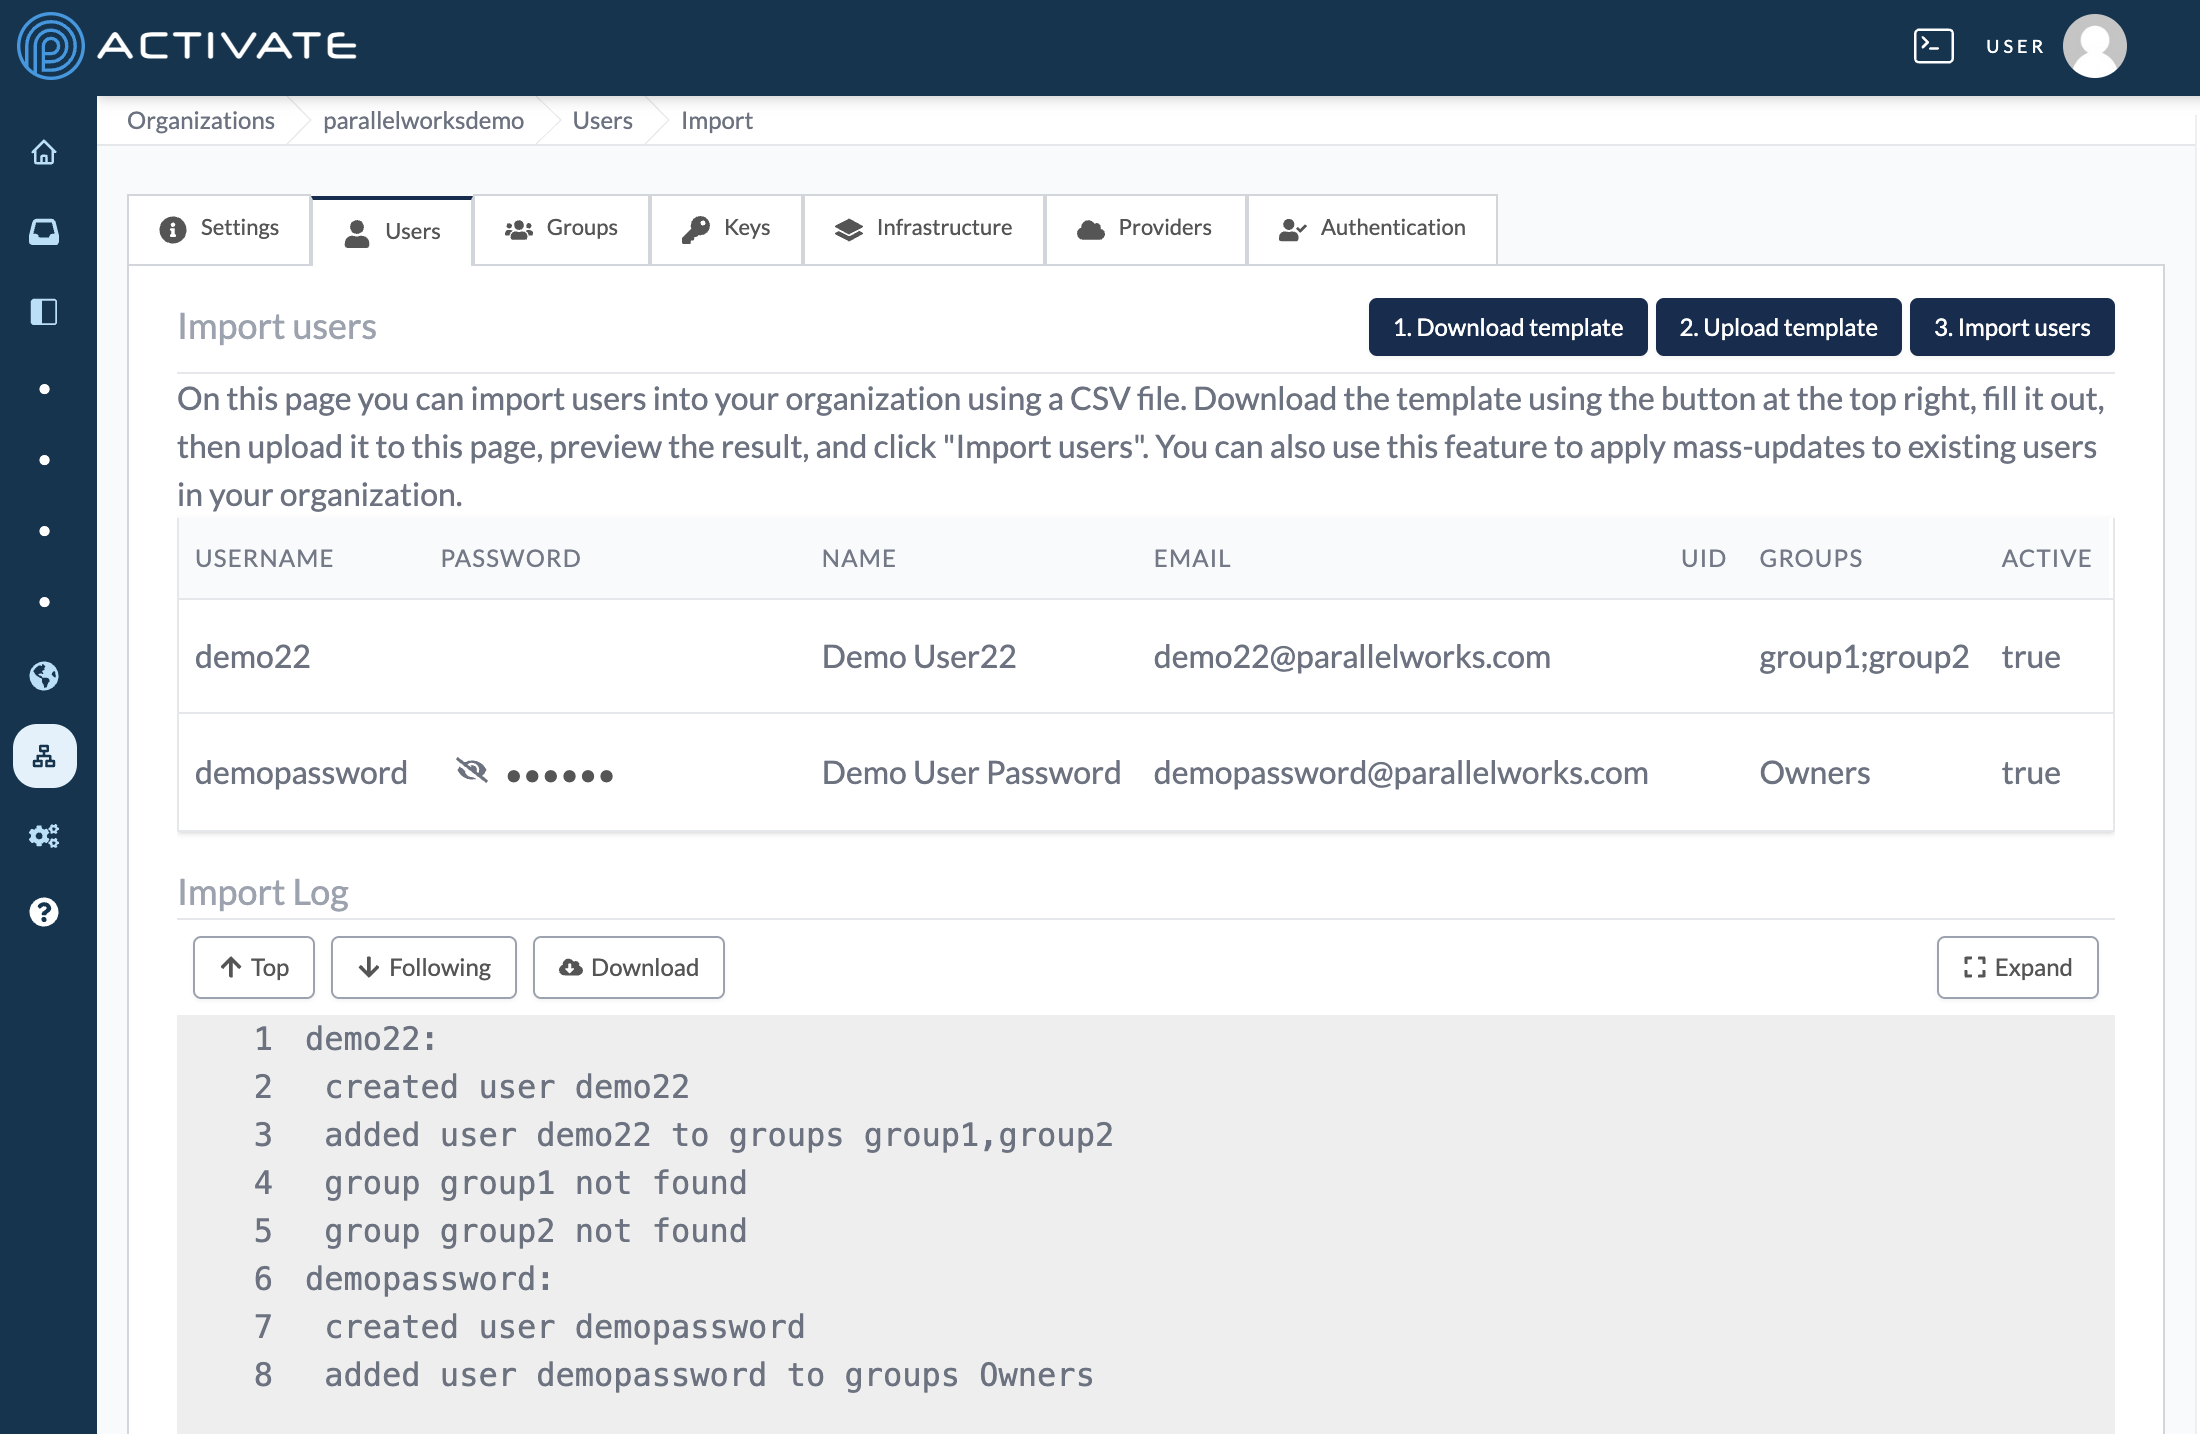
The new users will now be listed in the Users tab.
On macOS, sometimes your system will save a .csv file as a Numbers file. Likewise, Excel will prompt you to save a .csv file as an Excel format instead, such as .xls.
However, please note that the user import feature only accepts .csv files.
Editing Users
In your organization settings, click Users.

Click the name of the user you'd like to edit.

On the next page, you can edit the user's account settings.
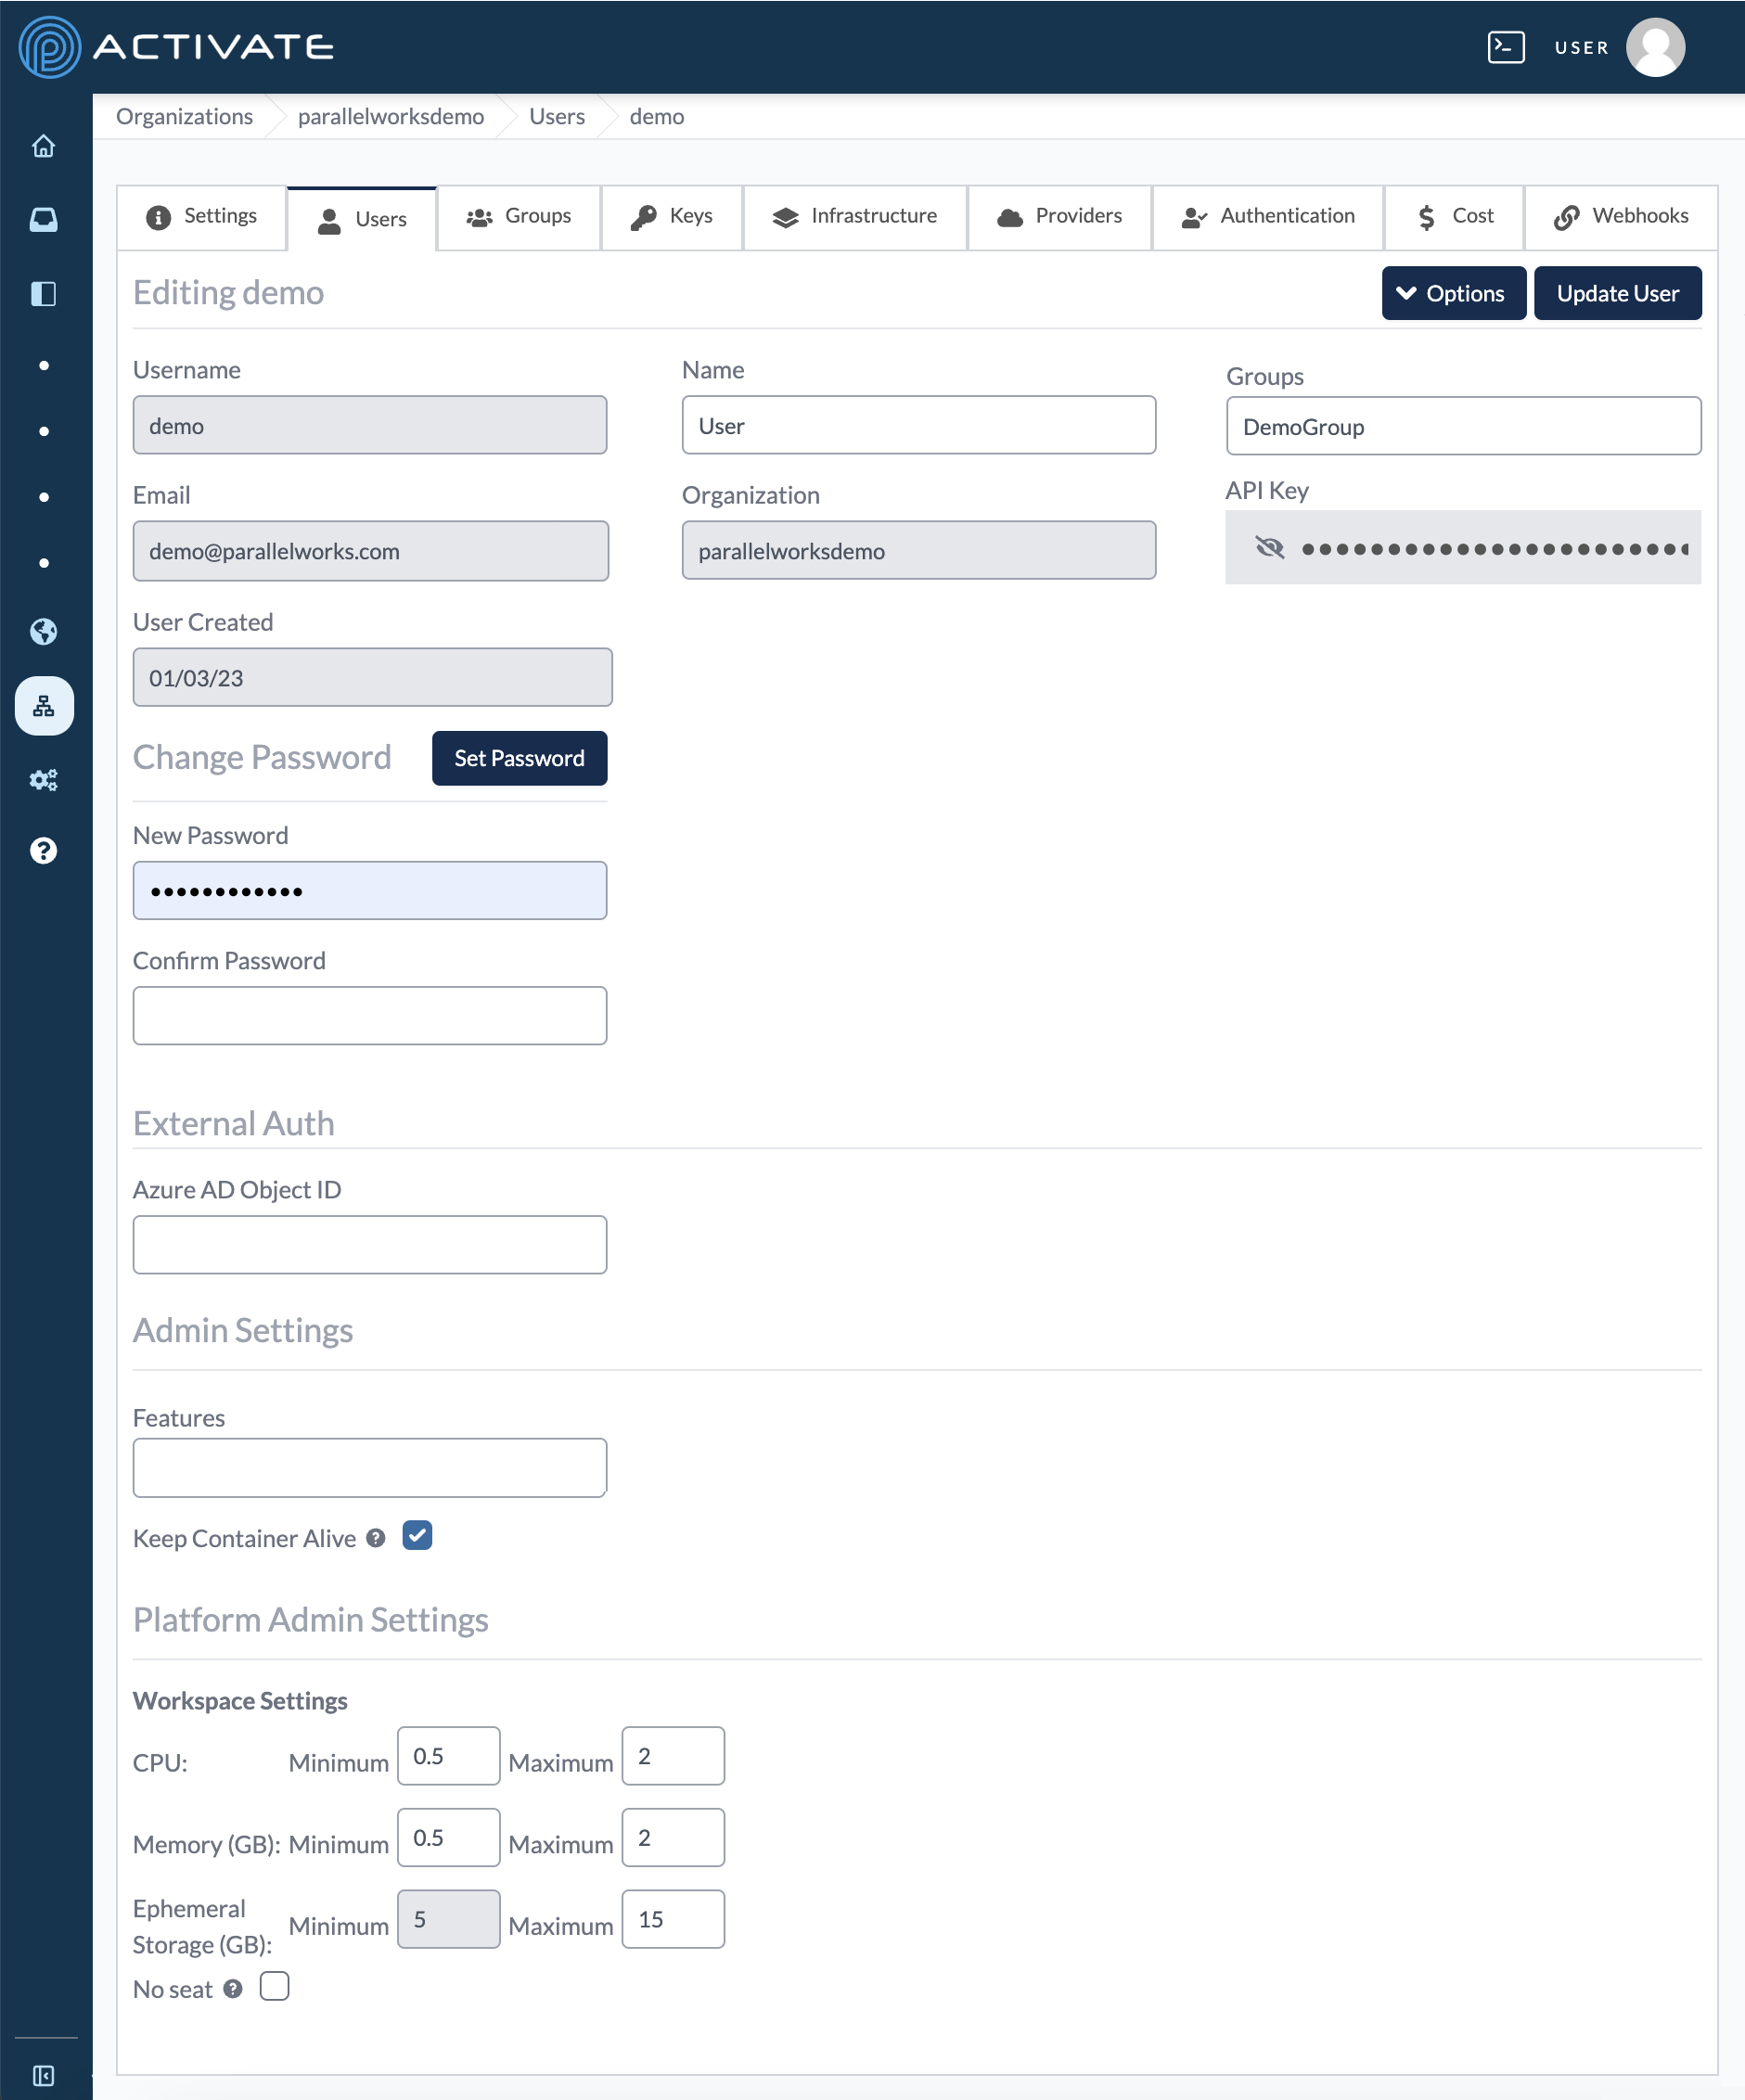
Display Name
Use the Name field to edit a user's display name. Click Update User to save your changes.
Password
To change the user's password, enter a value in New Password. Re-type the value in Confirm Password. Click Set Password.
Please note that passwords must be at least 15 characters and include at least one of each of the following:
- uppercase
- lowercase
- number
- special character (@!%&#)
If you completed this action to reset a password for the user, they can set a new password by logging in to ACTIVATE, clicking their username, then clicking Account.
Azure Object ID
This field is exclusive to Azure Active Directory users. Typically, the Azure Object ID is autopopulated when users register for ACTIVATE through Azure Active Directory.
If you need to reset a user's Azure Object ID, click the delete icon, then retrieve their Azure Object ID by following these instructions from Microsoft.
Features
Only available for organization administrators
For testing purposes, we use feature flags to enable upcoming features on certain users' accounts. You can add or remove feature flags in the Features field, then click Update User.
Keep Platform Alive
Only available for organization administrators
Check the box for Keep Container Alive if you want the user's workspace to remain active after you add or remove a feature flag.
Workspace Settings
Only available for ACTIVATE platform administrators
You can set the minimum and maximum amounts for CPU usage, Memory usage, and Ephemeral Storage capacity. All values are measured in gigabytes (GB).
By default, user workspaces are configured to have:
- a minimum of 0.5 GB and a maximum of 2 GB for the CPU
- a minimum of 0.5 GB and a maximum of 2 GB for Memory
- a minimum of 5 GB and maximum of 15 GB for Ephemeral Storage; the minimum cannot be changed for this parameter
Please note that increasing the maximum for these settings is associated with additional costs. We recommend contacting us before making changes.
By default, No seat is not enabled. Click this checkbox if you don't want a user to consume one of your organization's allotted seats. For example, this setting is useful if you need an account for testing rather than for an active user.
Enabling and Disabling Users
By default, new users are enabled. This means that they consume one of your organization's allotted seats. You can disable any user's account in their account settings.
In your organization settings, click Users.

On the next page, click the user's account that you'd like to disable.

On the next page, click Options then Disable User.
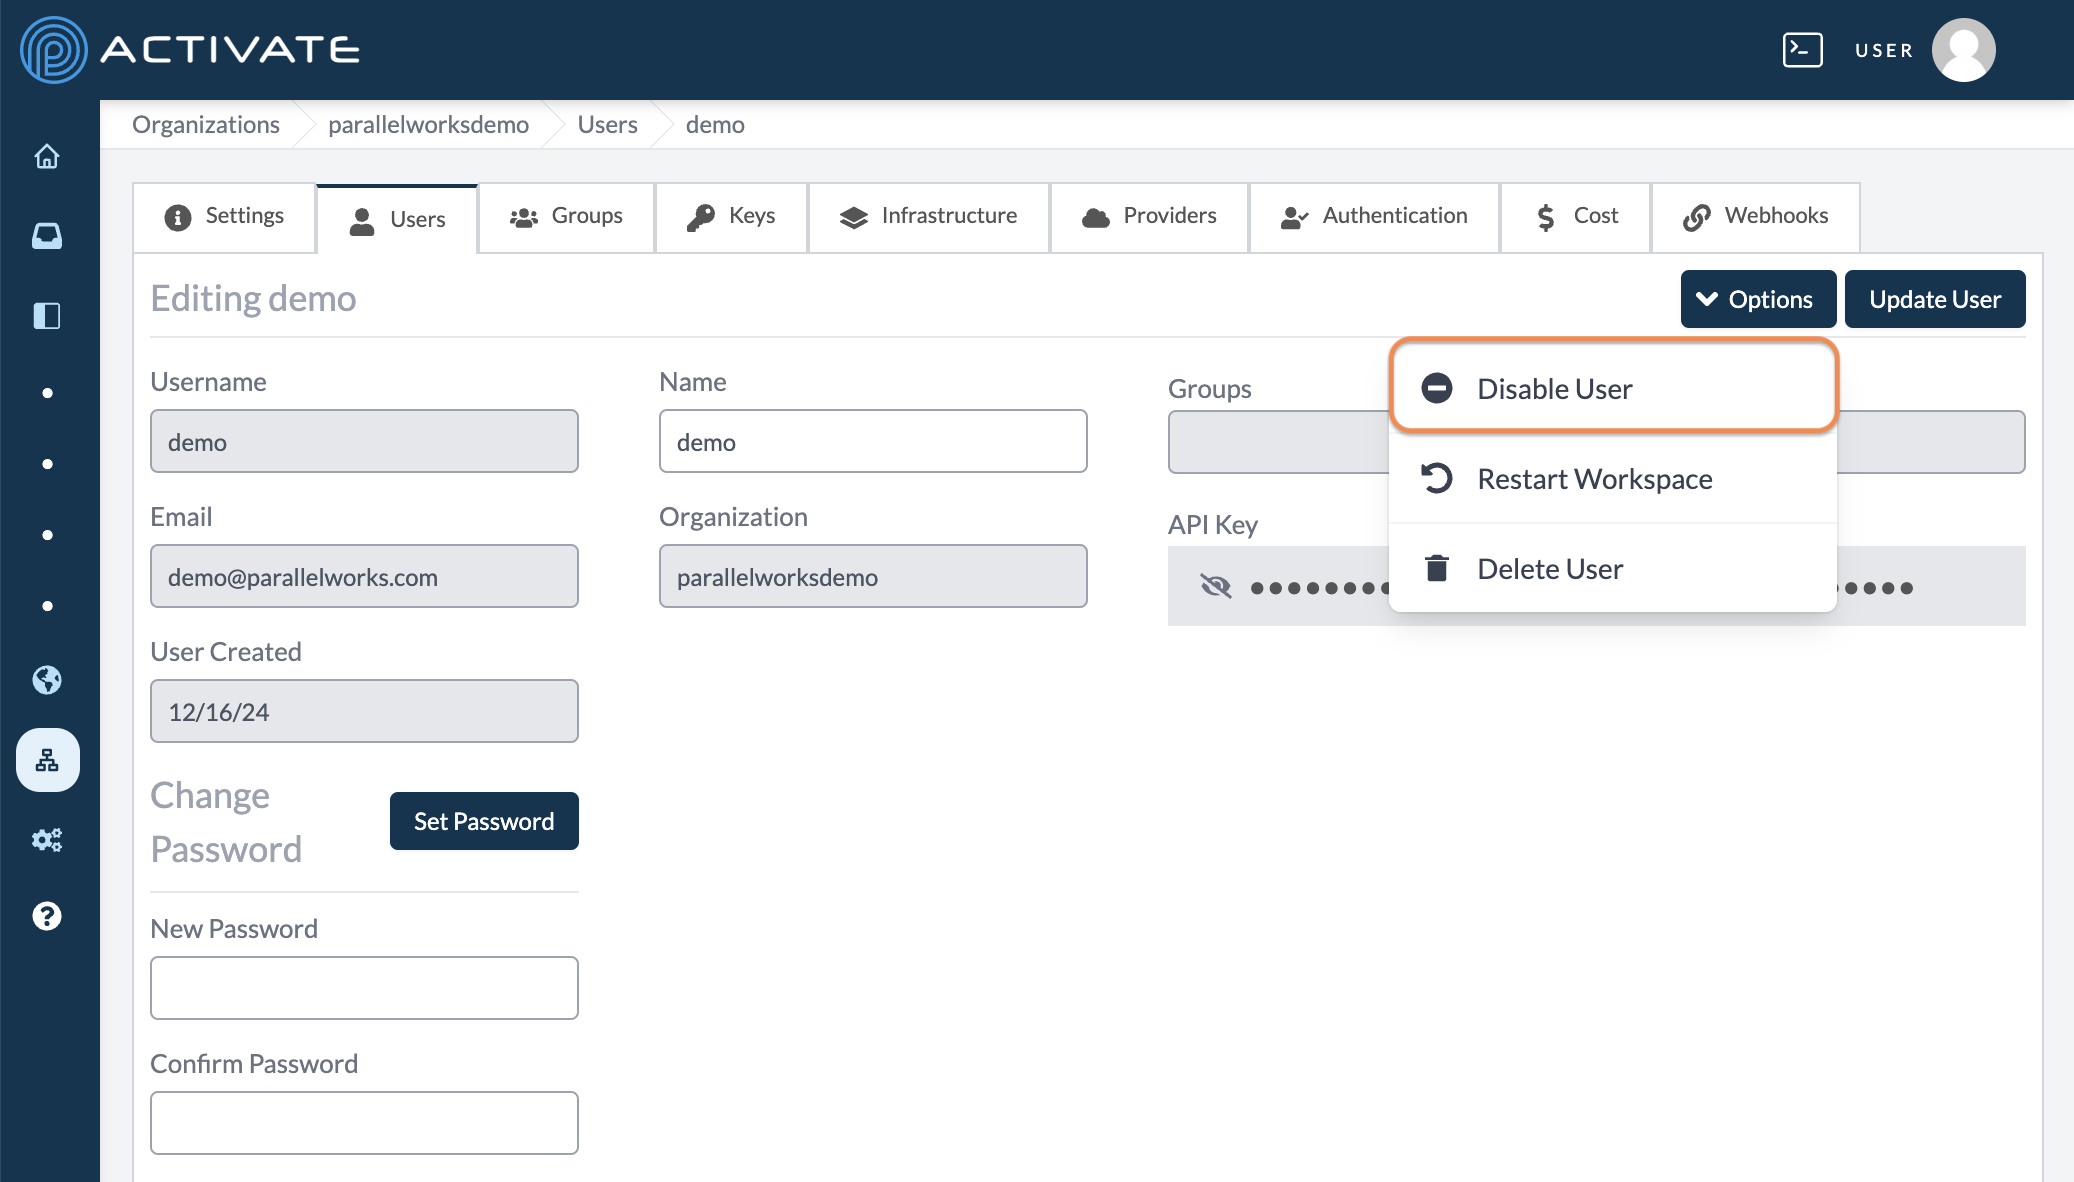
The account will no longer be considered active, and it will not consume one of your organization's allotted seats. The associated user will no longer be able to log in.
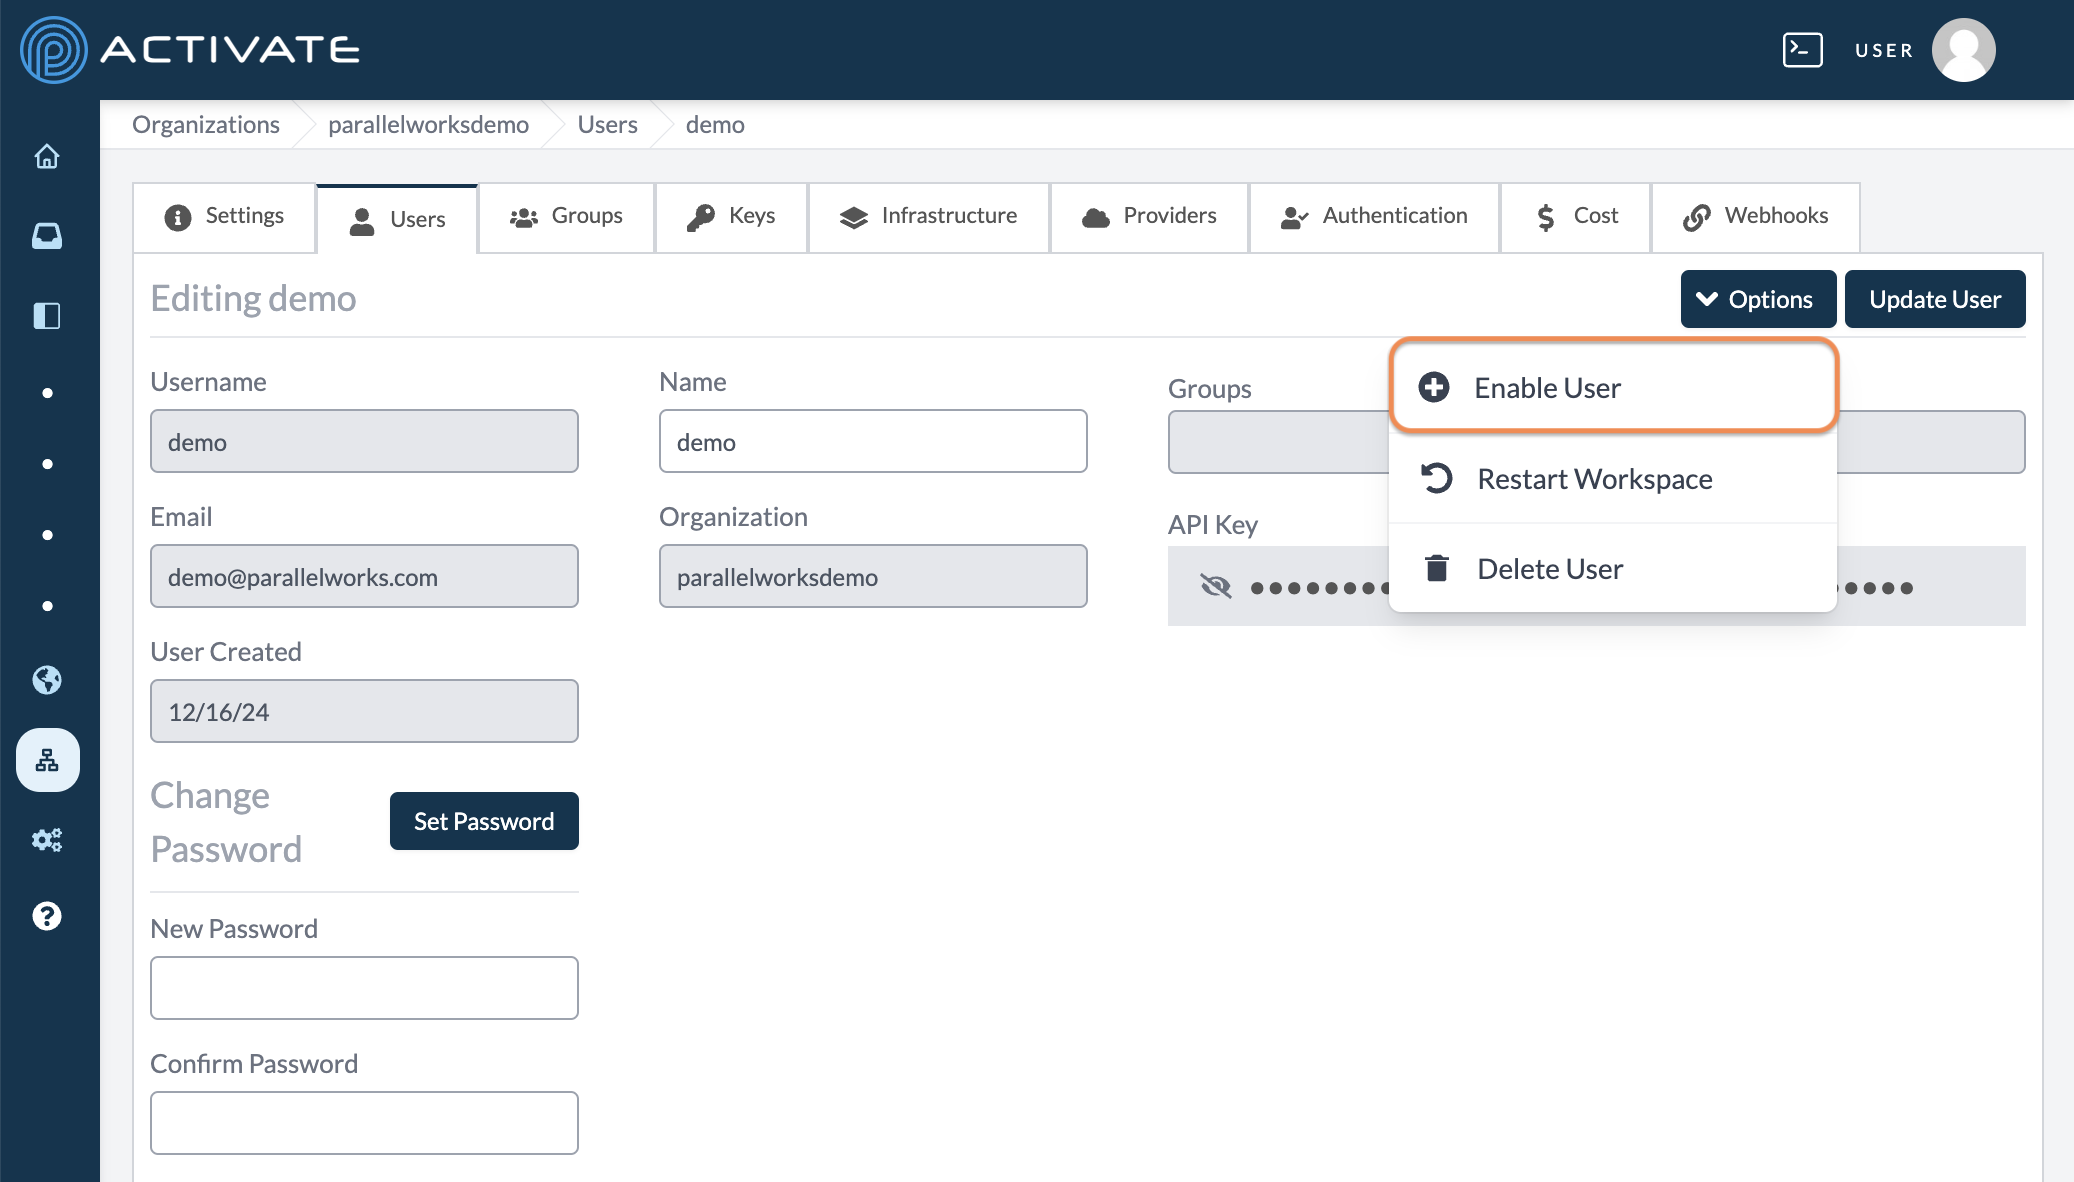
To enable an account, go to Organization > Users > User > Options > Enable User.
Monitoring User Status
When you navigate to your organization's user settings (Account > Organization > Users), users who have been online within the past minute will display a green status bubble.

Deleting Users Individually
In your organization settings, click Users.

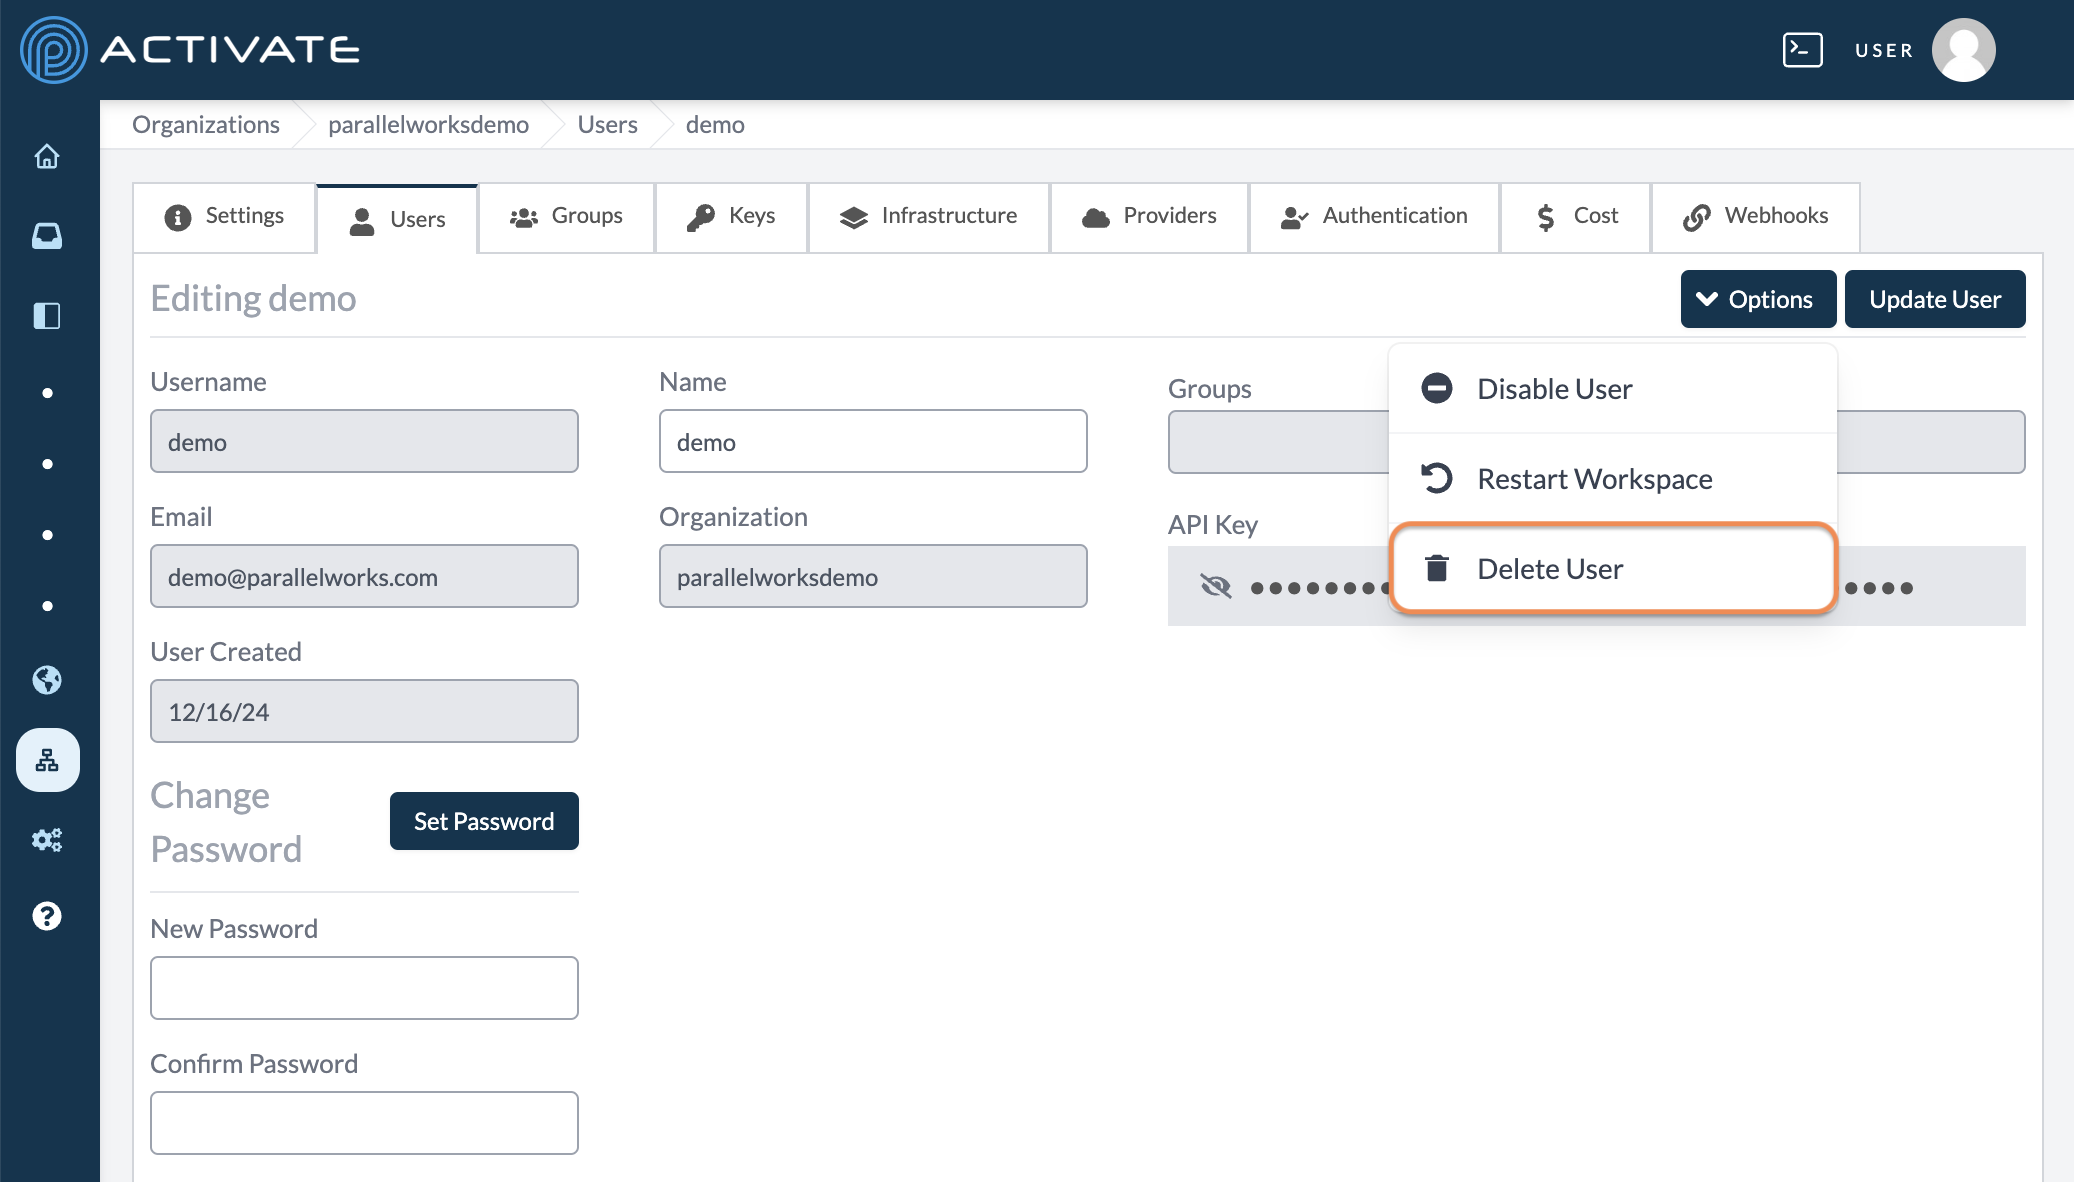
To delete an individual user, click their username.

On the next page, click Options then Delete User.
On the next page, click Confirm Delete.
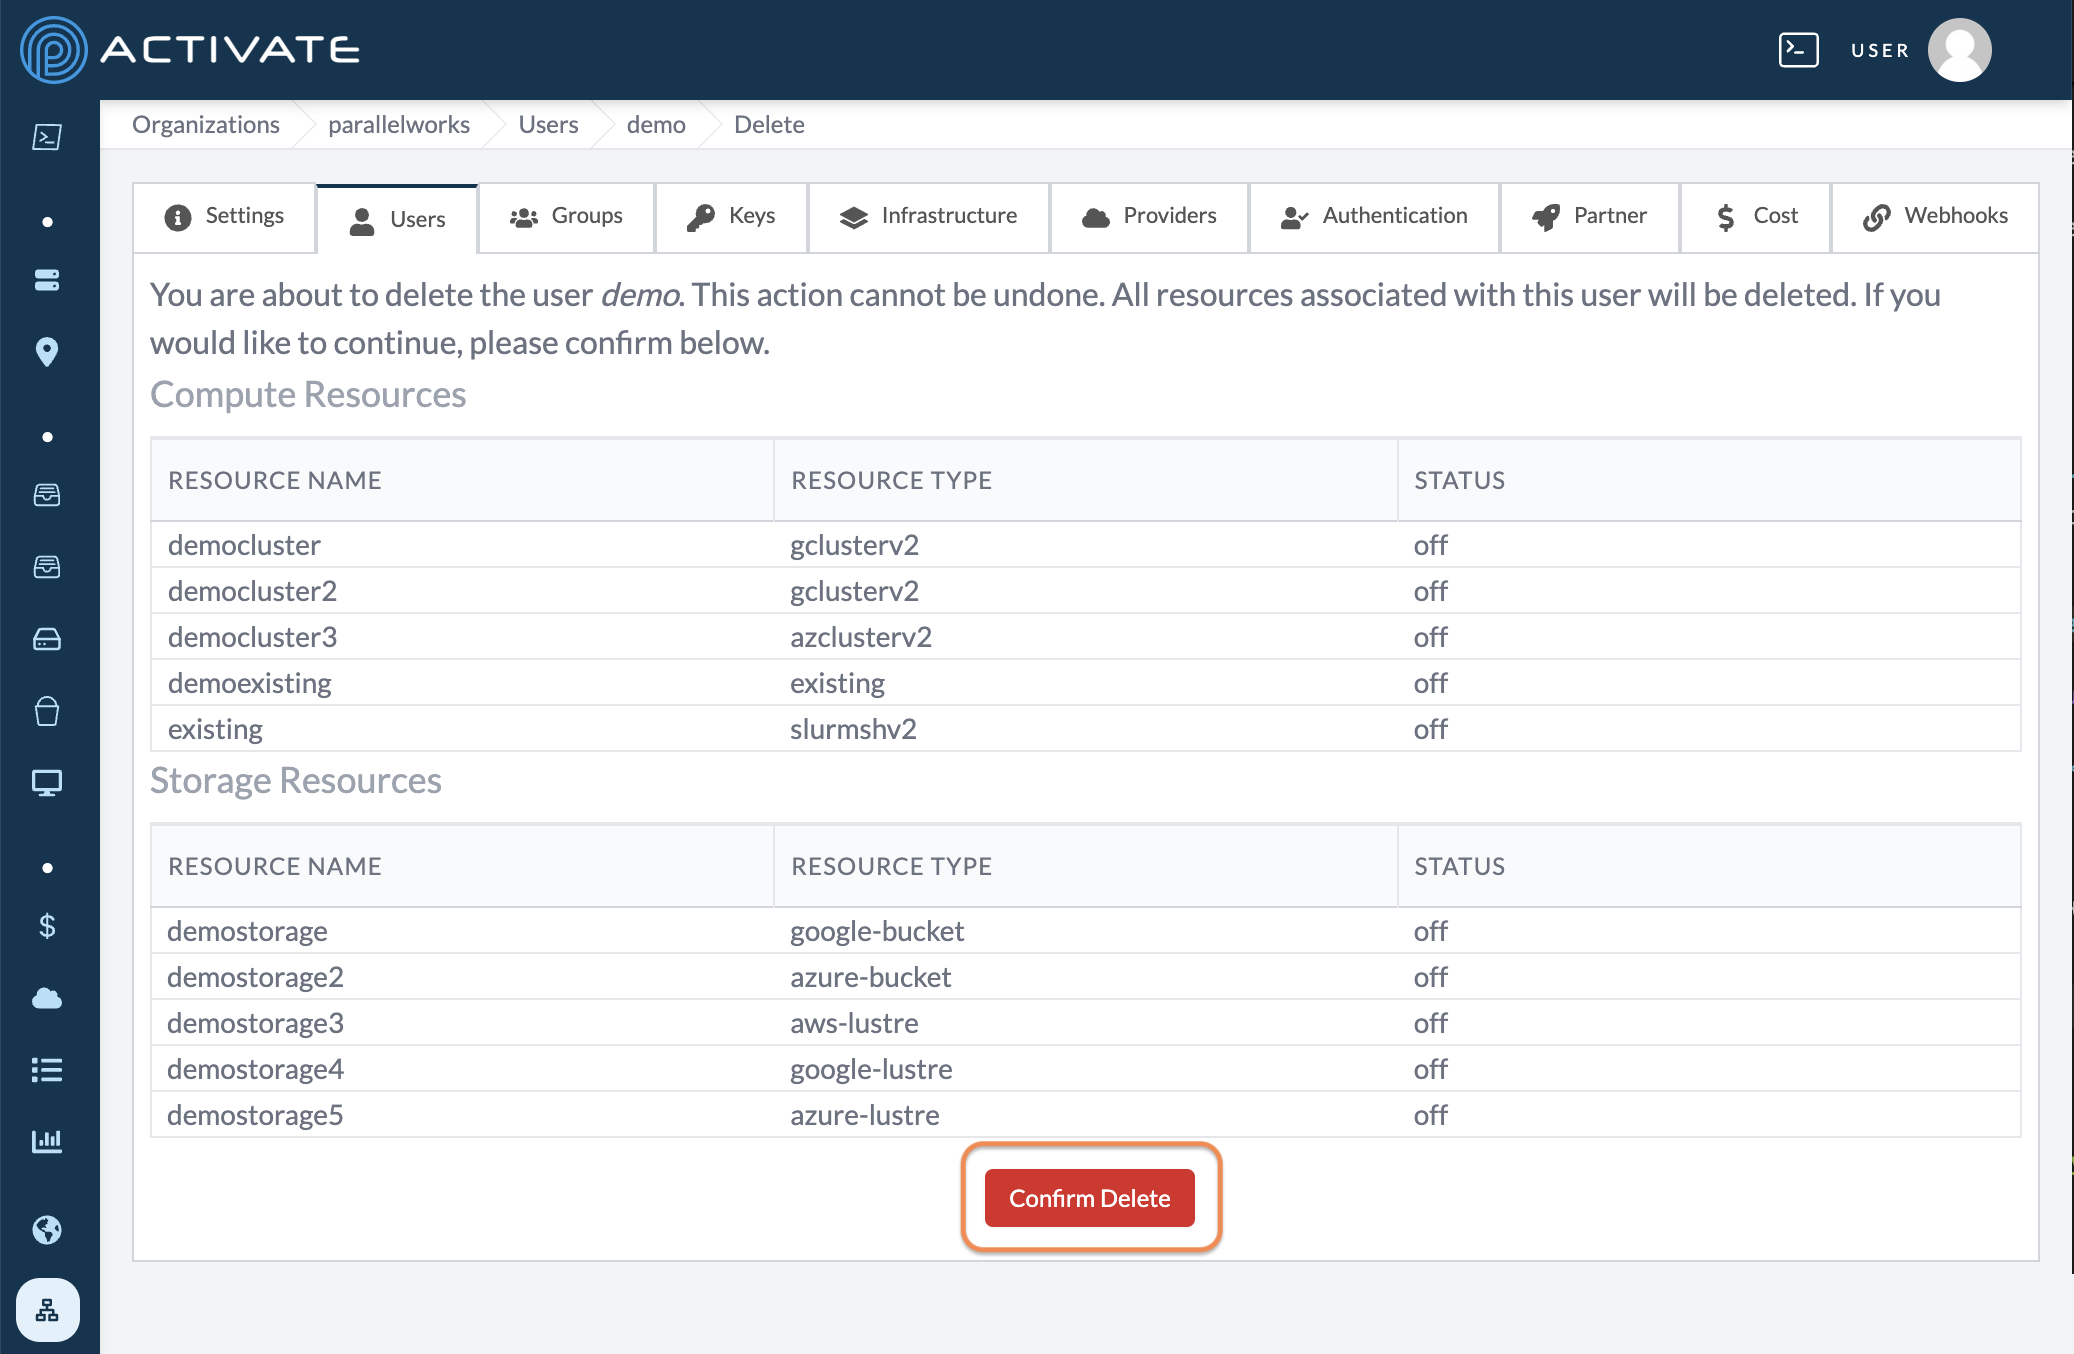
You'll be taken back to the Users tab in your organization's settings. A green dialog box with the message User deleted successfully will appear in the upper right corner of your screen.
Mass Deleting Users
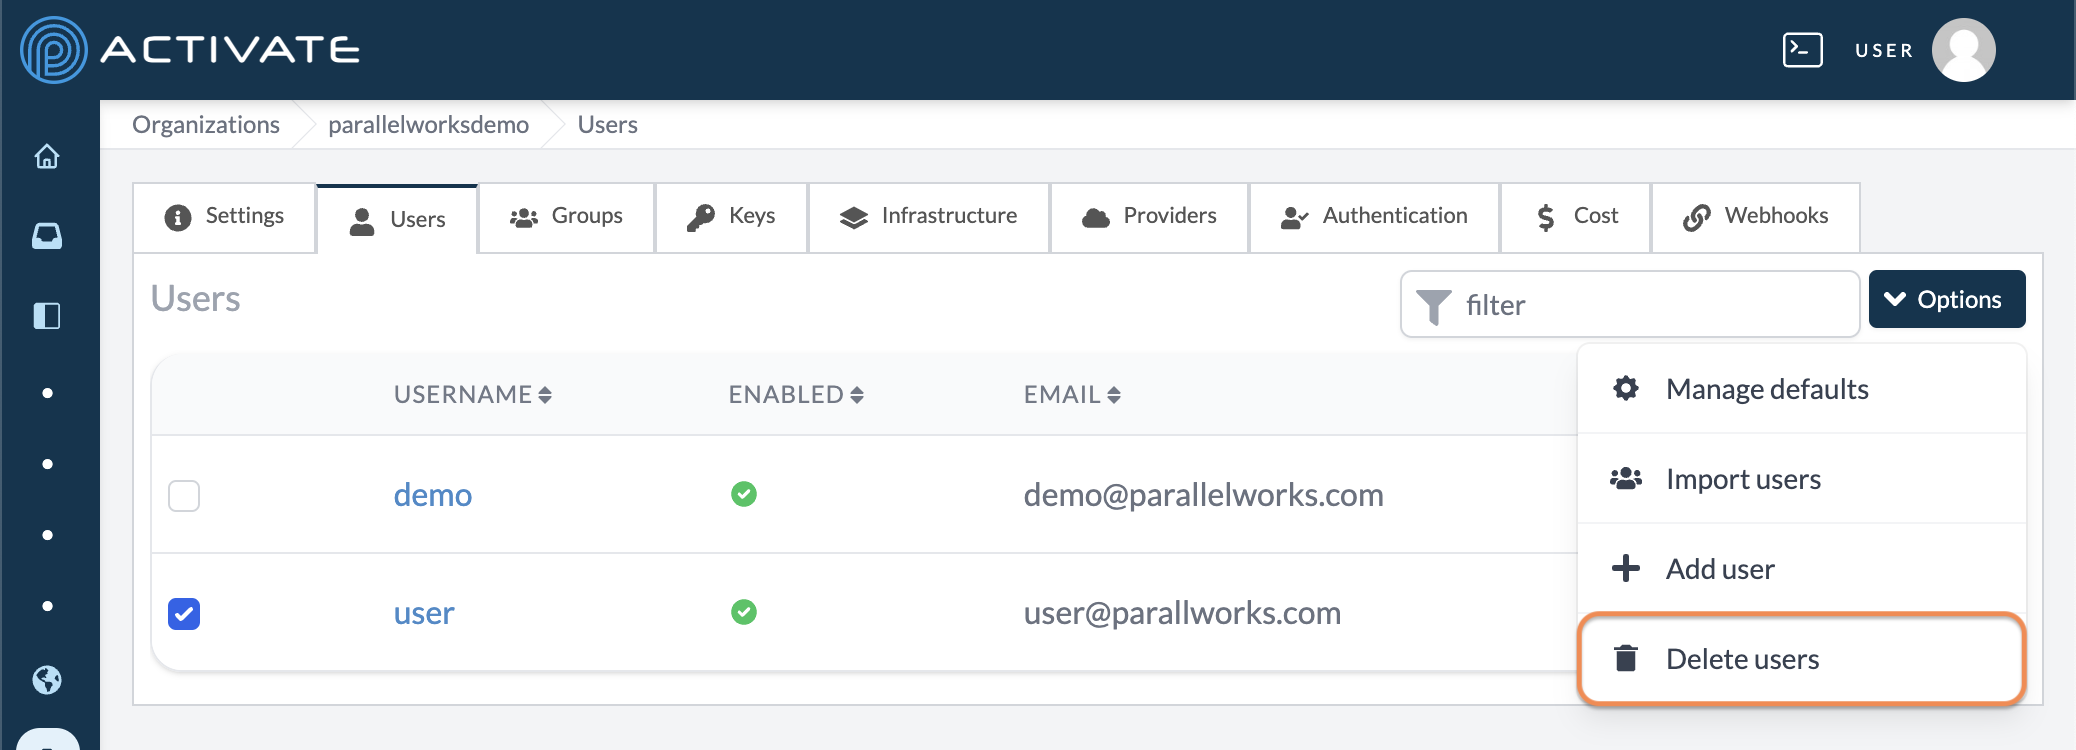
In the Users tab of your organization's settings, select users with their checkboxes. Click Delete users.
Next, click Confirm Delete.
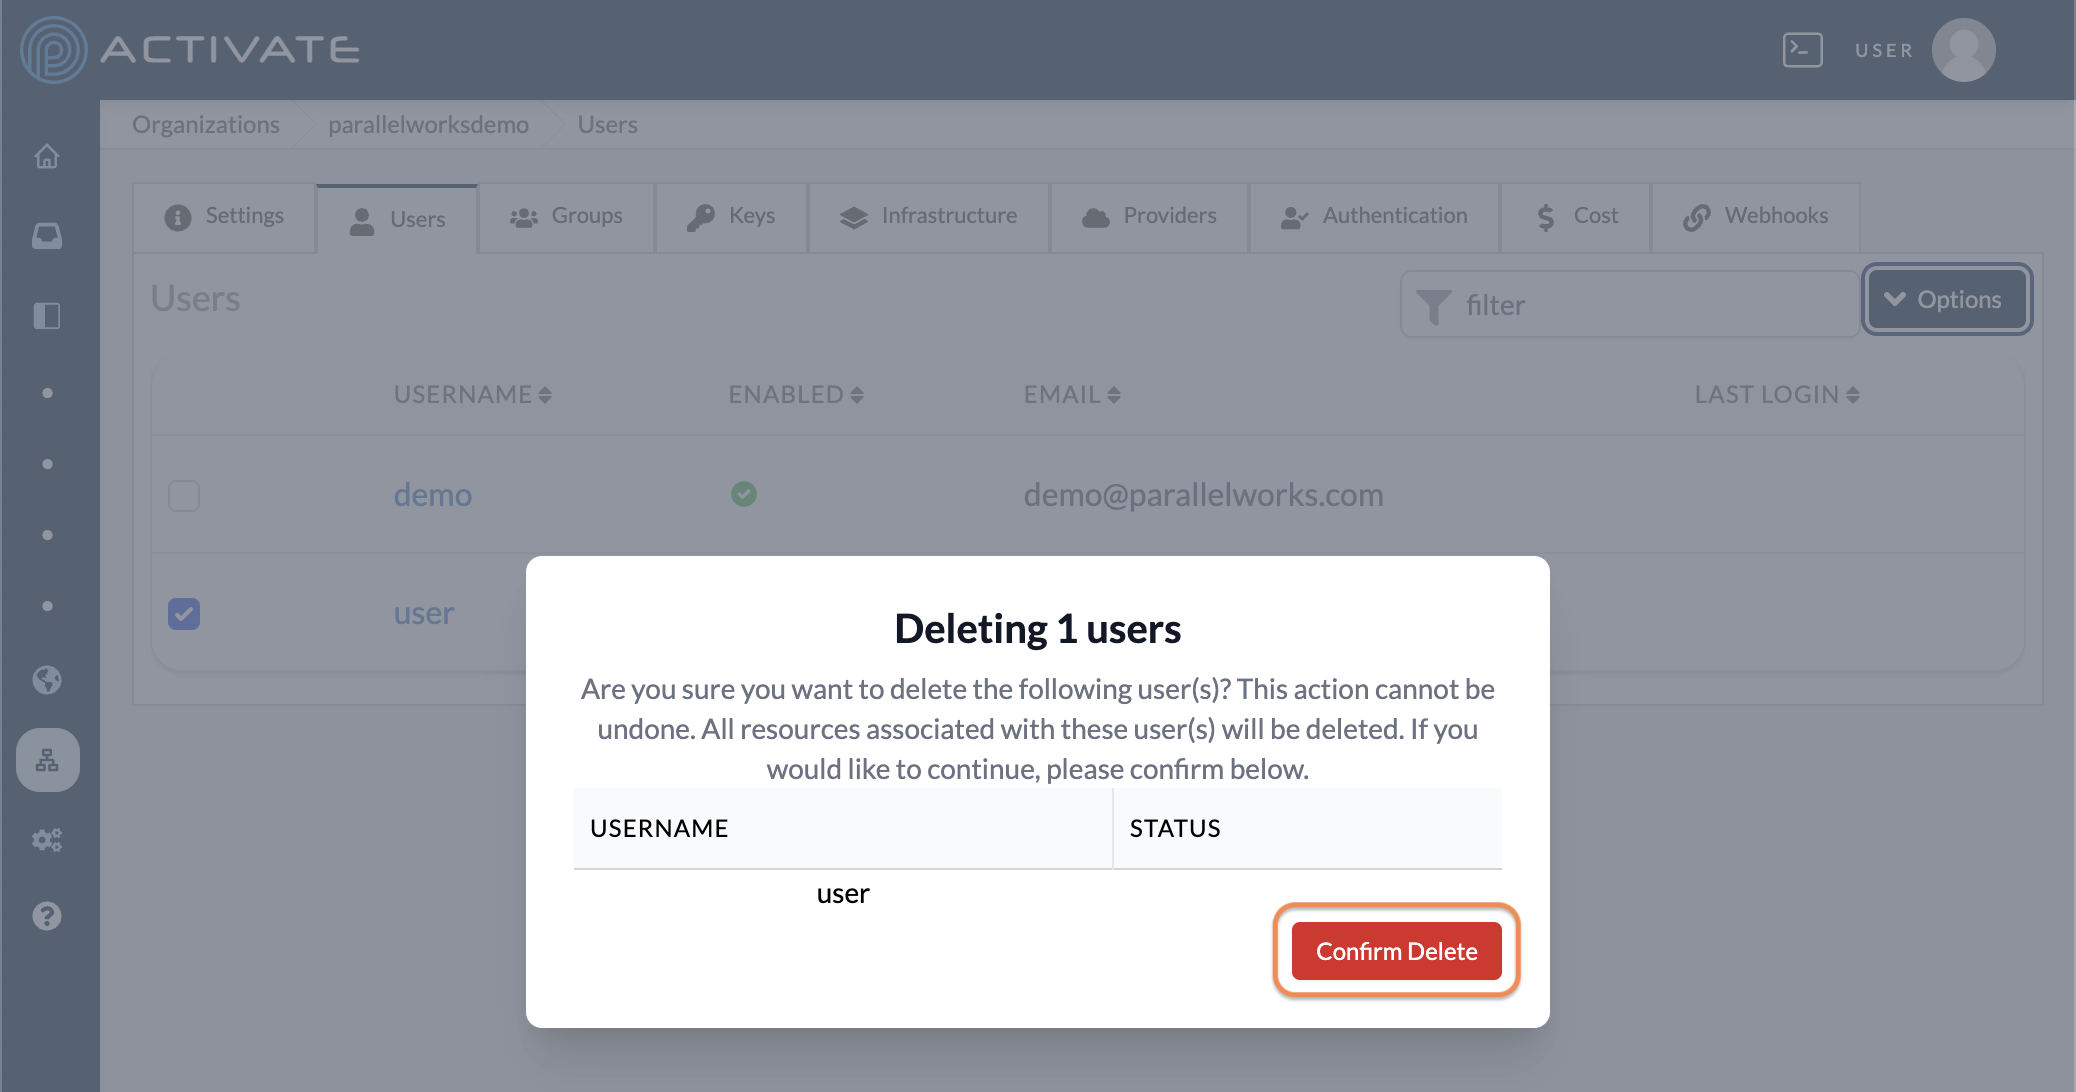
You'll see the message Successfully deleted user(s).