Getting Started: Cloud Clusters
Because there are many uses for ACTIVATE, this tutorial's aim is to familiarize users with the platform and typical steps a user might follow. You will learn how to provision elastic HPC clusters, manage buckets, transfer data, and run computations.
Provision a Bucket
You can use several different types of storage on ACTIVATE. For this guide, we'll be using bucket storage. Buckets are efficient, inexpensive, and and easy to use.
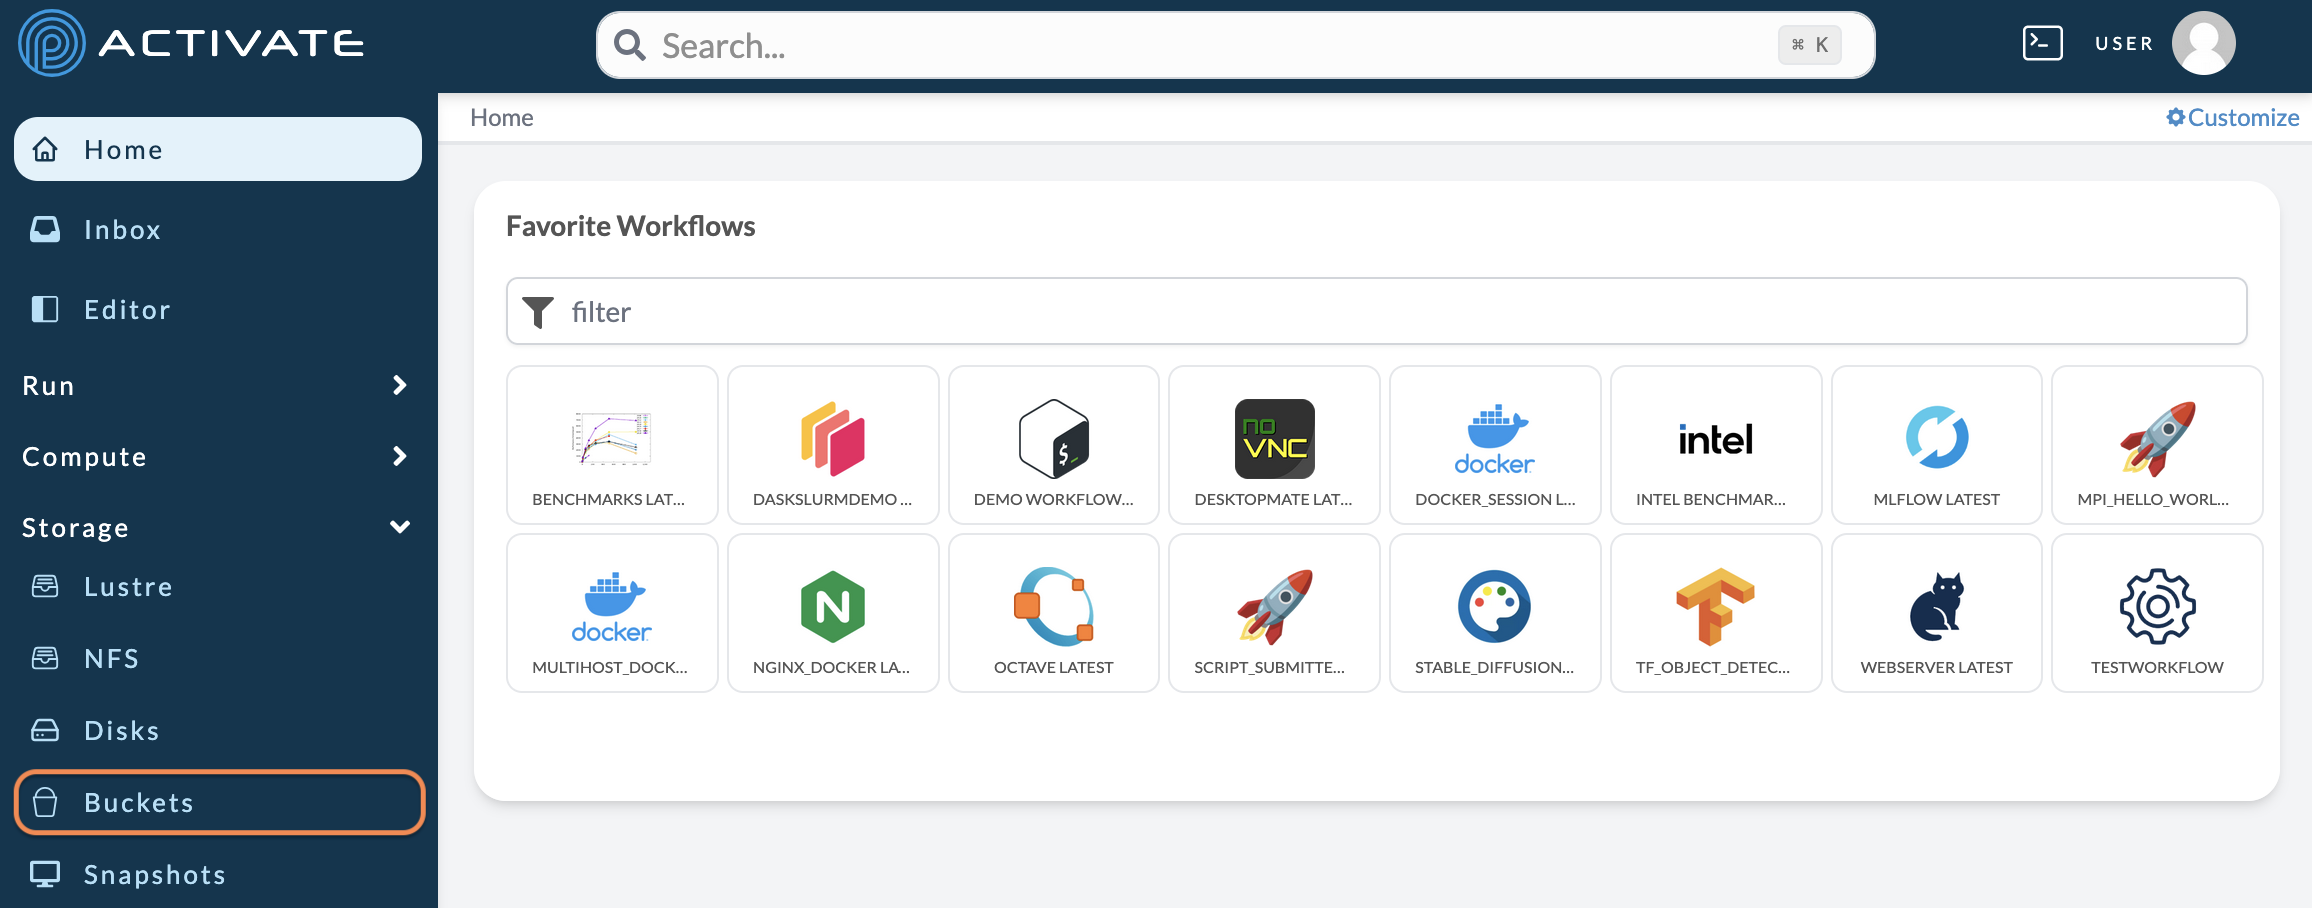
Navigate to Buckets.
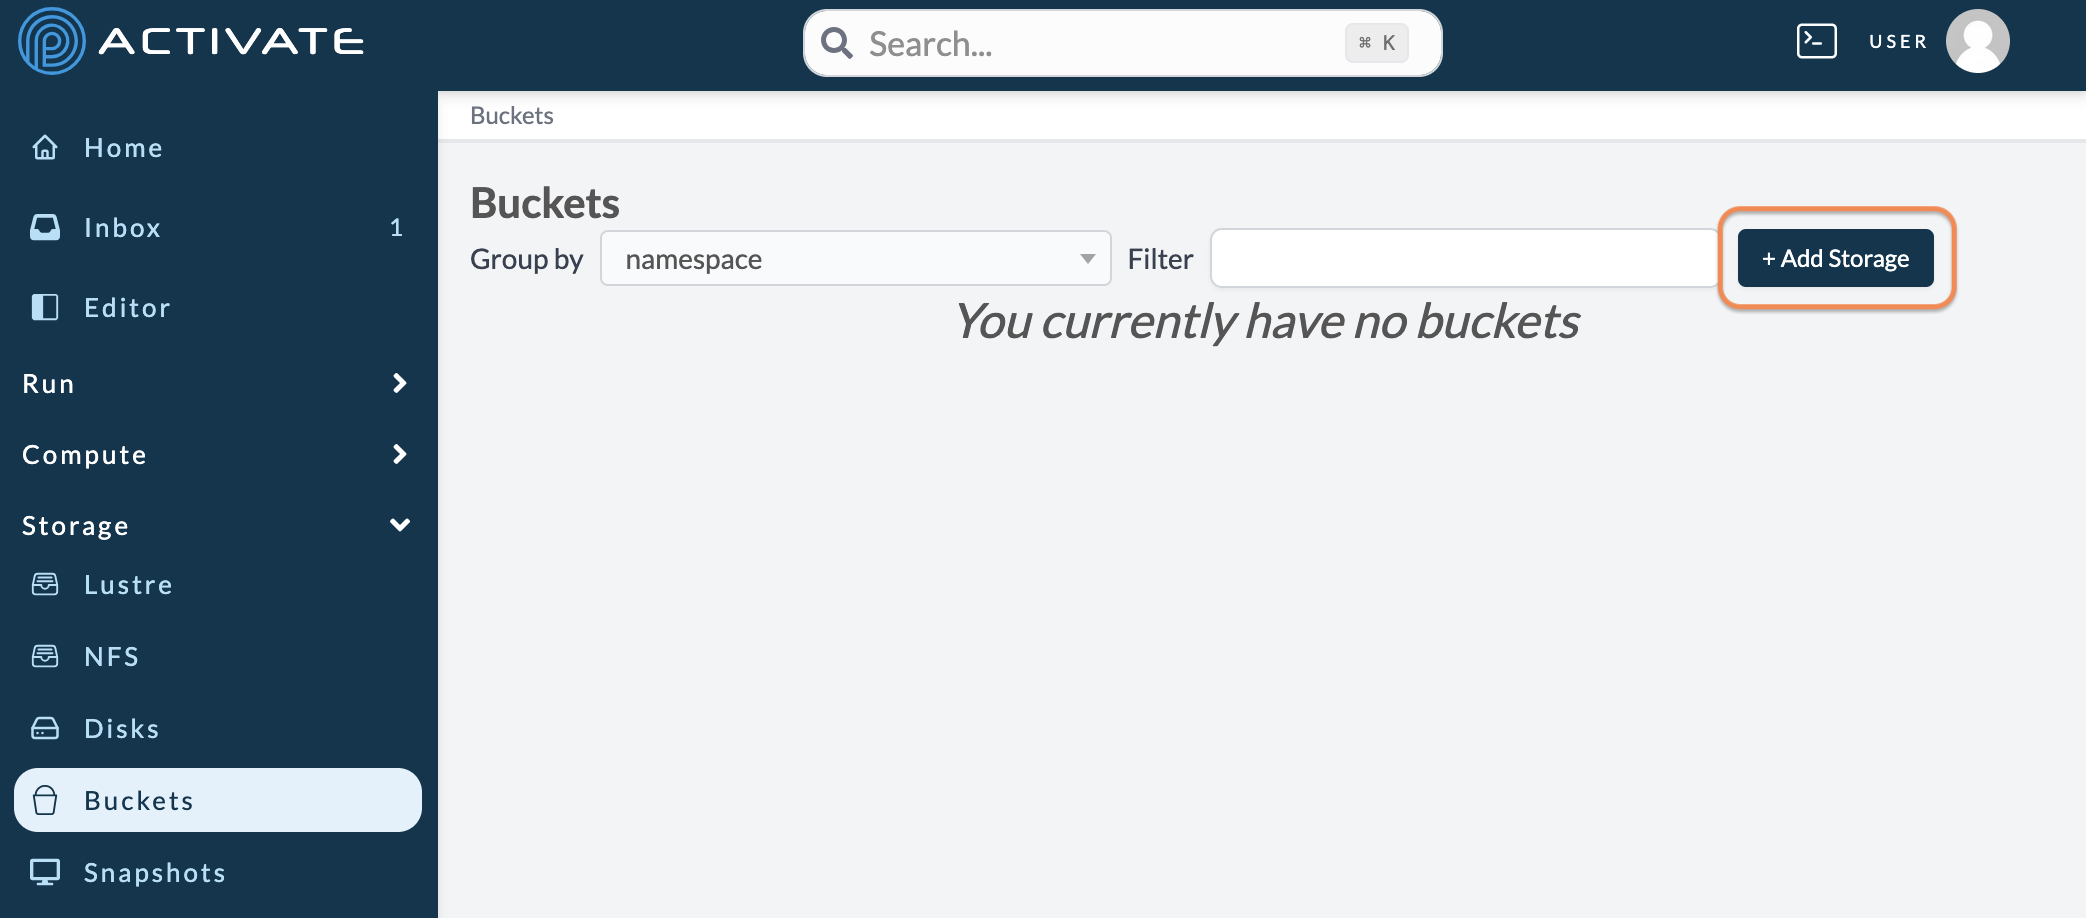
Click +Add Storage.
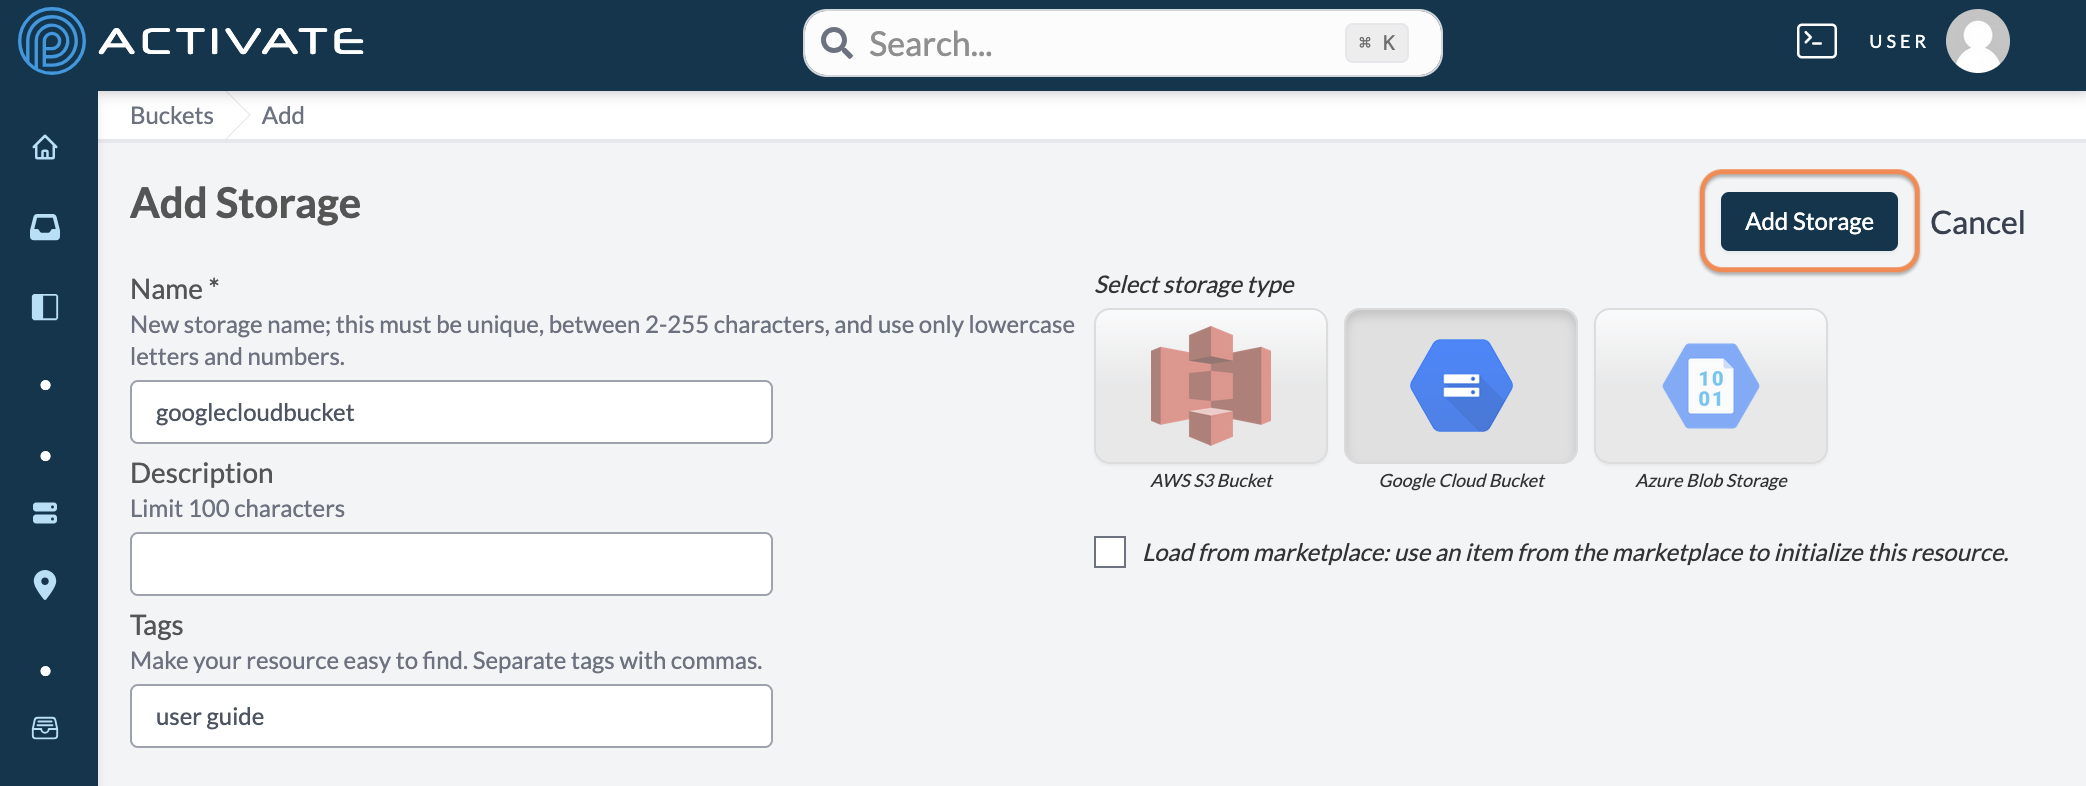
Choose which type of bucket you'll create.
Give your bucket a Resource Name. Optionally, add a Description and Tags.
Click Add Storage.
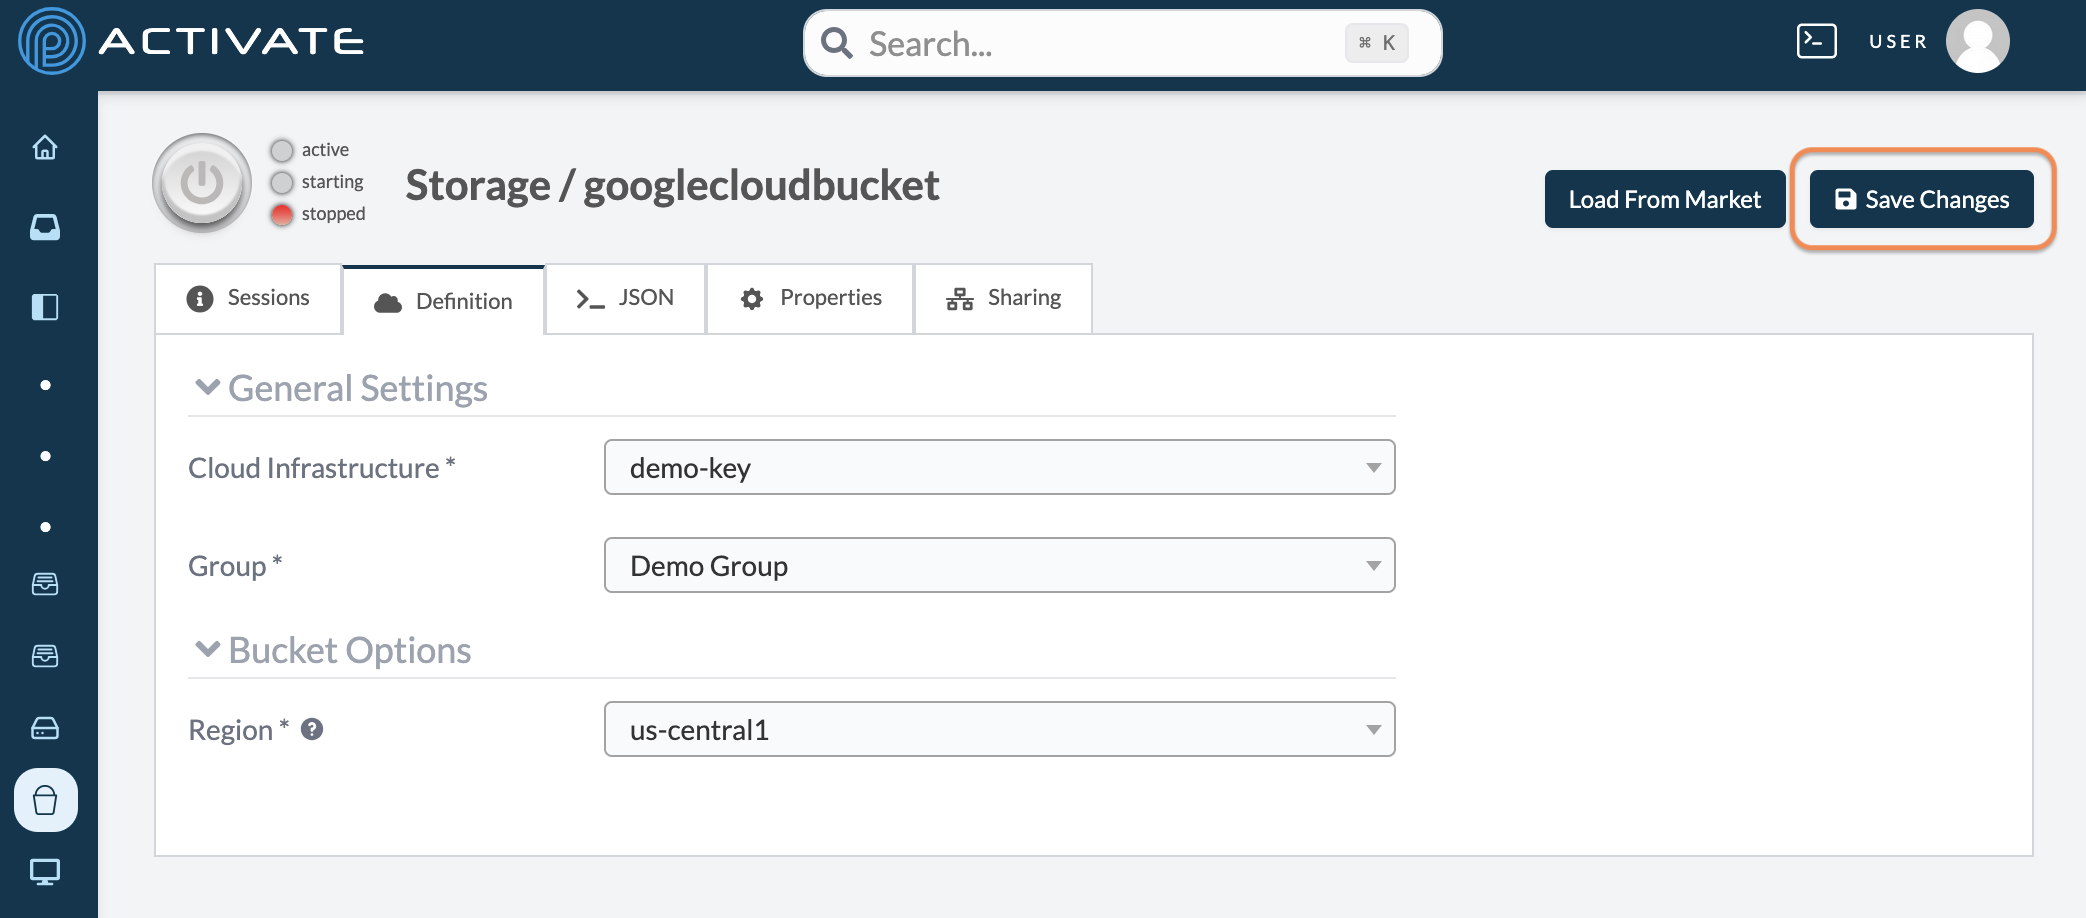
On the next page, the bucket will be pre-configured with your organization's default Cloud Infrastructure and Group. If you need to change these parameters, click Save Changes after doing so.
Click the bucket's power button. The bucket will take a few minutes to start. You can proceed to the next step while you wait.
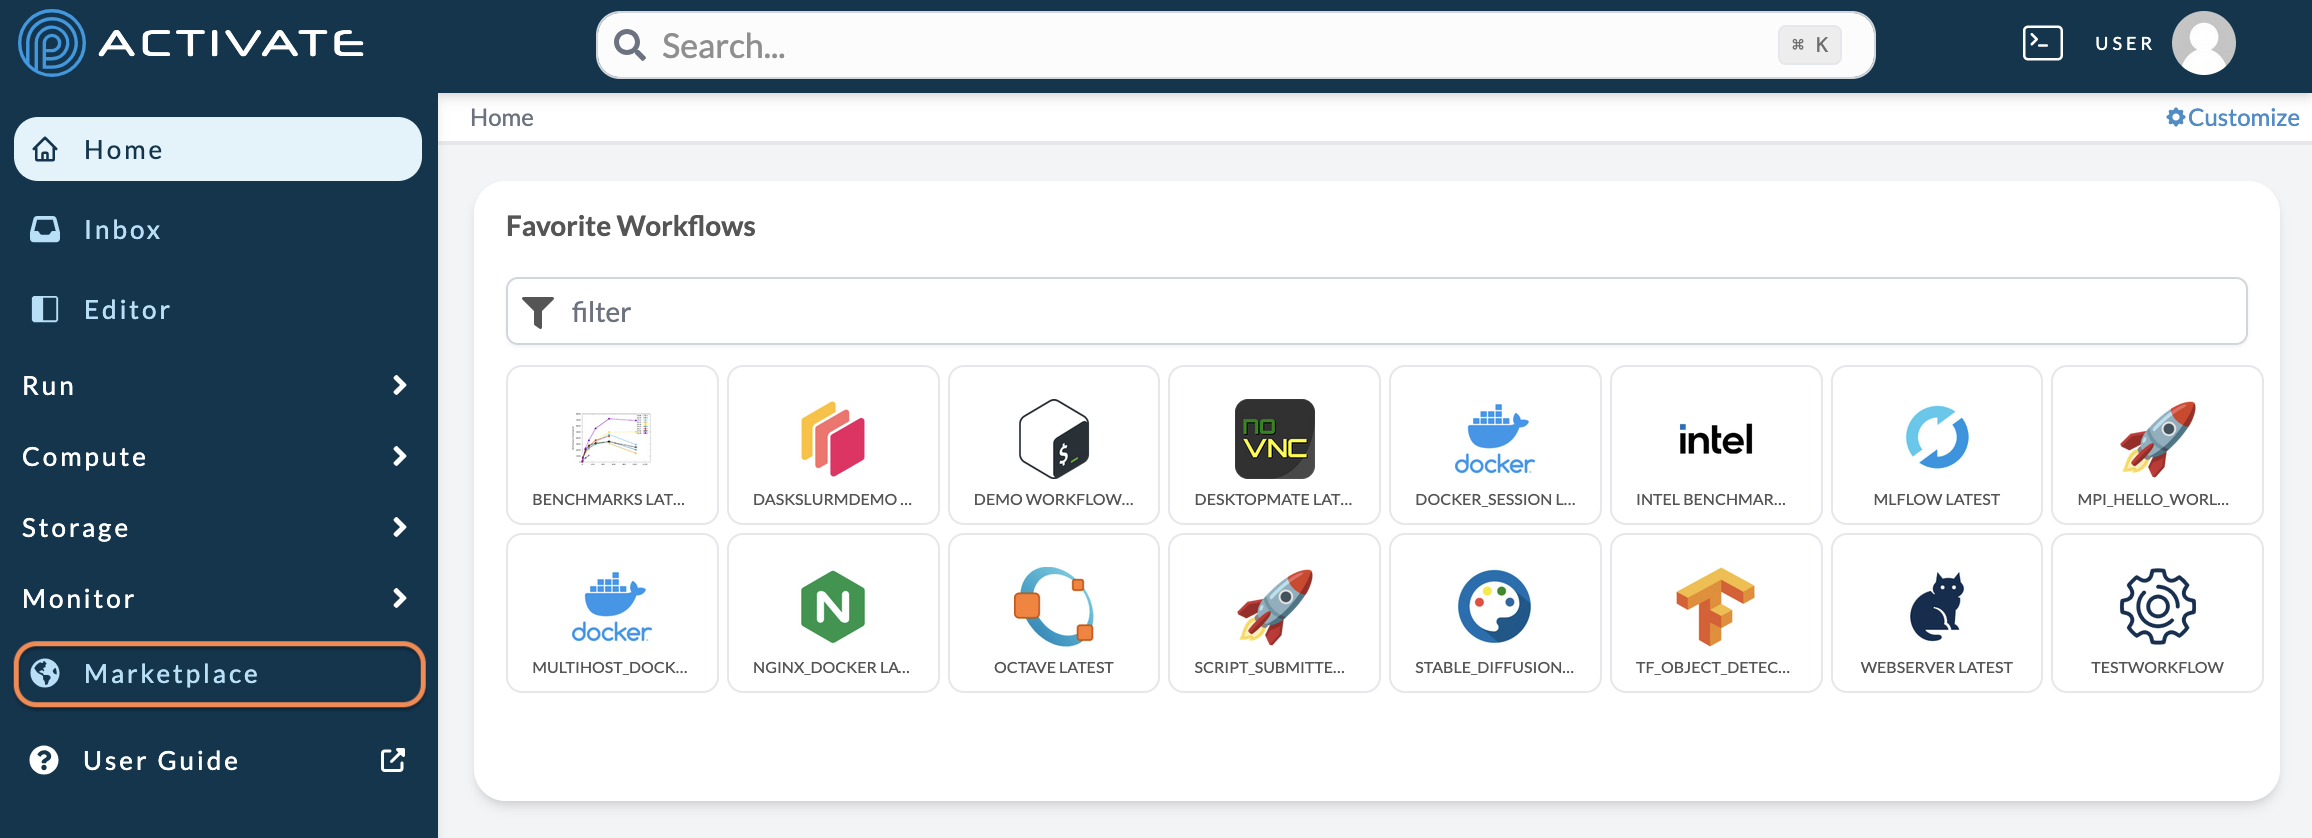
Provision a Cluster
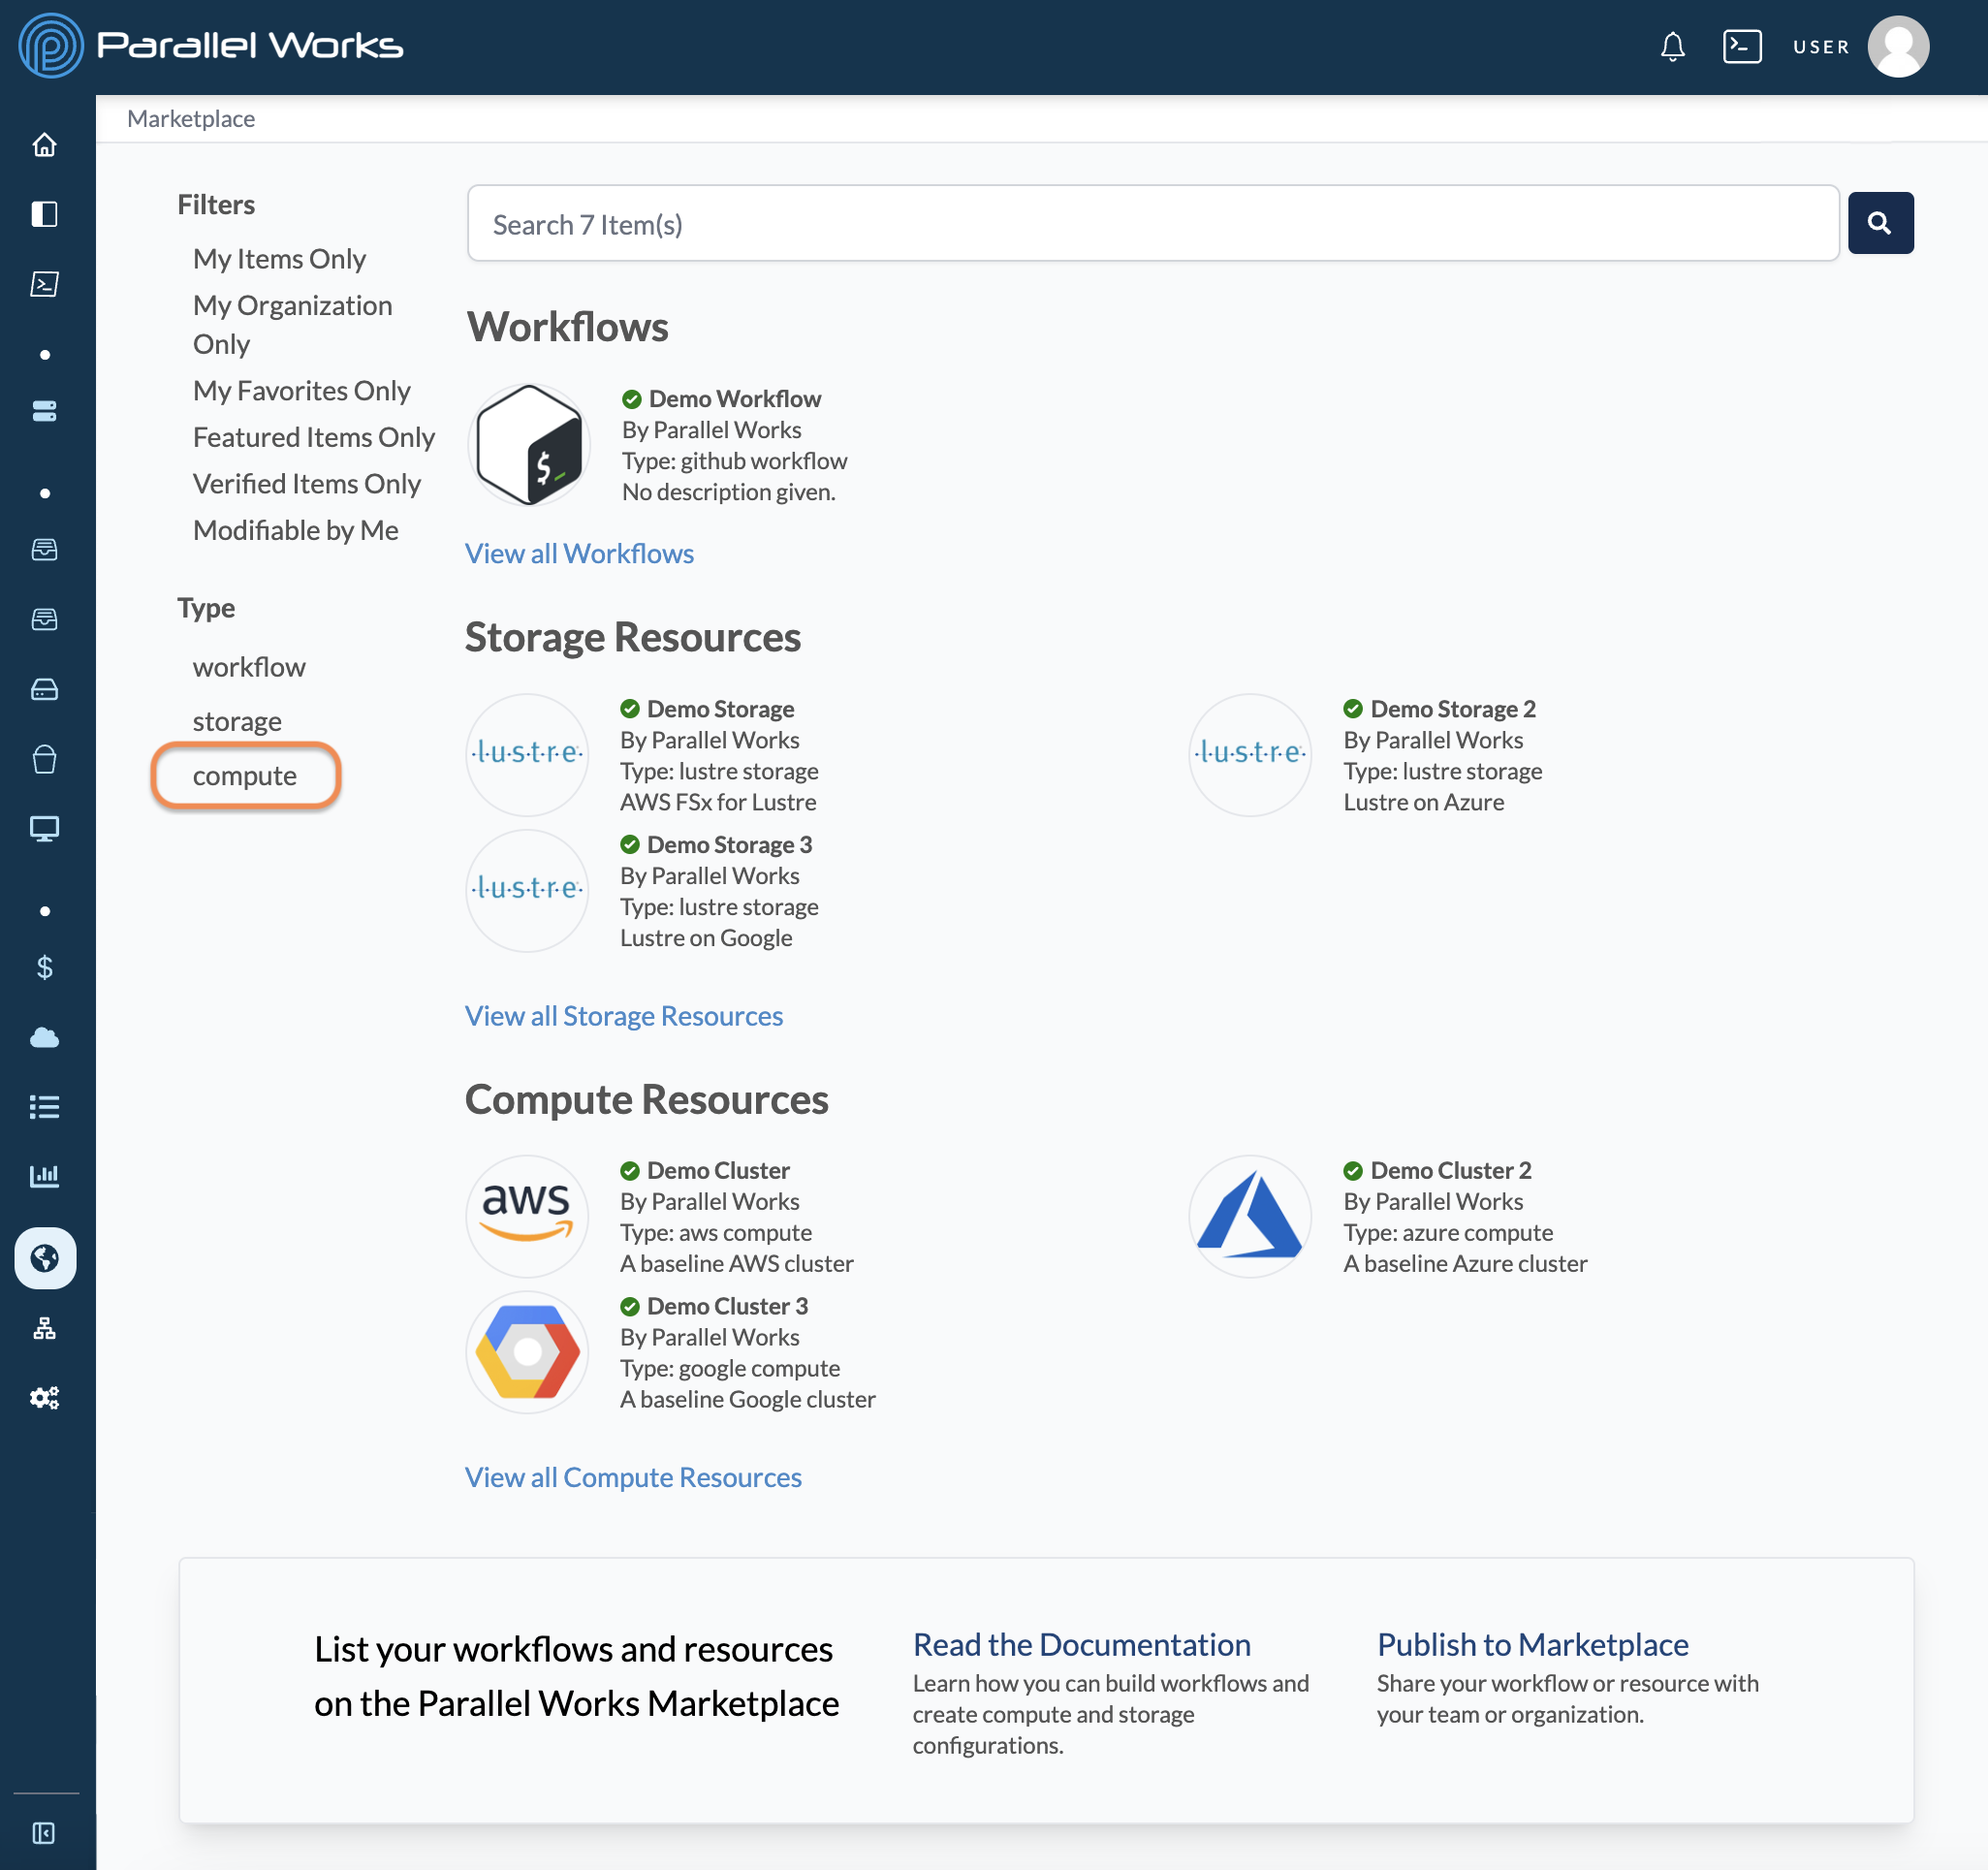
Navigate to the Marketplace.
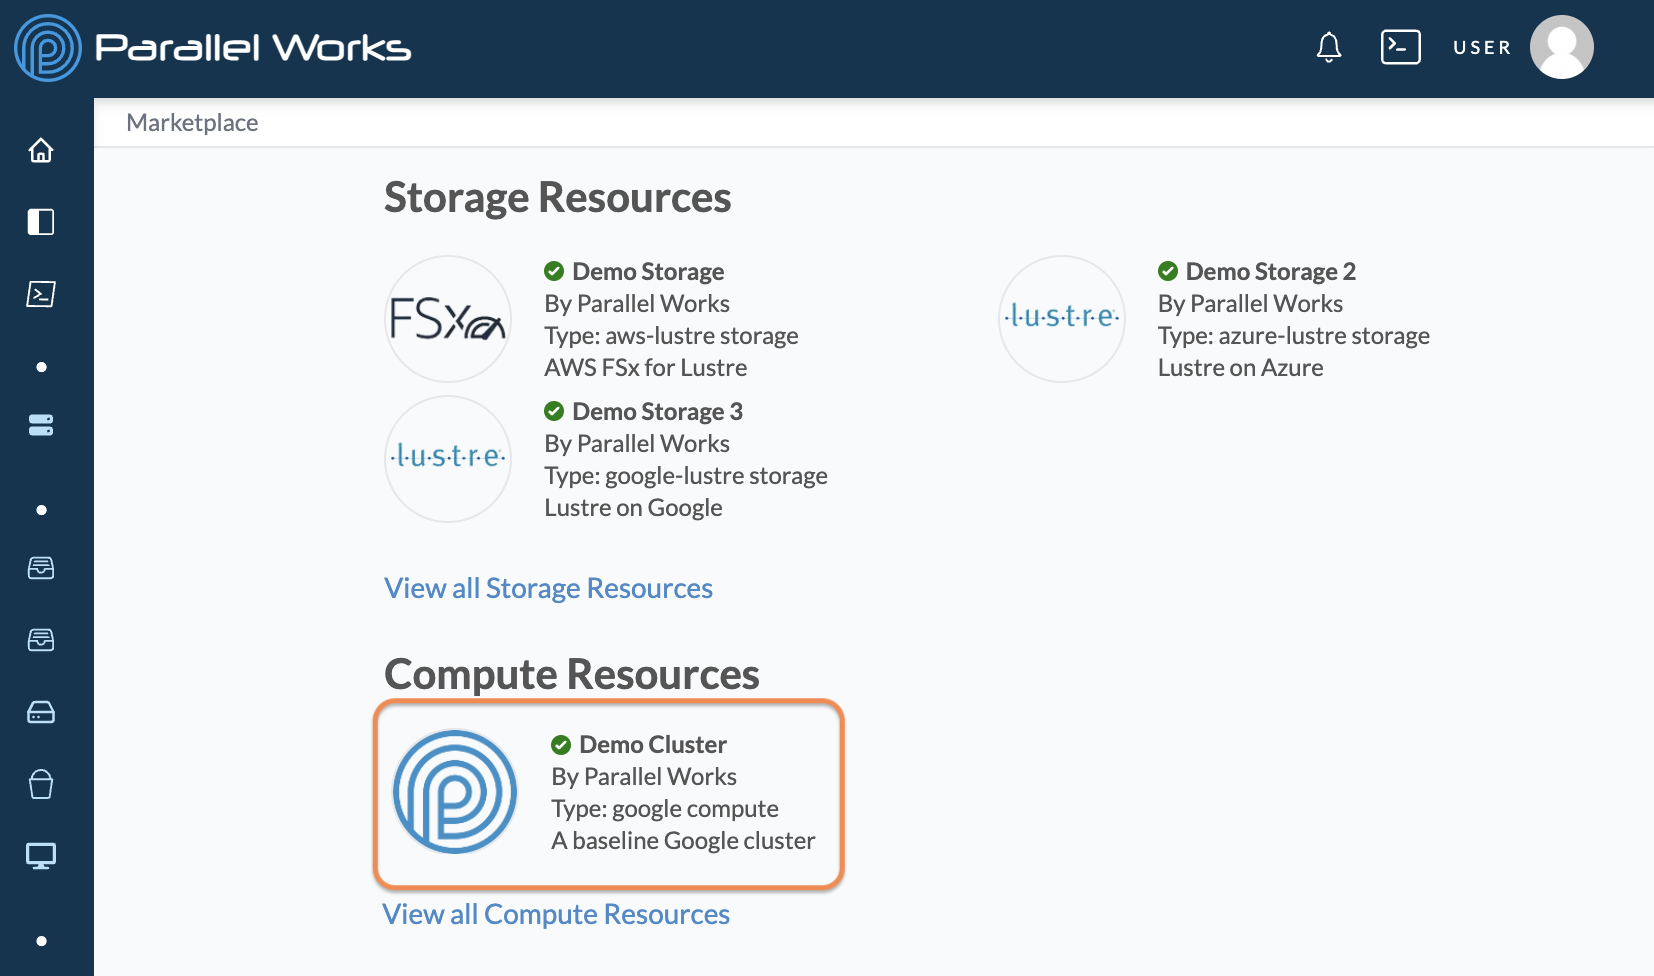
Select Compute to see pre-configured clusters.
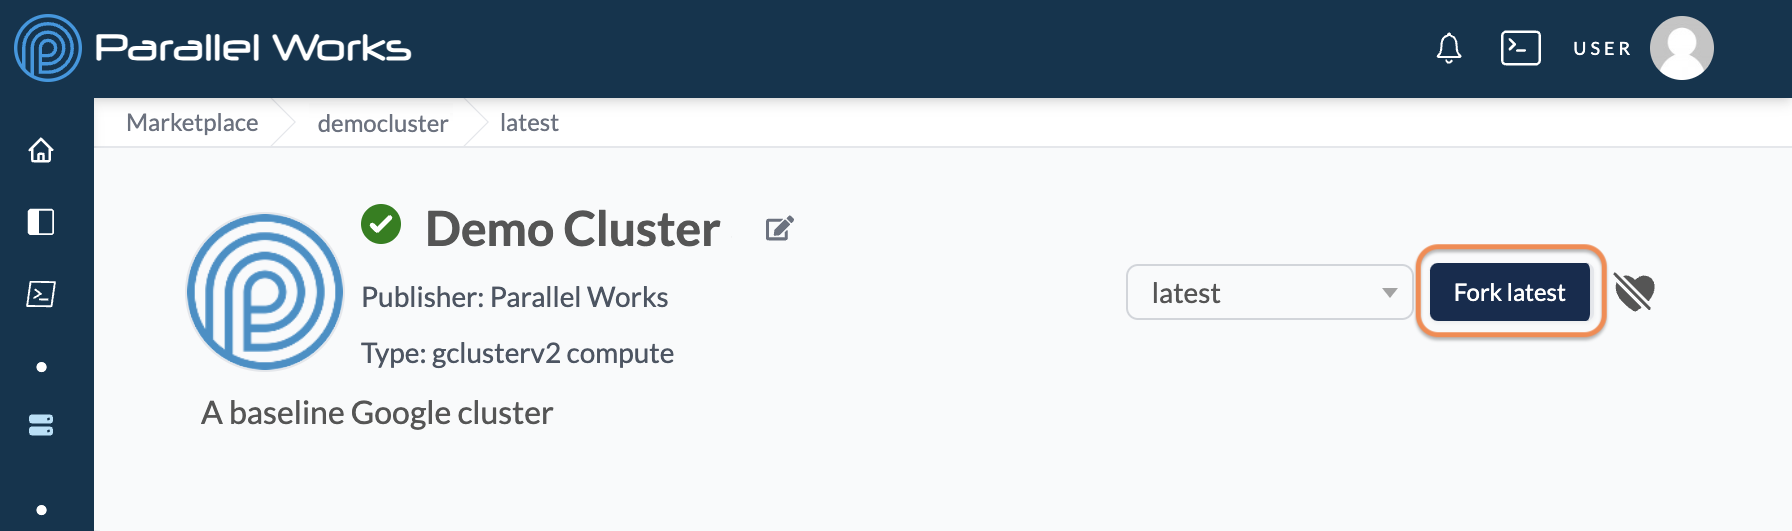
Select the cluster that best suits your needs.
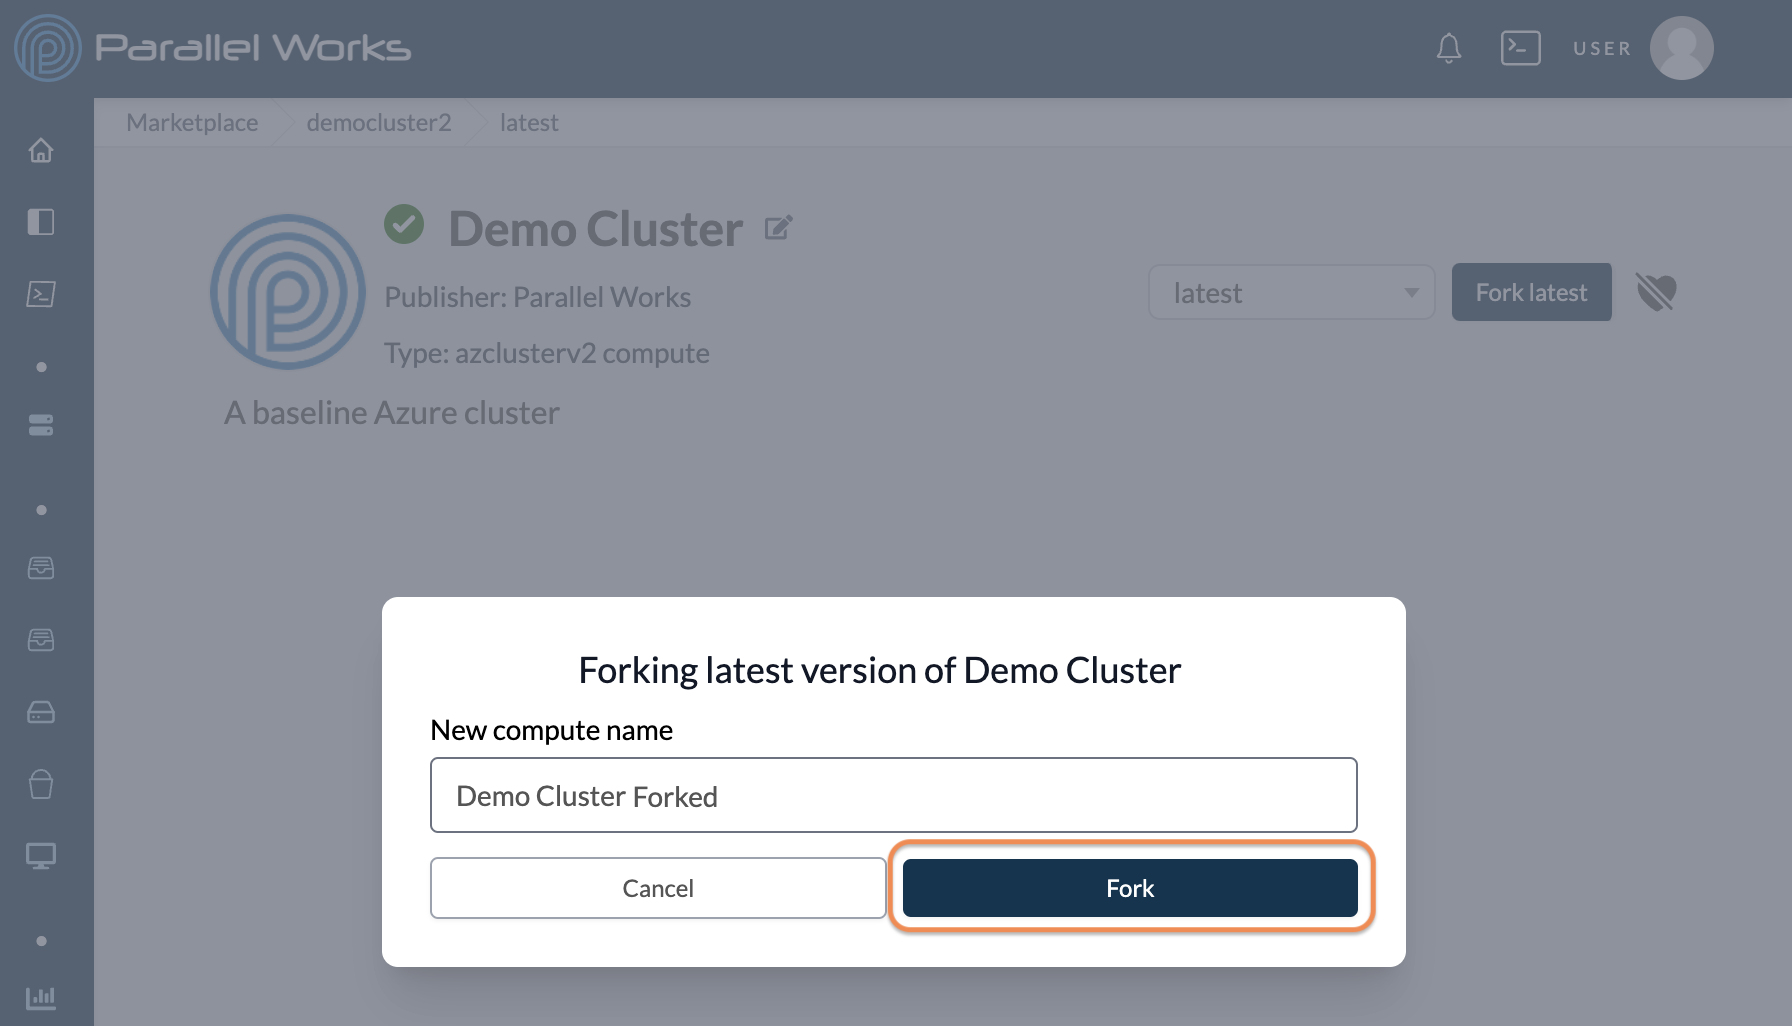
Click Fork latest.
Enter a name for your cluster under the New Compute Name option and click Fork.
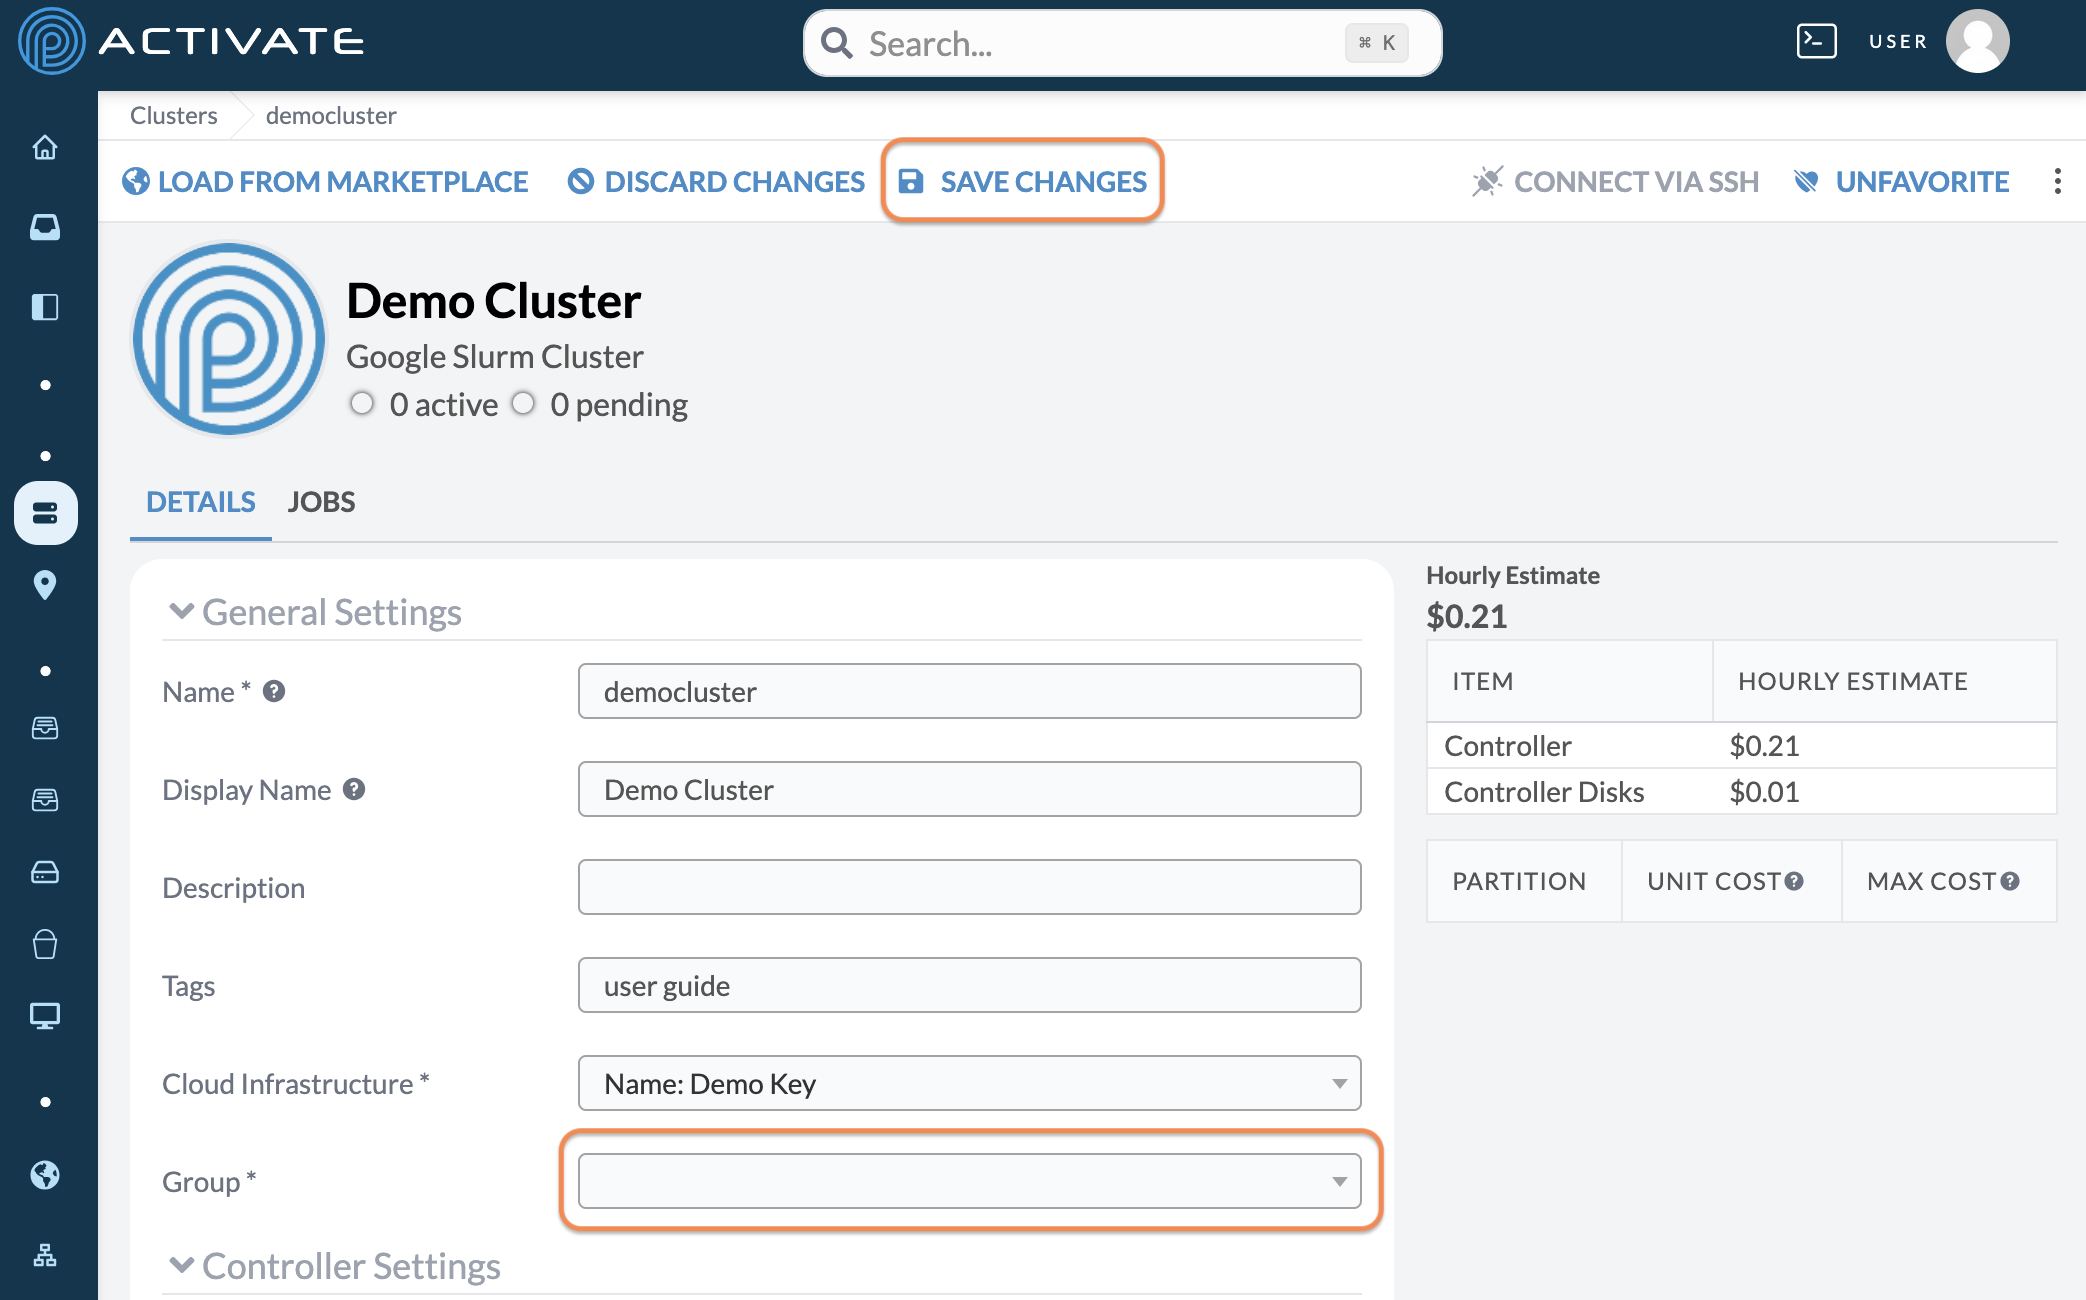
Use the Group dropdown menu to select the group that your organization uses to allocate costs. The remaining cluster settings have already been configured. Click Save Changes.
Attach a Bucket
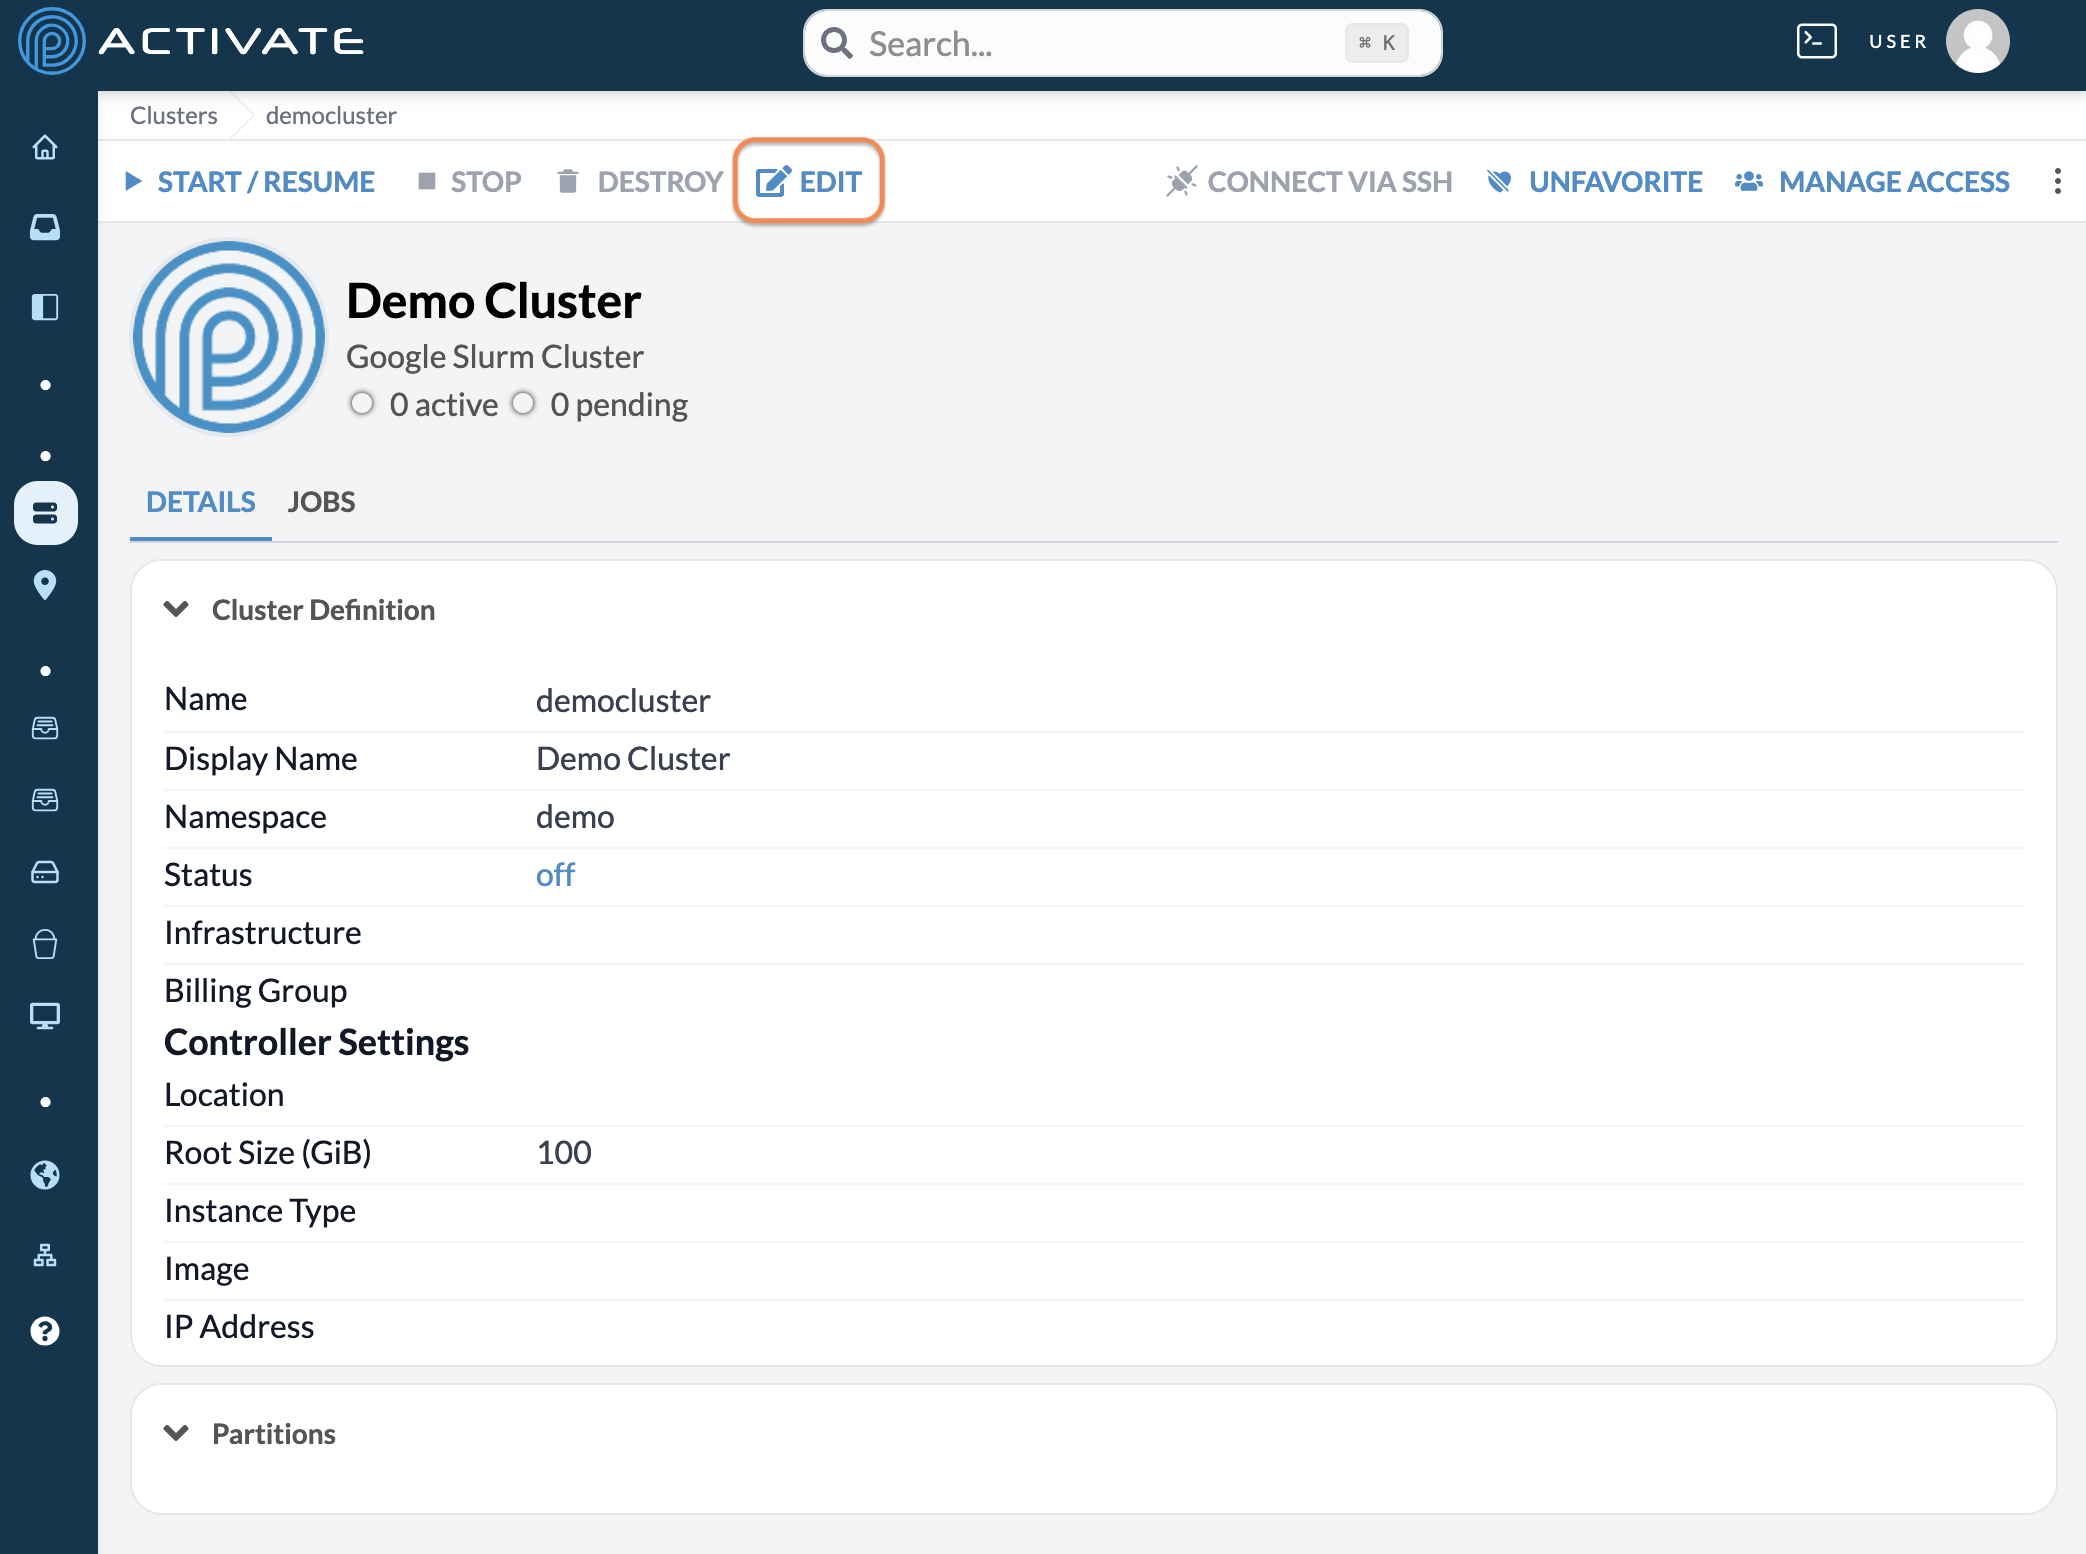
Click Edit on your cluster's page.
At the bottom of the page, click +Add Attached Filesystems.
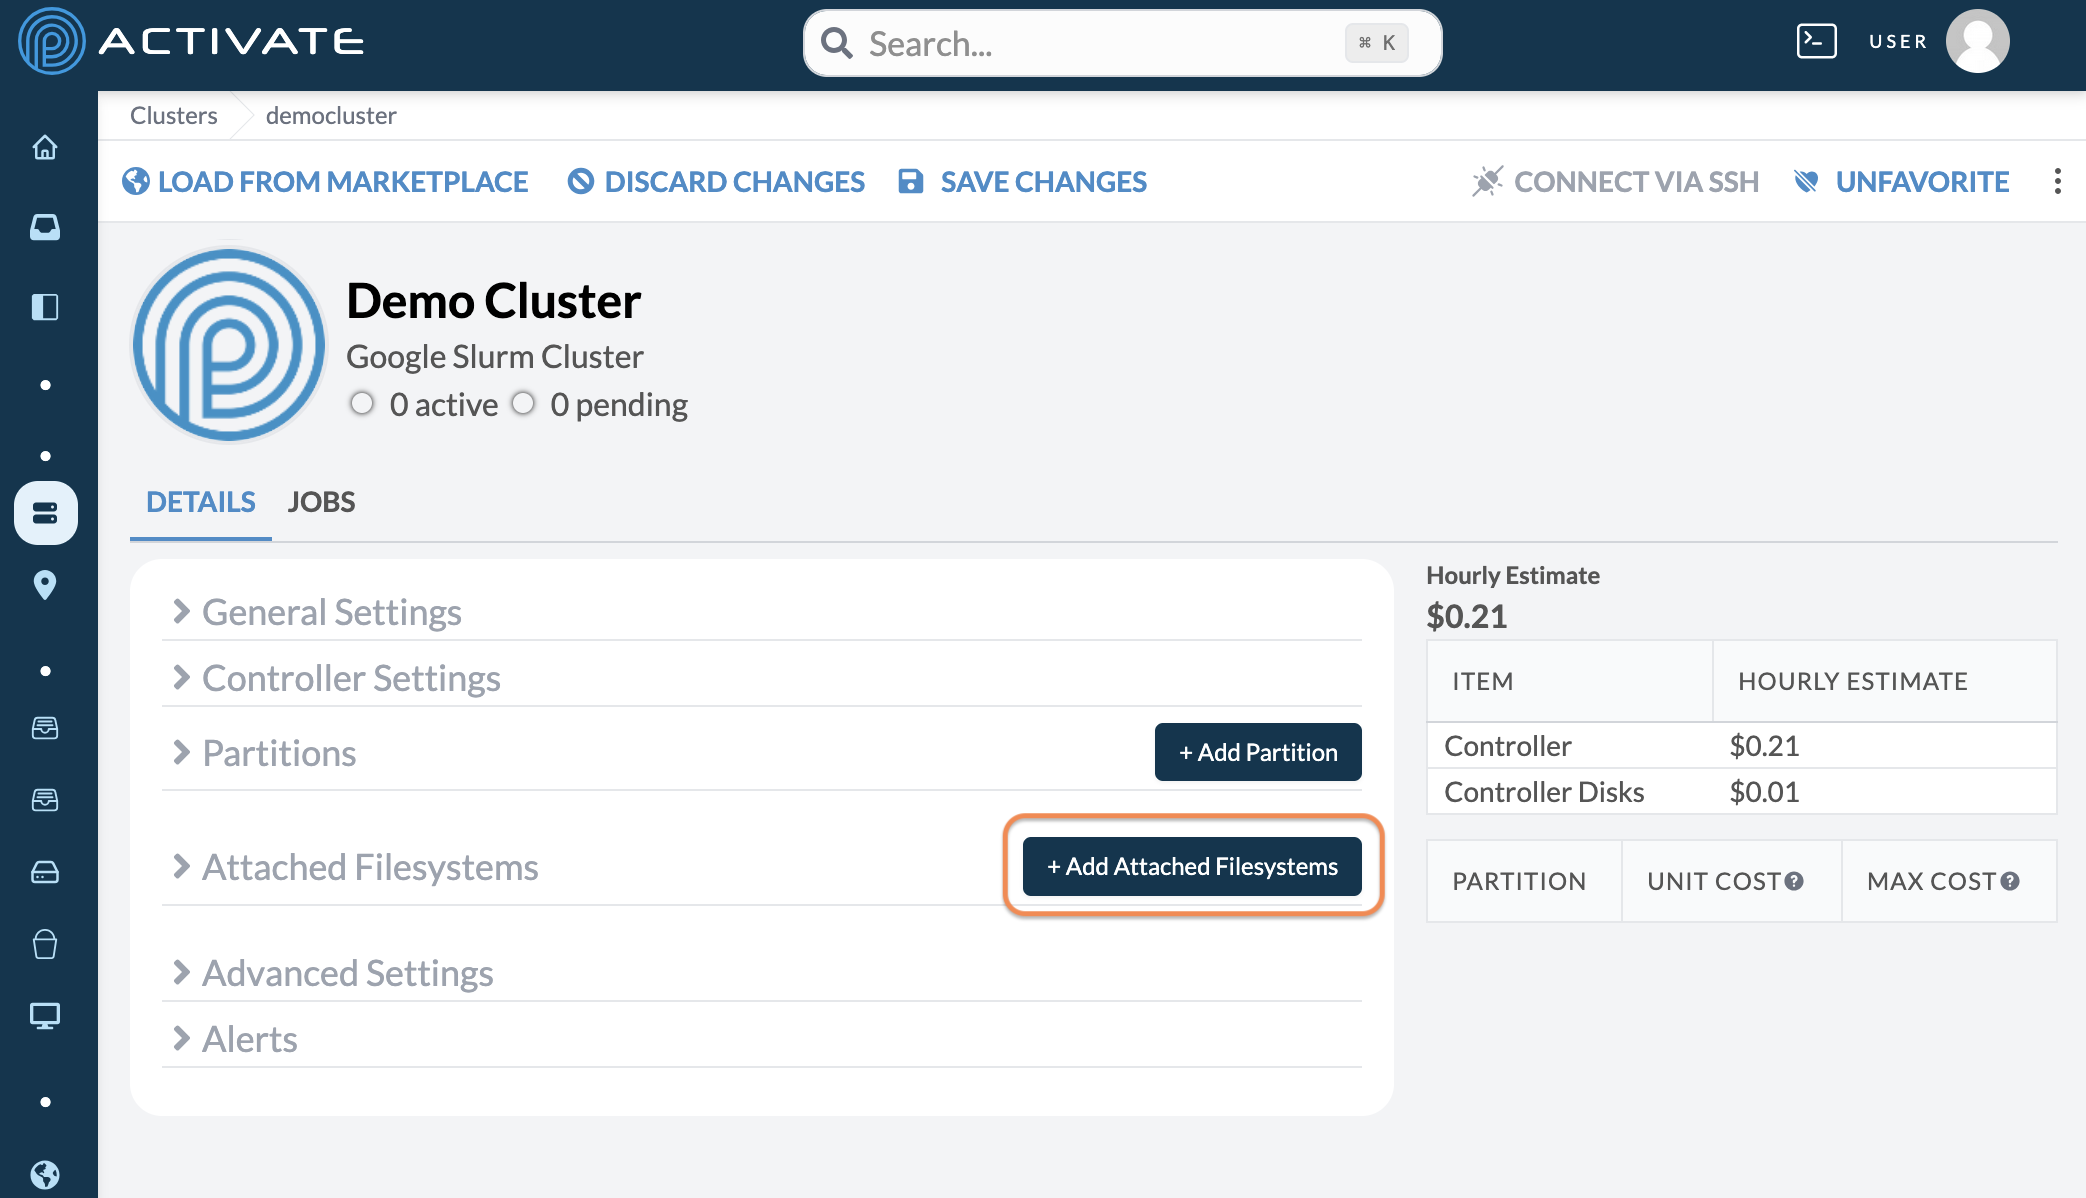
Select the bucket you want to use from the Storage dropdown menu. Enter /bucket in the Mount Point option. Click Save Changes.

Start the Cluster
Start the cluster by clicking Start/Resume.
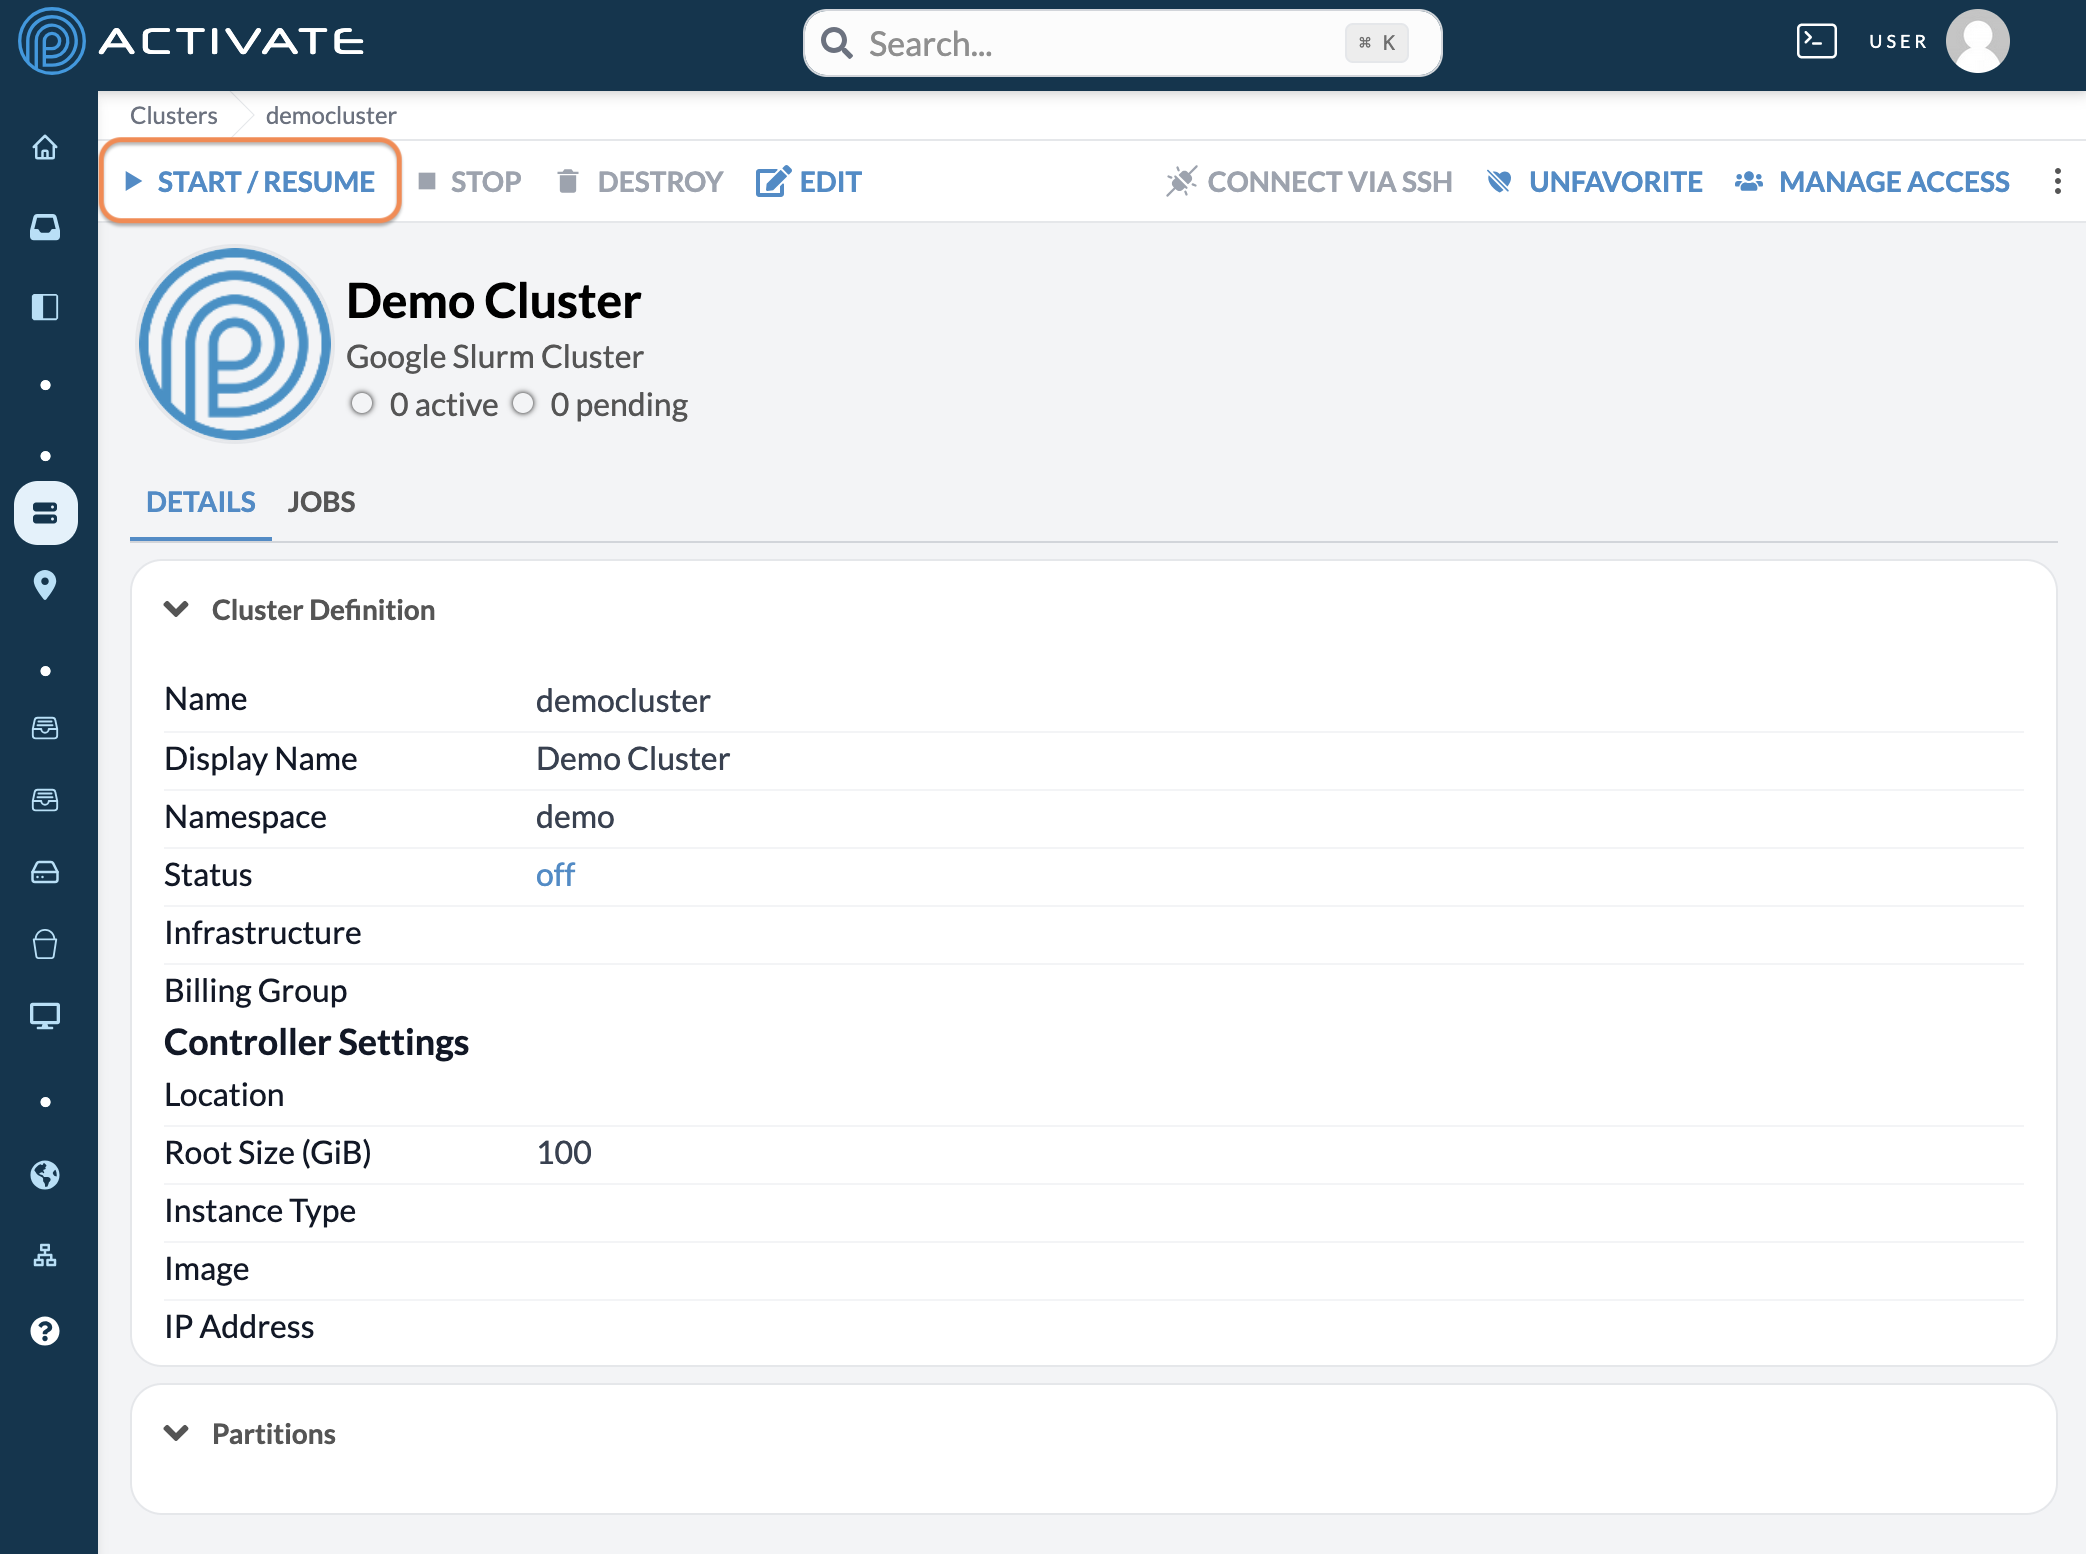
You'll see the message Starting [Cluster Name]. While the cluster starts, the Status will show provisioning with a yellow bubble.
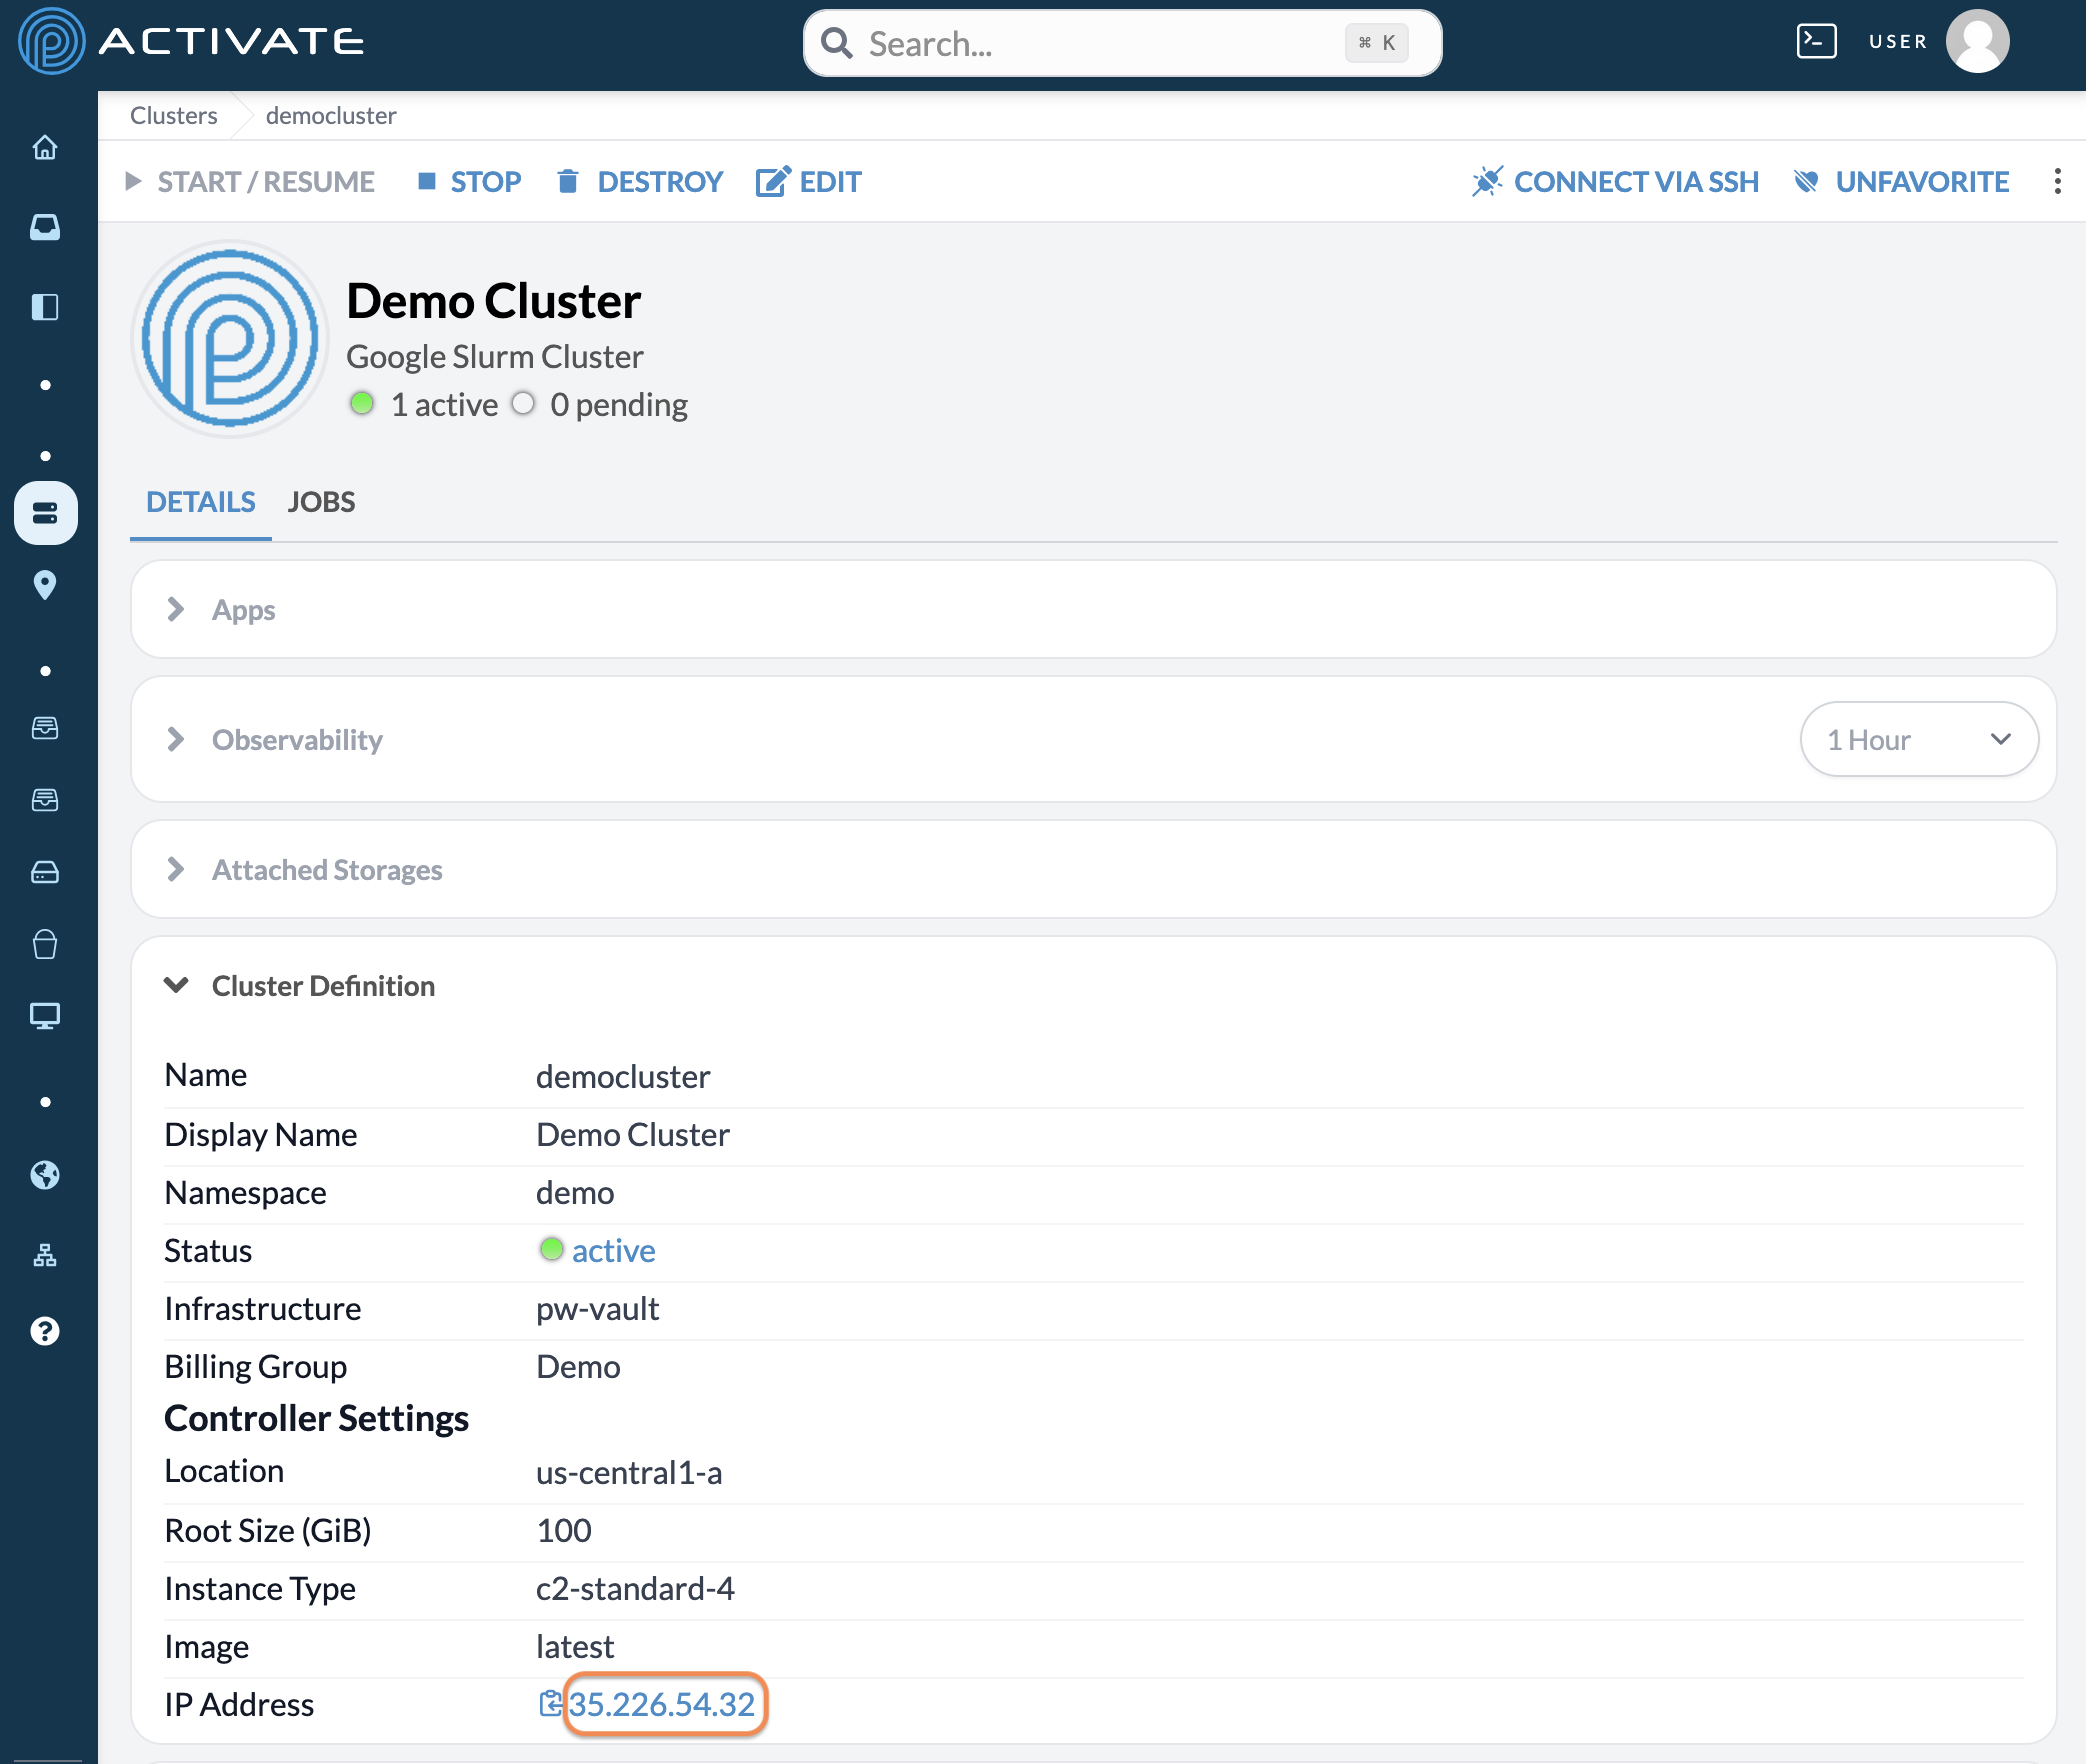
When your cluster is online, both the Status will show active with a green bubble.

Log In to the Cluster
Clusters use one node, called a controller, to delegate tasks to compute nodes. You'll need to log in to the controller to interact with the cluster.
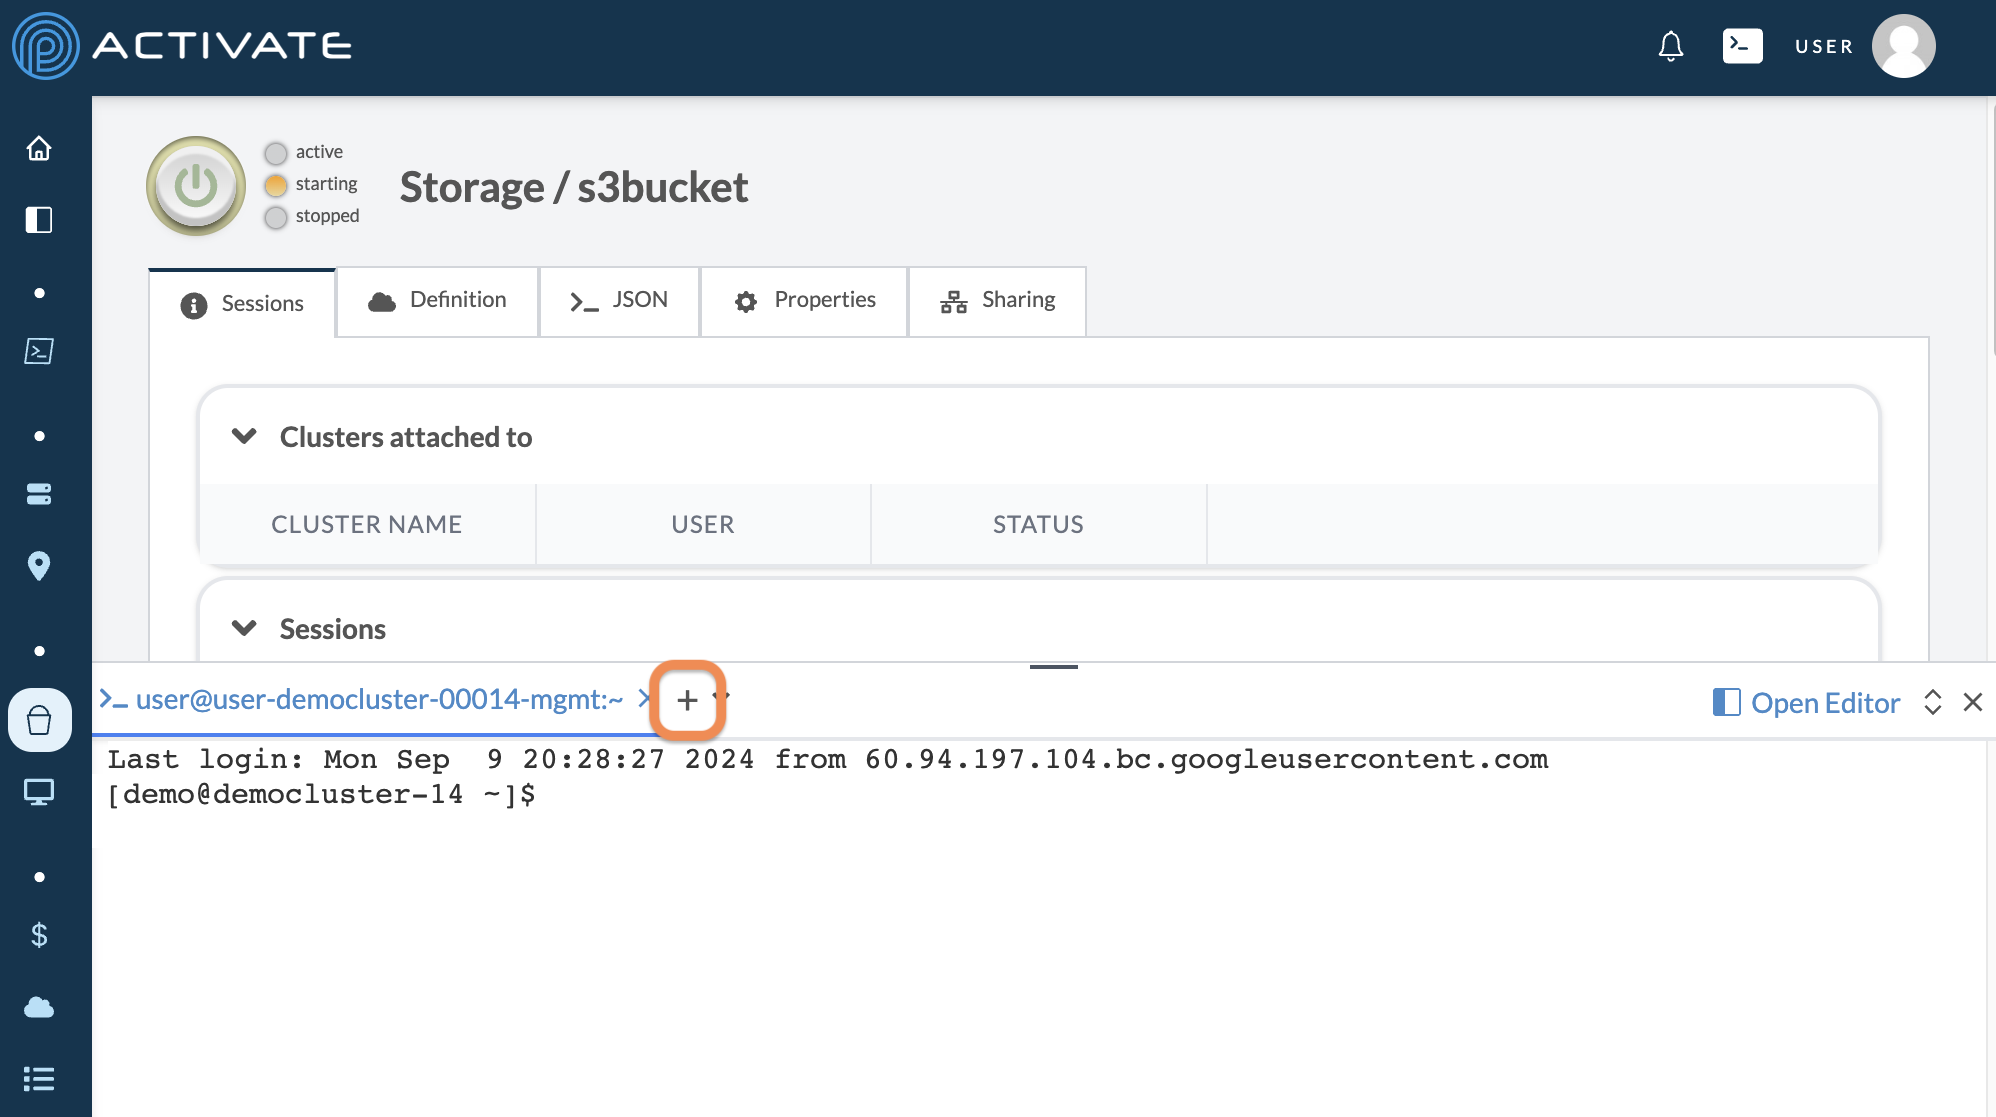
While on your cluster's page, click its IP Address.
A terminal will pop up on the bottom of the screen, showing the following message:
Warning: Permanently added '34.60.48.100' (ED25519) to the list of known hosts.
[username@cluster-name-01 ~]$
Create a File
Next, you'll create a file inside your user container, then transfer it to your bucket. The instructions in the following sections follow this MPI tutorial.
In the terminal, click the plus icon to open another tab.
In the new terminal tab, create a file with this code:
cat << EOF >> hello-world.c
#include <mpi.h>
#include <stdio.h>

int main(int argc, char** argv) {
    // Initialize the MPI environment
    MPI_Init(NULL, NULL);

    // Get the number of processes
    int world_size;
    MPI_Comm_size(MPI_COMM_WORLD, &world_size);

    // Get the rank of the process
    int world_rank;
    MPI_Comm_rank(MPI_COMM_WORLD, &world_rank);

    // Get the name of the processor
    char processor_name[MPI_MAX_PROCESSOR_NAME];
    int name_len;
    MPI_Get_processor_name(processor_name, &name_len);

    // Print off a hello world message
    printf("Hello world from processor %s, rank %d out of %d processors\n",
           processor_name, world_rank, world_size);

    // Finalize the MPI environment.
    MPI_Finalize();
}
EOF
Press Enter.
Retrieve Bucket Credentials
All buckets use short-term credentials, making it easy to transfer data between a bucket and other resources. You'll need those credentials to manage access to the bucket.
Navigate to your bucket's page. Click Credentials.
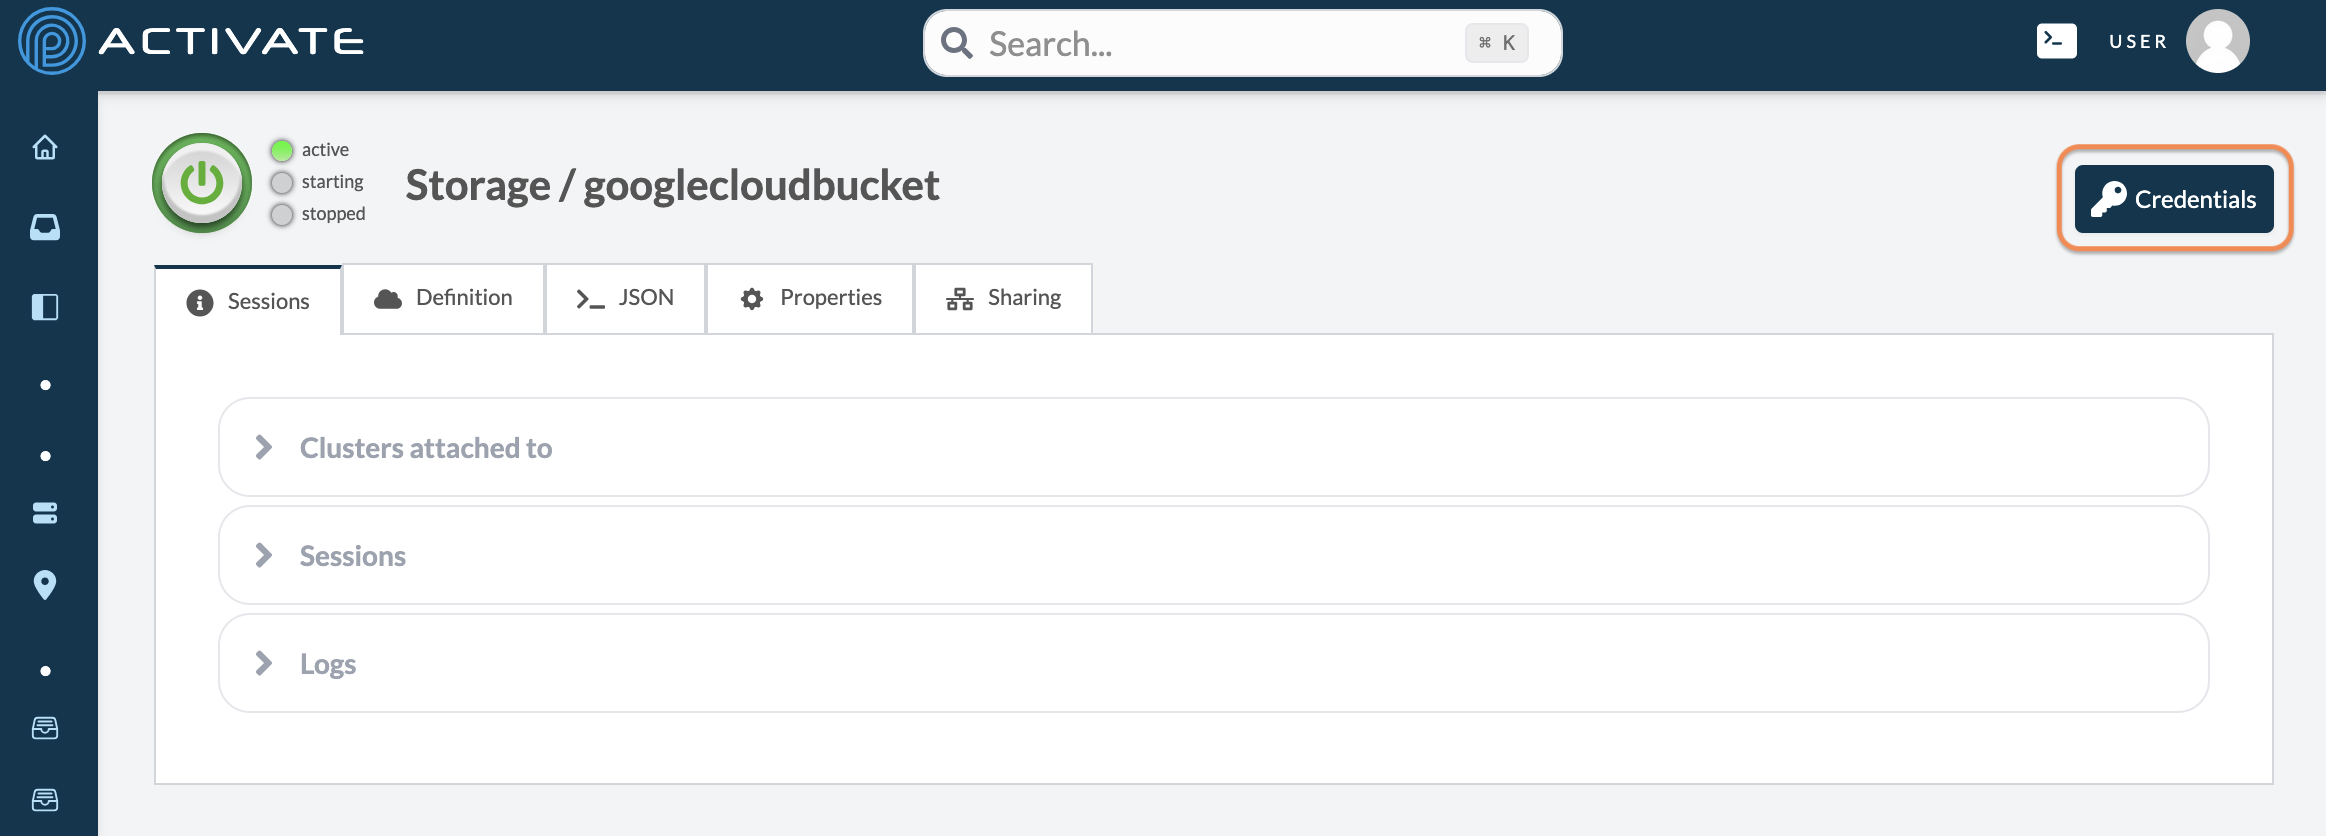
A dialog box will appear with CSP-specific commands for your bucket.
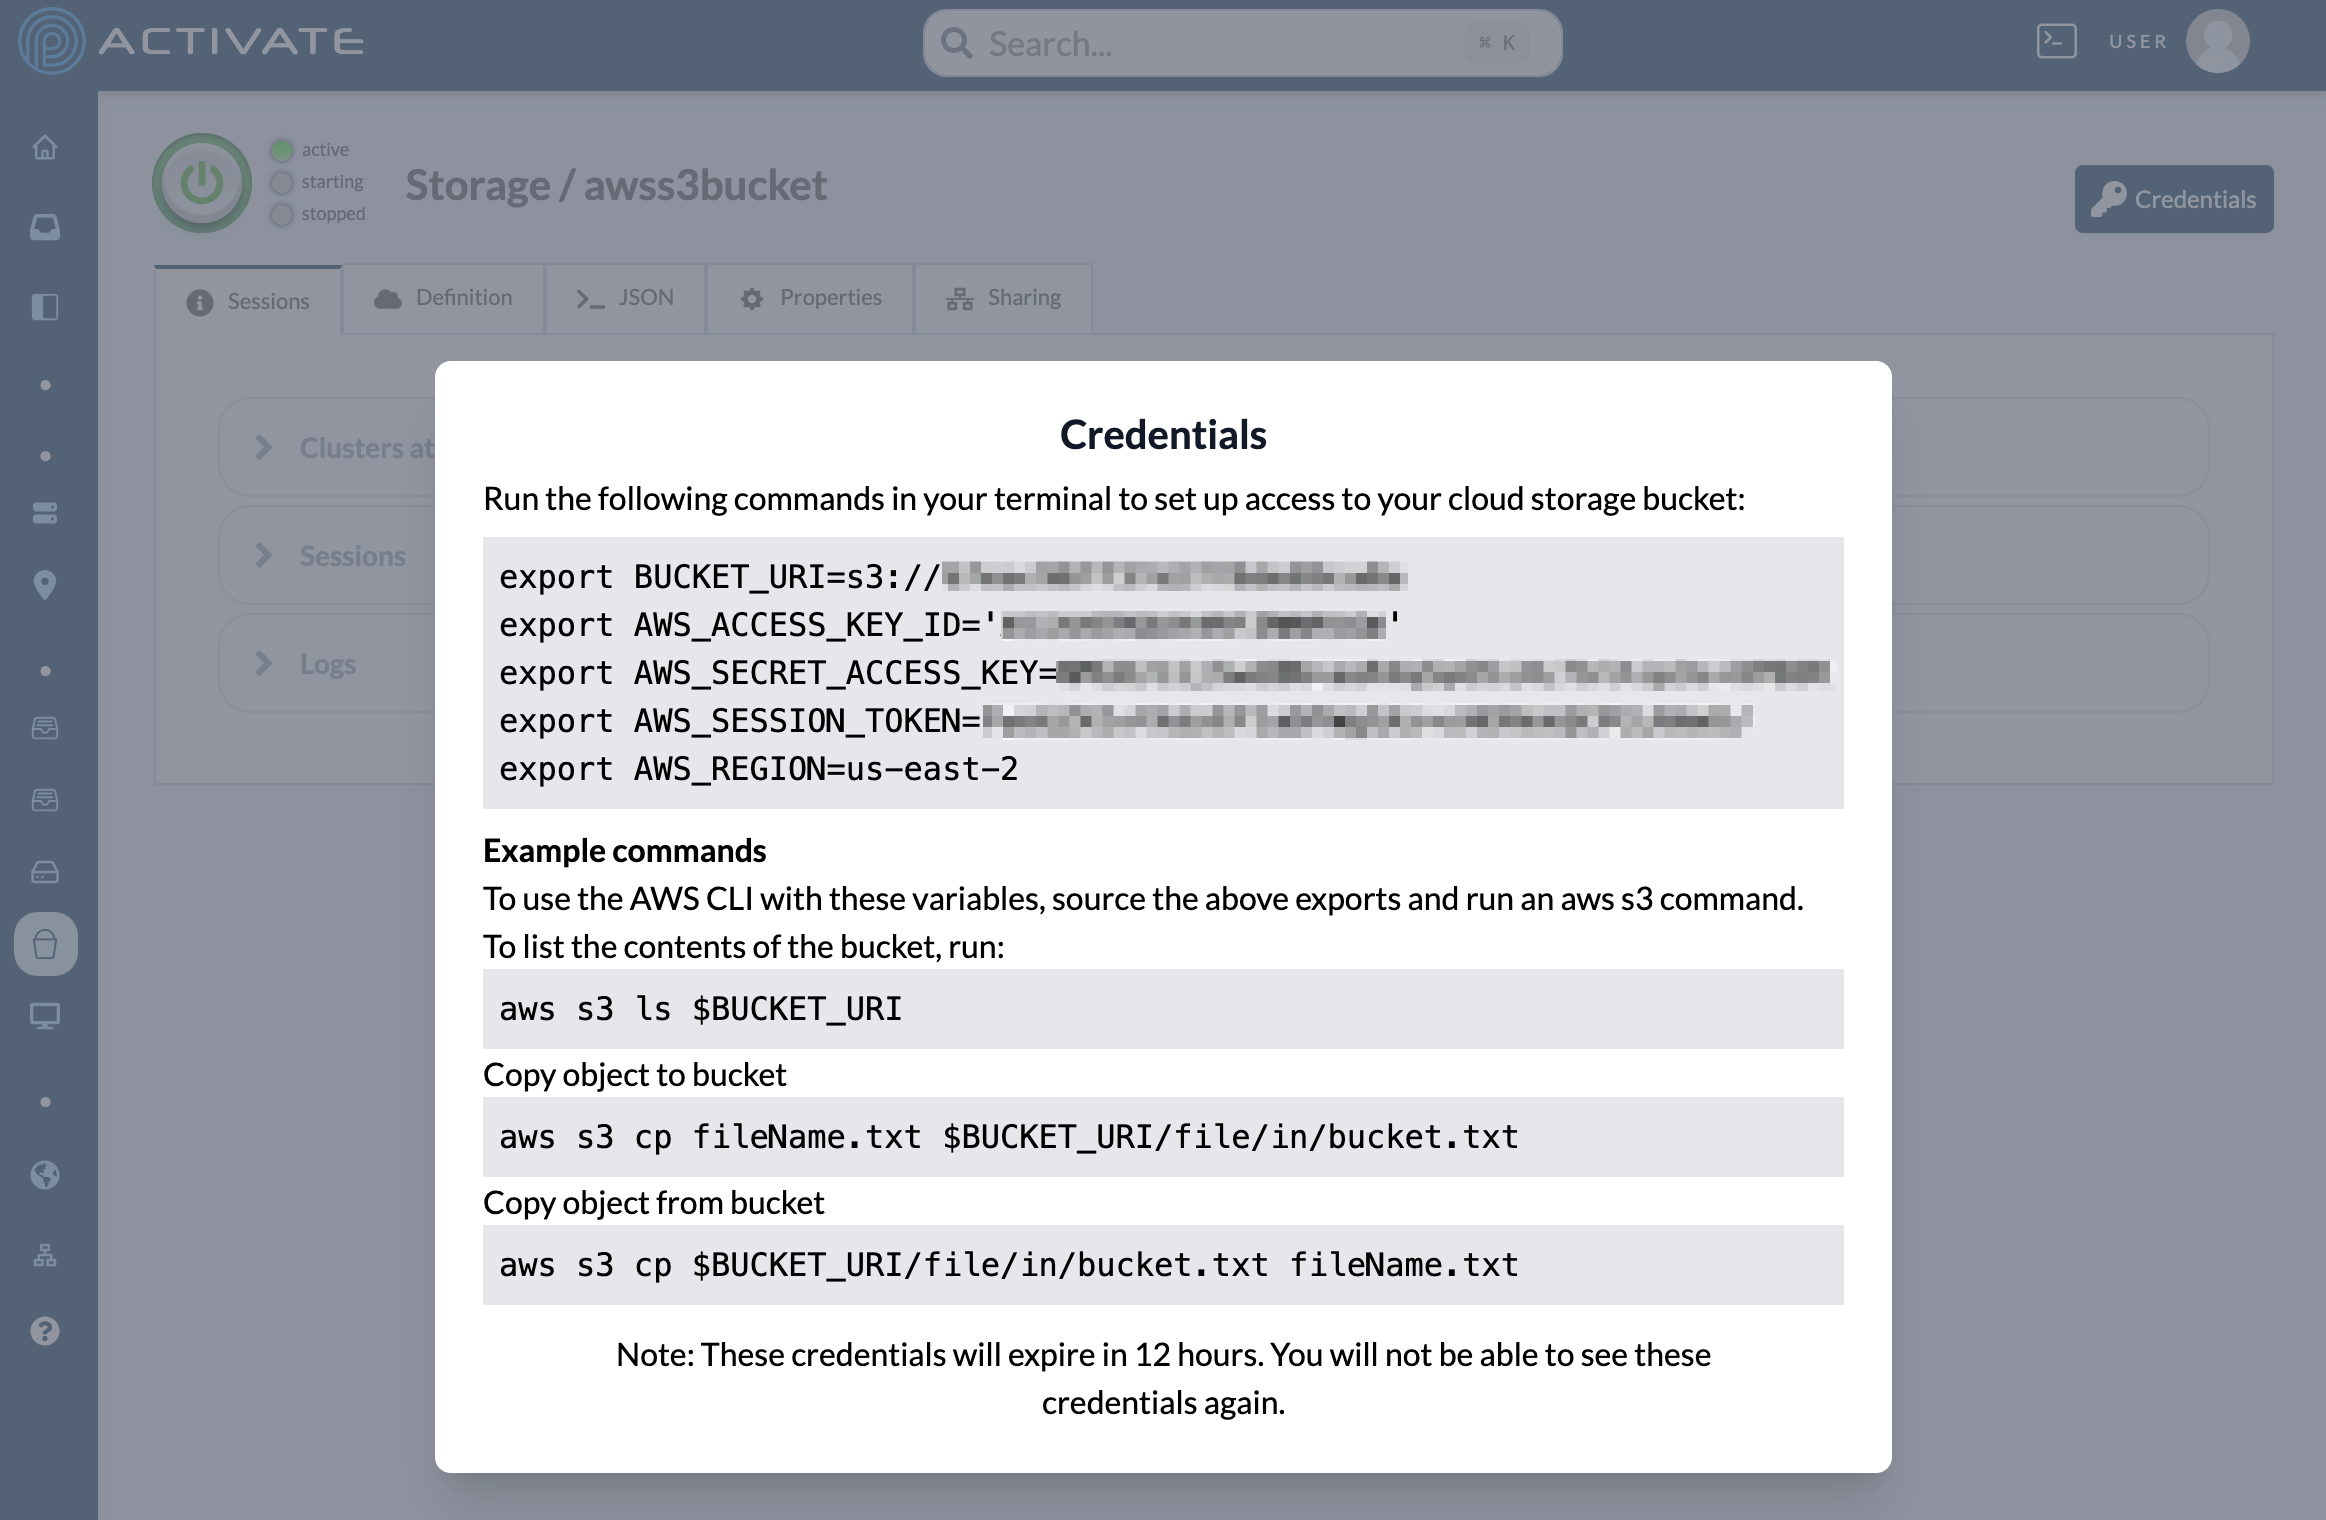
Copy and paste the first command into the same terminal tab where you created the file above. Press Enter.
Upload File to Bucket
Next, you'll use the PW CLI to transfer the file you created above.
In the same terminal tab, enter this commmand to copy hello-world.c to your bucket:
pw buckets cp hello-world.c $BUCKET_URI/hello-world.c
Use the list command pw buckets ls to check that your file transferred:
username@pw-user-username:~/pw$ pw buckets ls pw://username/bucketname
pw://username/bucketname/hello-world.c
username@pw-user-username:~/pw$
Authenticate the PW CLI
Before you transfer the file from the bucket to your cluster, you'll need to authenticate the PW CLI on the cluster.
First, create a short-term token on ACTIVATE. You can follow our instructions here. Copy the token.
Log in to the cluster again (this step above).
Enter pw auth and paste your token. Press Enter. You'll see the following message:
2025-03-31T16:23:19Z [INFO] Authenticated as username
[username@usernamecluster-3 ~]$
Download File to Cluster
Copy and paste your bucket's credentials again (this step above).
Copy and paste the exact command below. The value for BUCKET_URI will be auto-populated with your bucket's URI.
pw buckets cp $BUCKET_URI/hello-world.c hello-world.cCompile and Run MPI Test
Enter this command:
export PATH=/usr/lib64/openmpi/bin:$PATHEnter this command:
mpicc -o hello hello-world.cNext, you'll create a test job using a script. Enter the following:
cat << EOF >> hello-world.sbatch
#!/bin/bash

#SBATCH -N 2
#SBATCH --ntasks-per-node=2

export PATH=/usr/lib64/openmpi/bin:$PATH

mpirun -np 2 -N 1 $HOME/hello
EOF
Press Enter.
Run the job with this command:
sbatch hello-world.sbatchMonitor Job
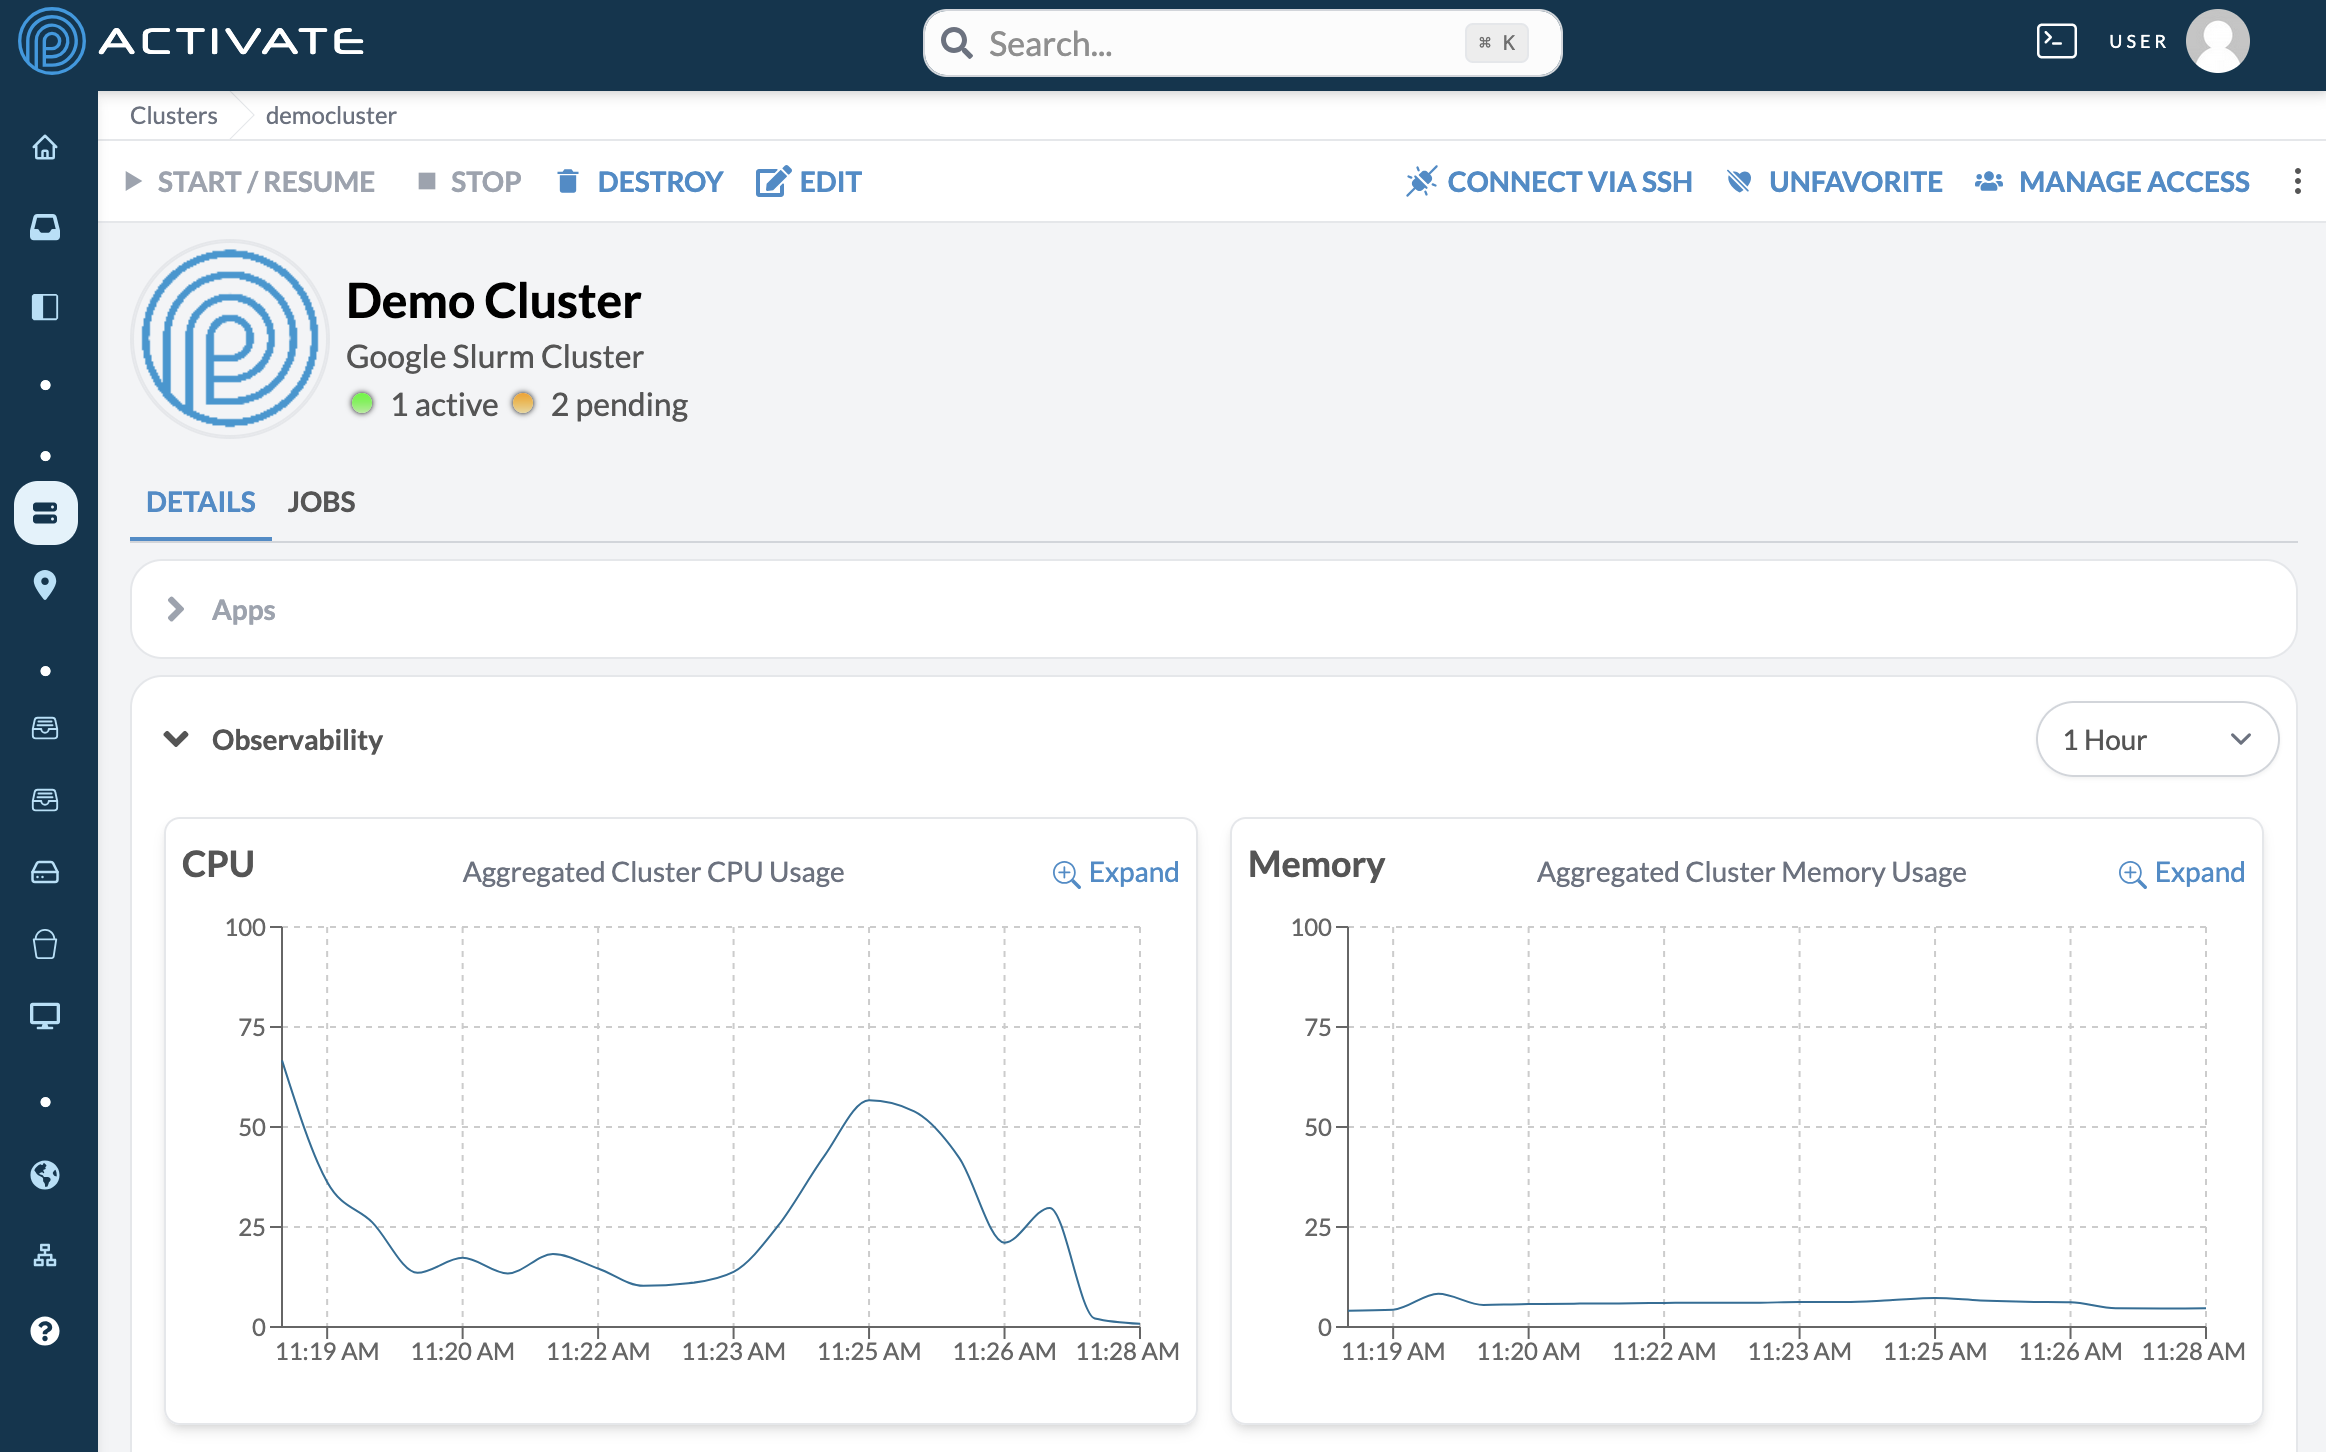
Go to your cluster's page. In the Observability module, you'll see your cluster's CPU activity change as it runs the job you just submitted.
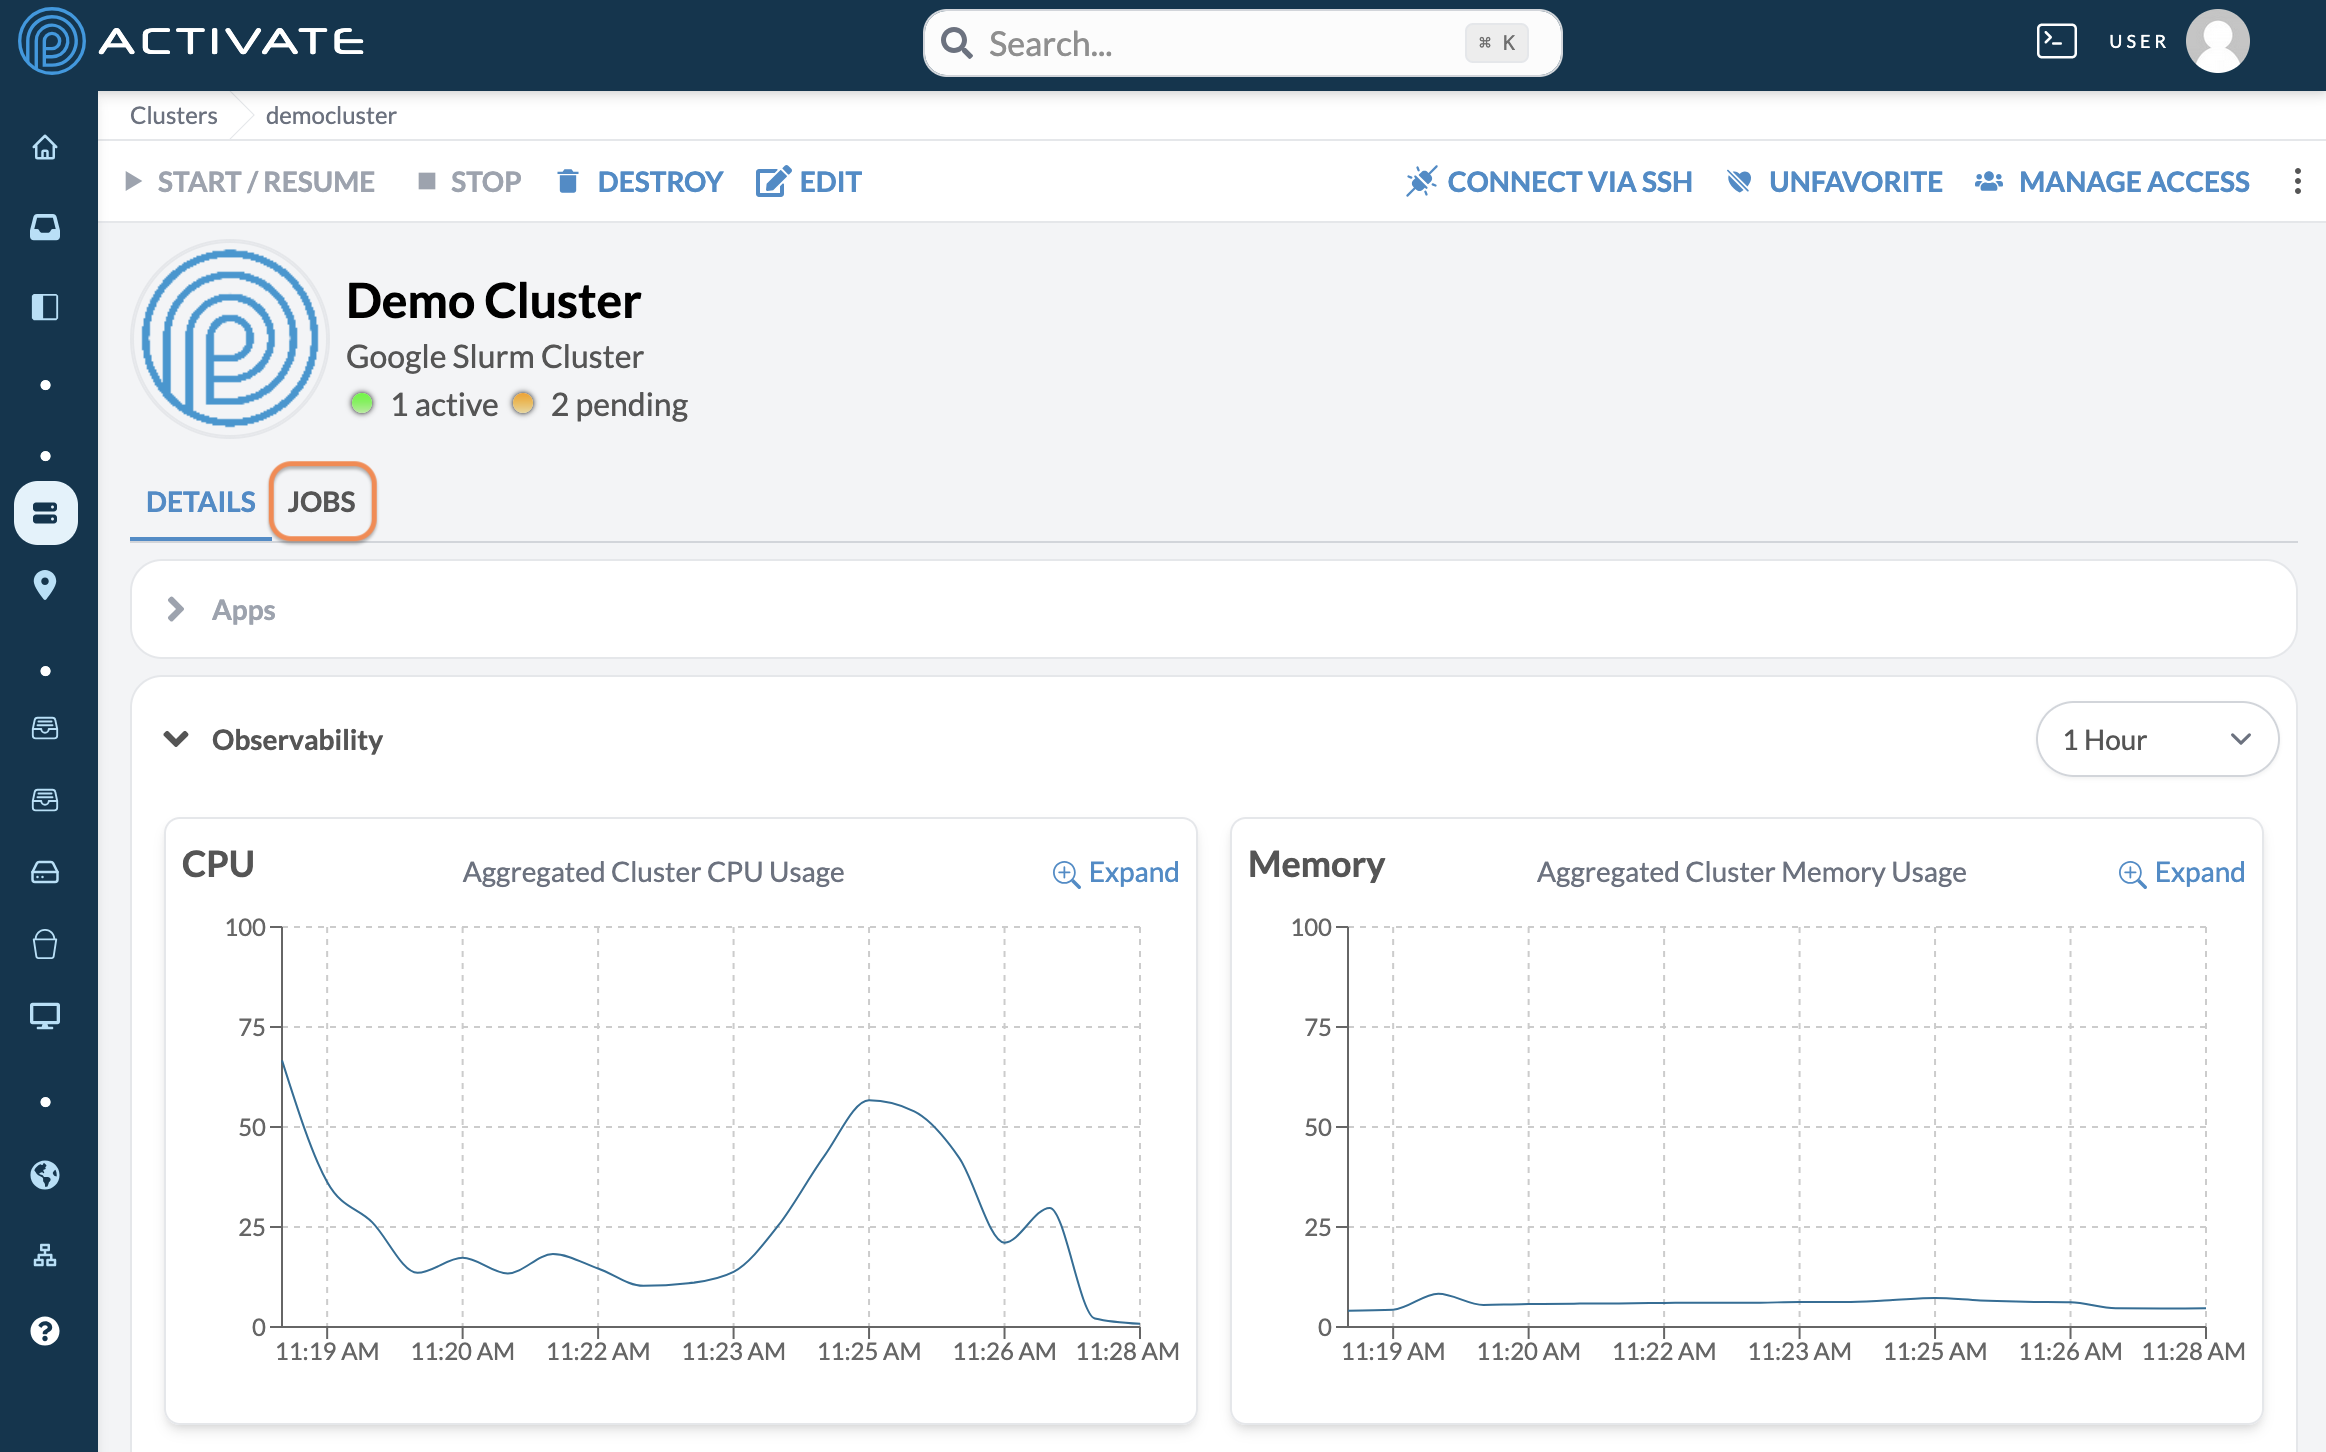
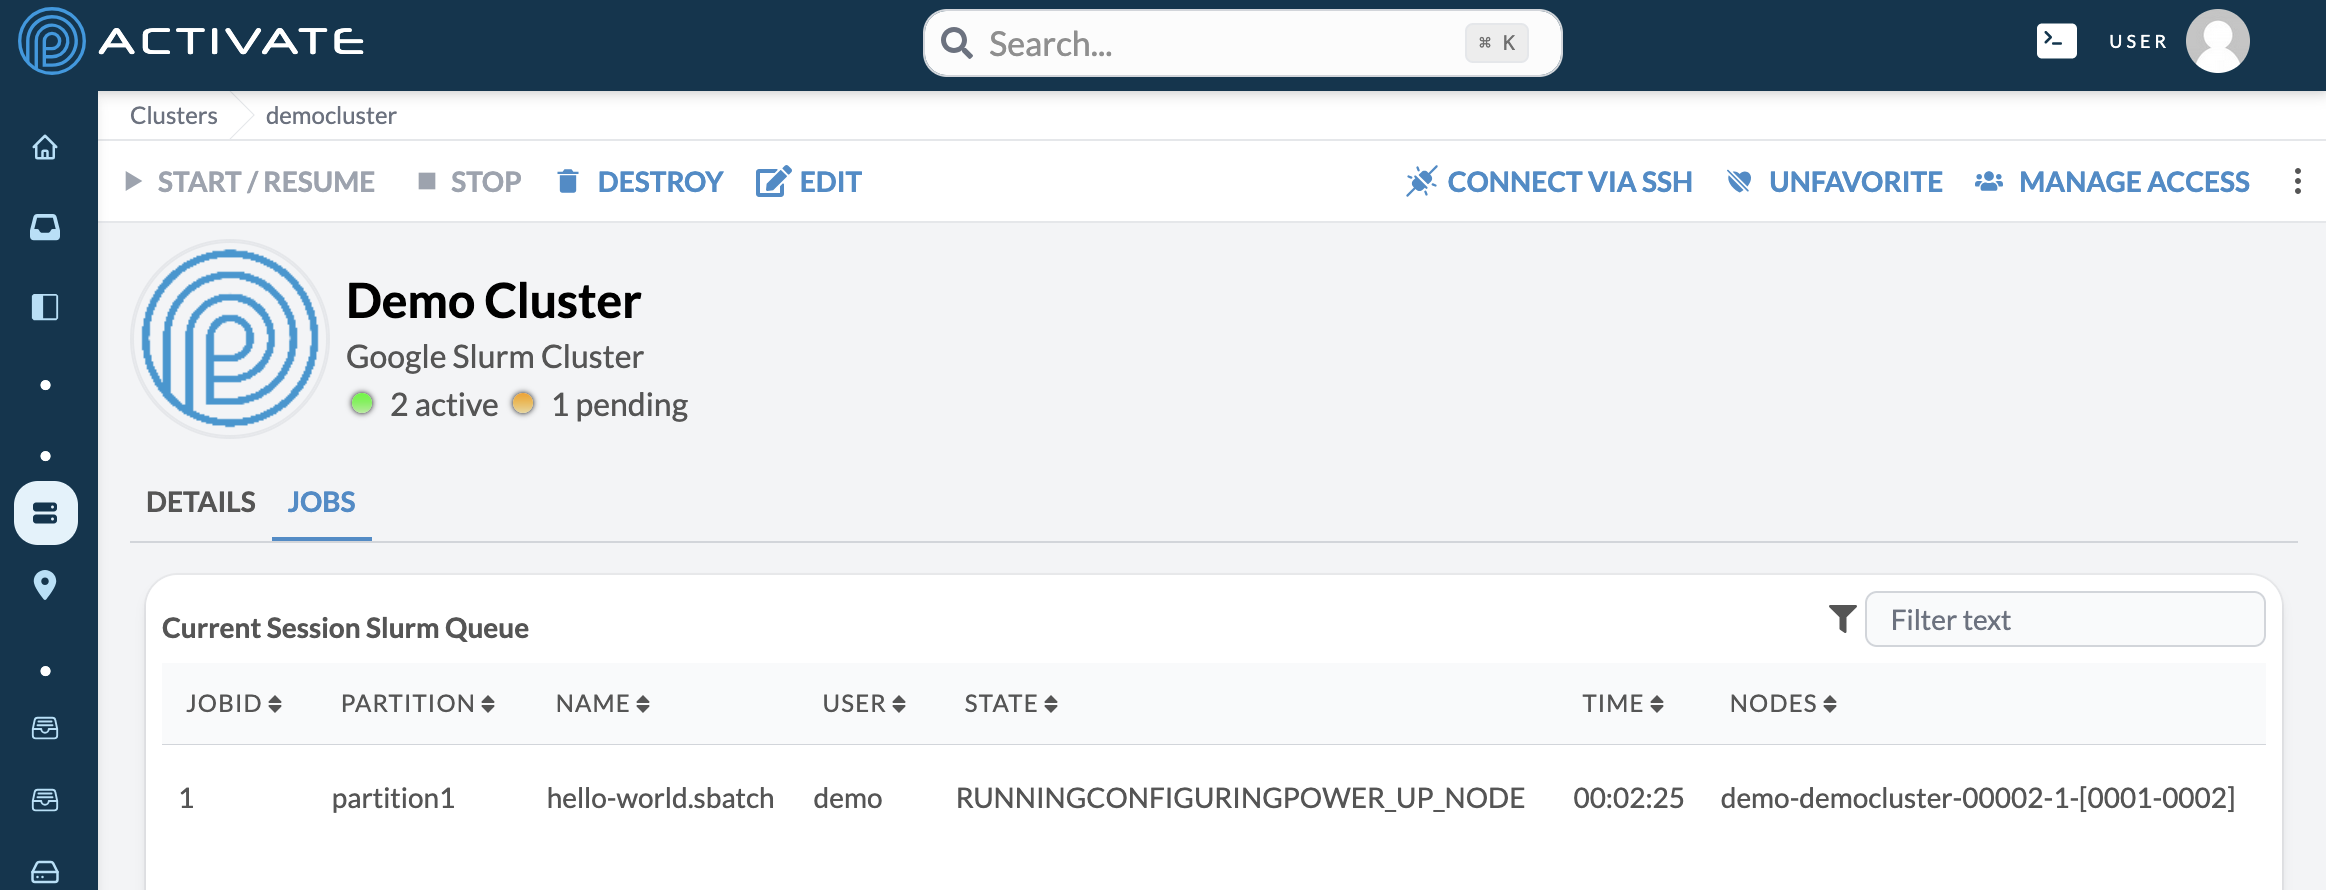
Click Jobs.
You'll see the state of your partition.
Shut Down Resources
Navigate to the configuration page for your bucket. Click the power button. A module will appear. Click Deprovision.
Next, navigate to the configuration page for your cluster. Click Destroy.
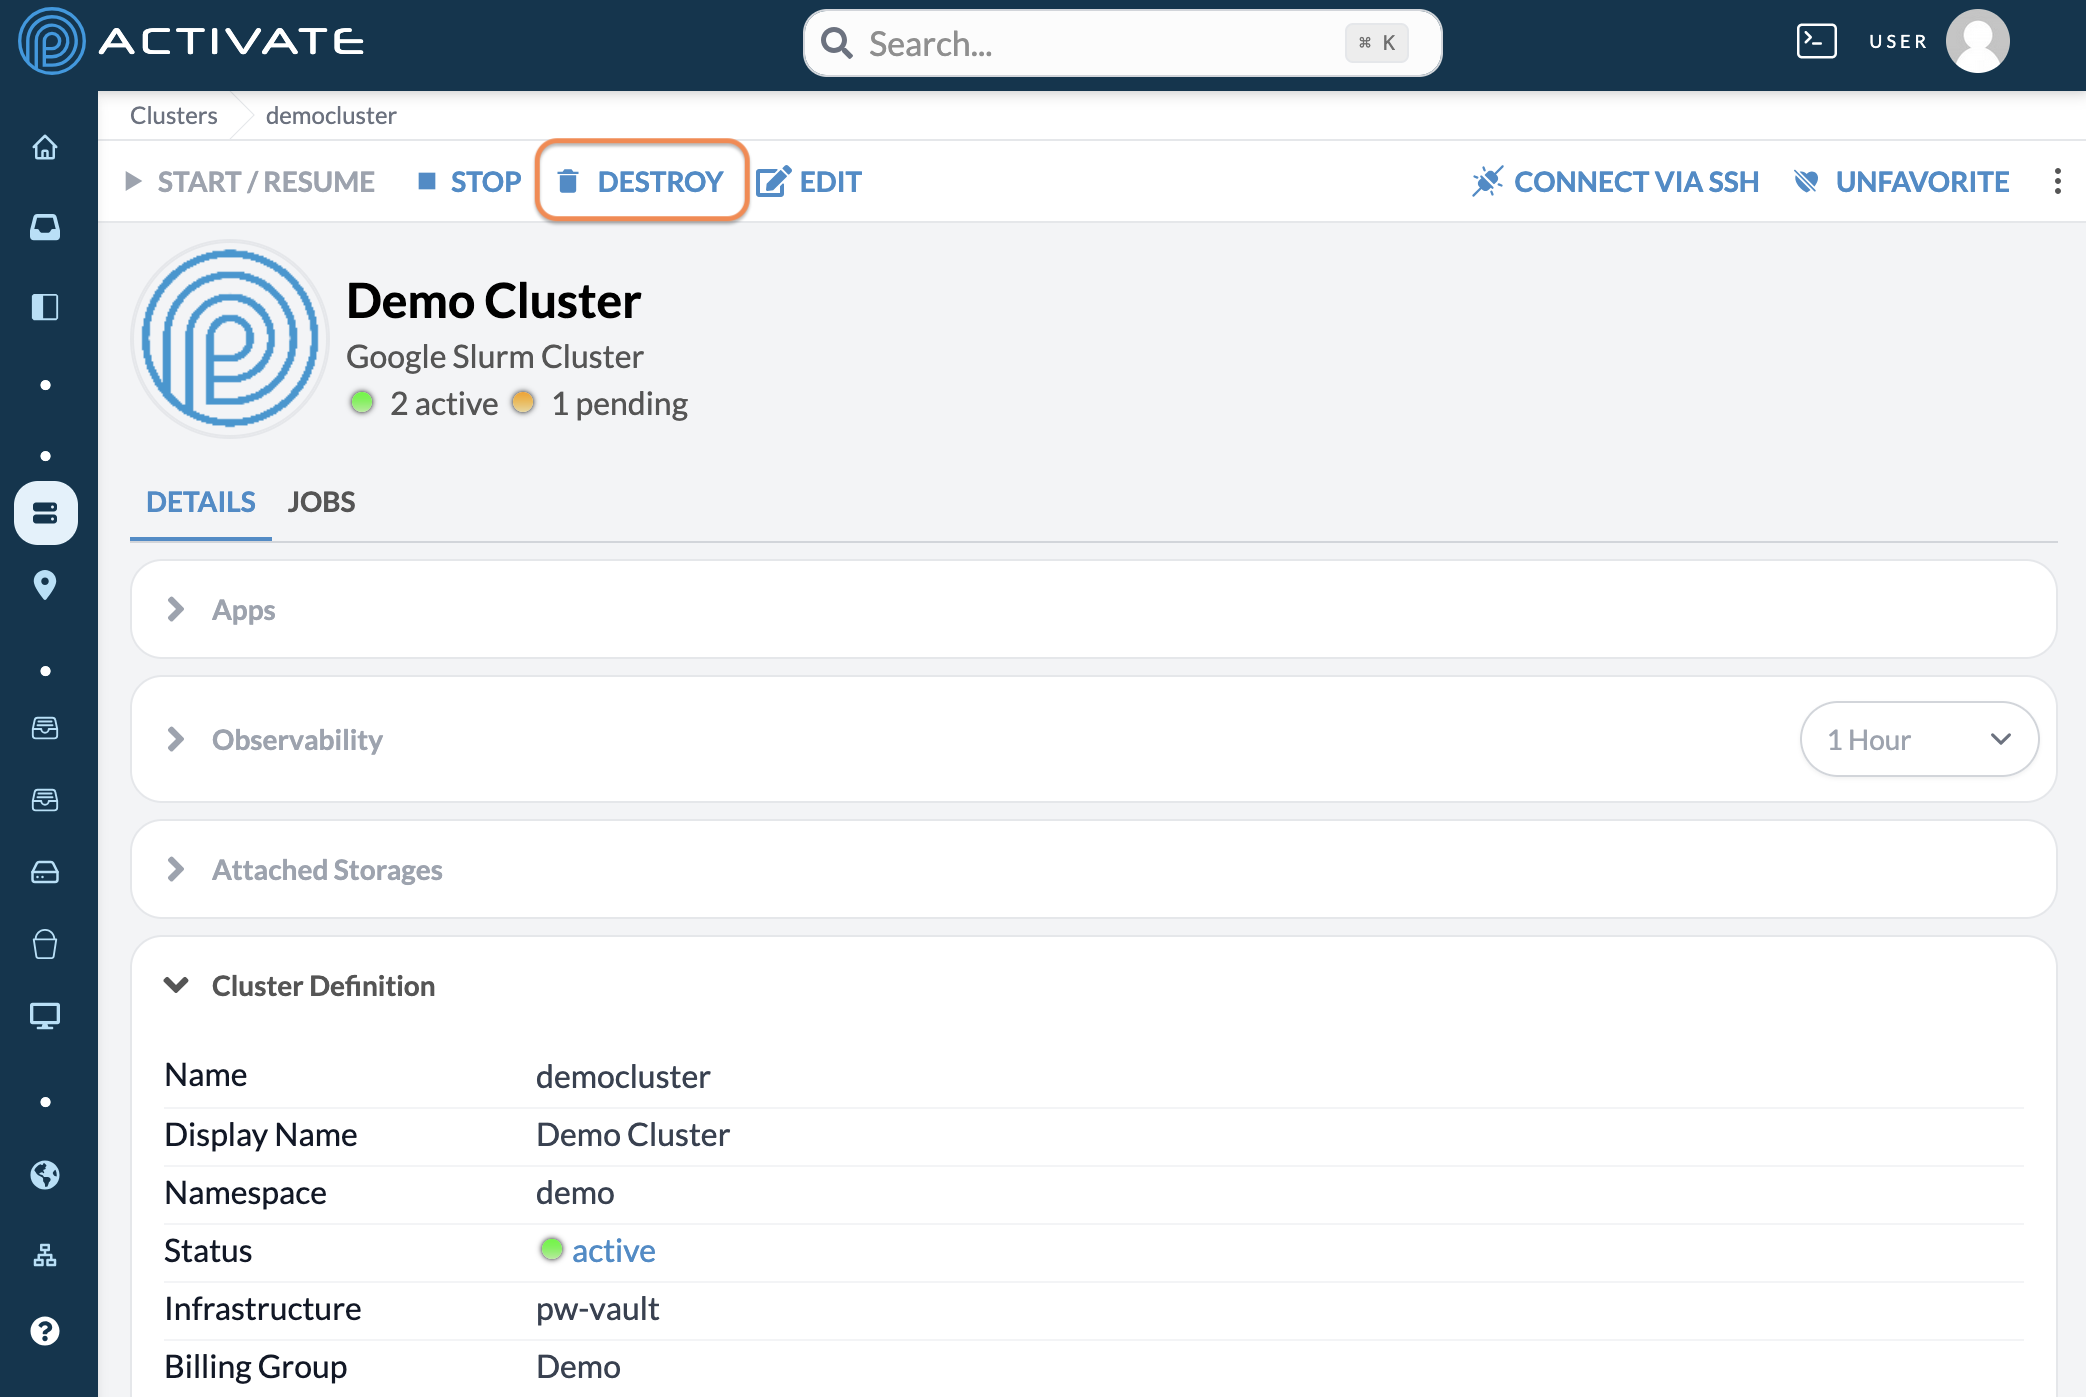
A module will appear. Click Destroy.