Creating Storage
Creating Storage
Note
This page is a quick-start guide for creating a storage resource from scratch. You can also add pre-configured storage resources from the ACTIVATE Marketplace. For more information, please see Navigating the Marketplace.
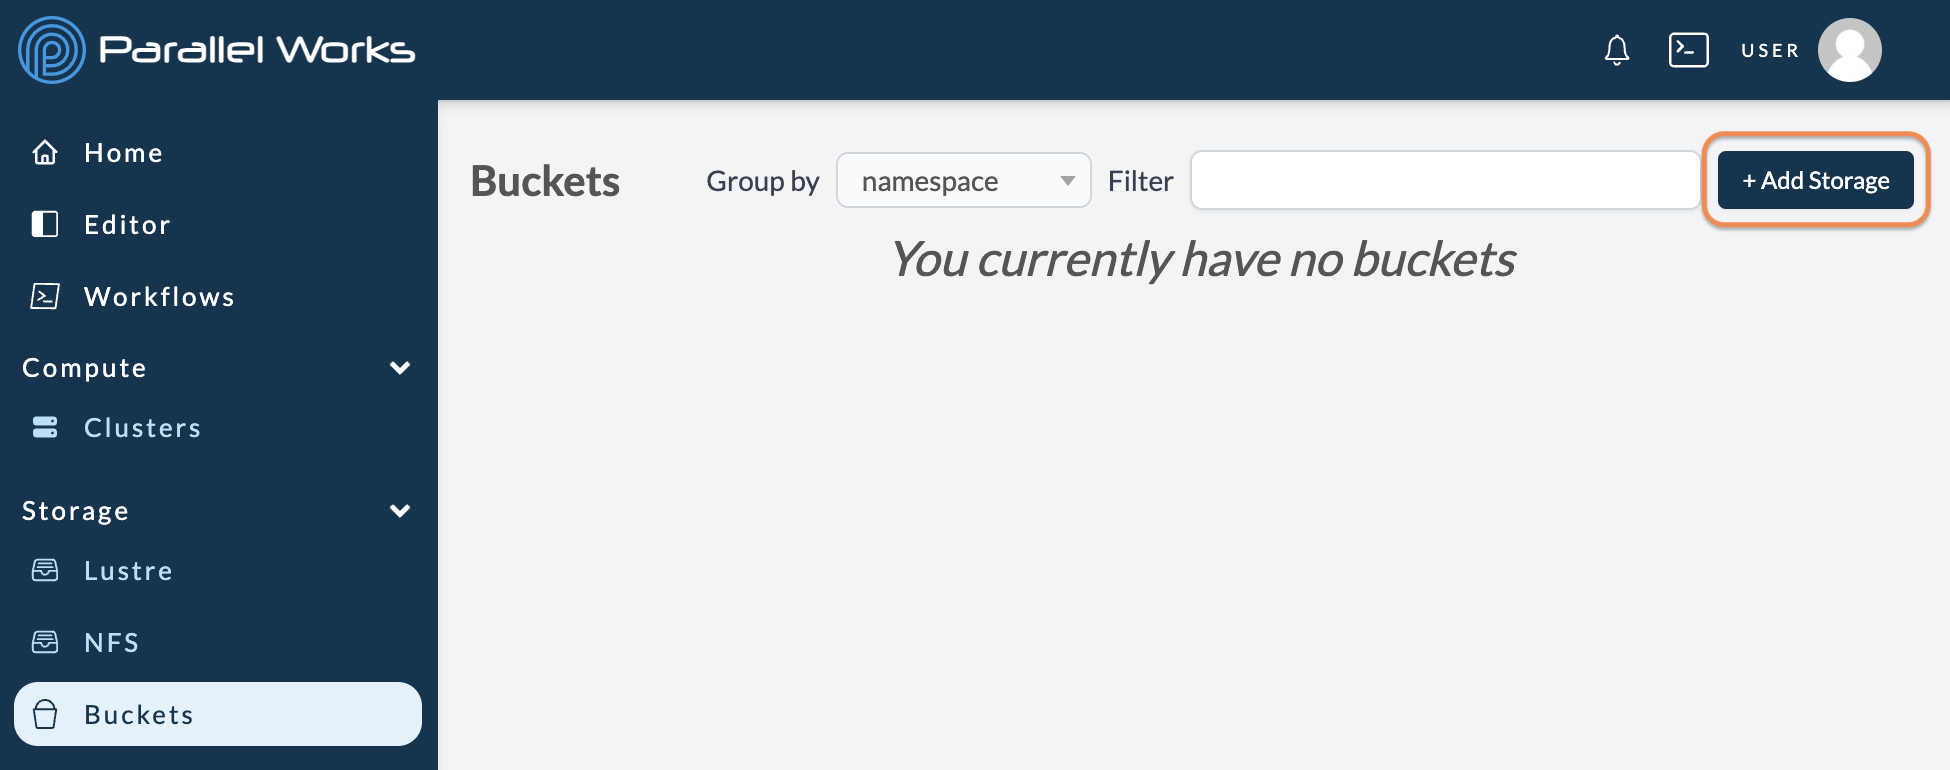
Navigate to one of the Storage pages: Lustre, NFS, or Buckets.
Click + Add Storage.
On the next page, you can choose which type of storage to create.
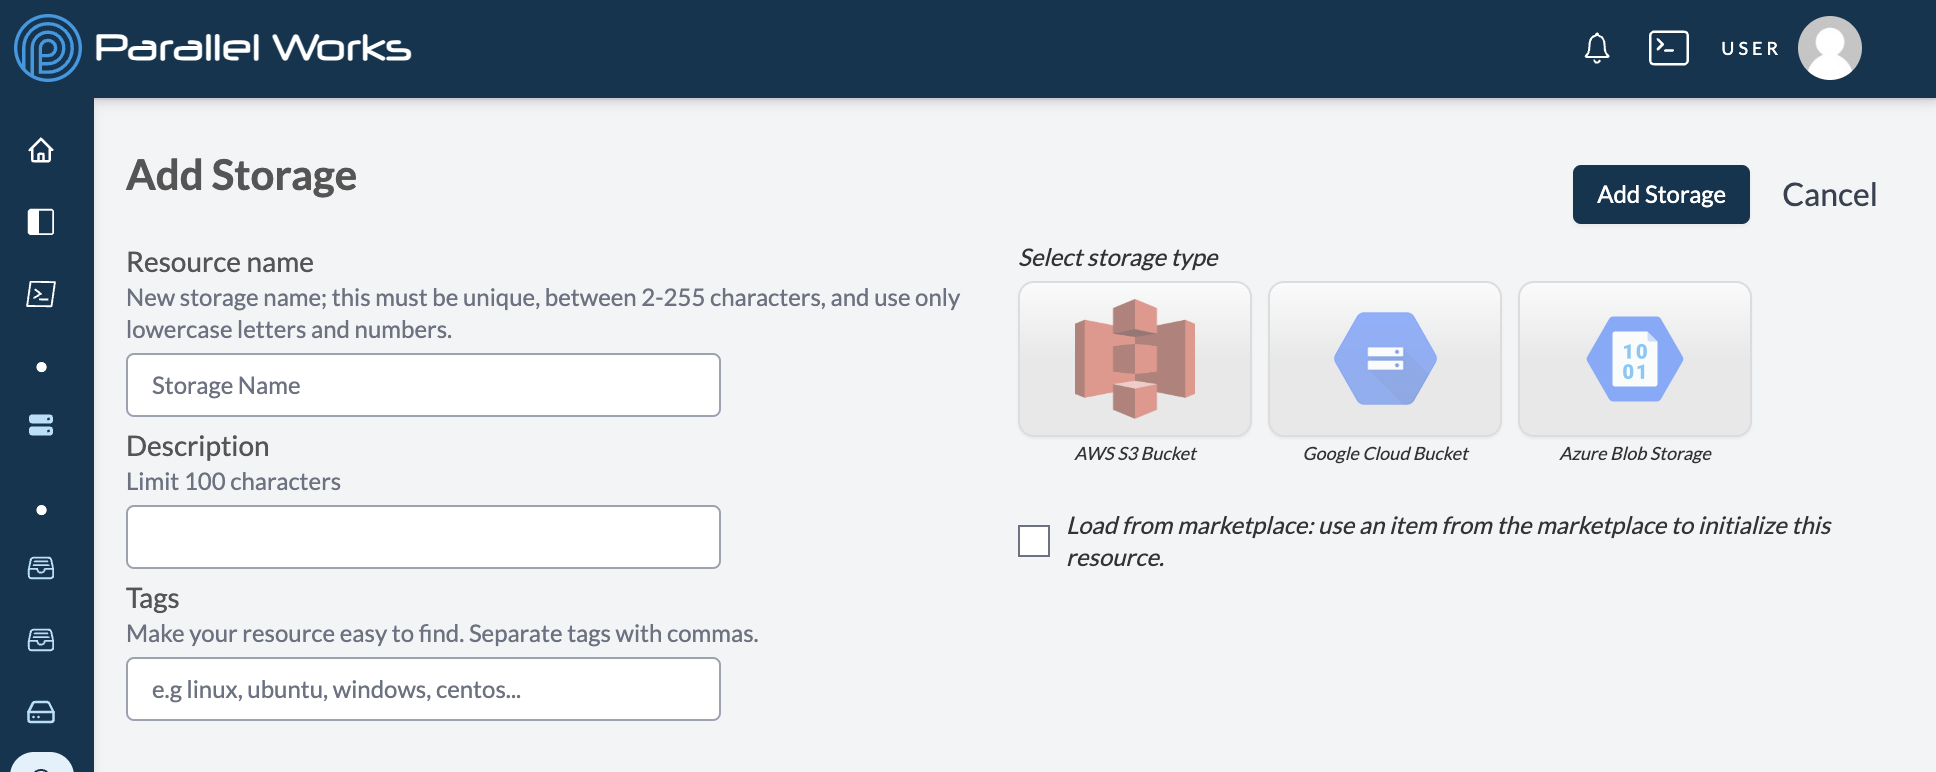
Select a Storage Type. The visible options depend on which storage category you're creating (Lustre, NFS, or a bucket).
Enter a Storage Name. The Description and Tags are optional.
If you're configuring a Lustre storage, select whether it will be Ephemeral or Persistent. Please see Storage Types for more information.
Click Add Storage.

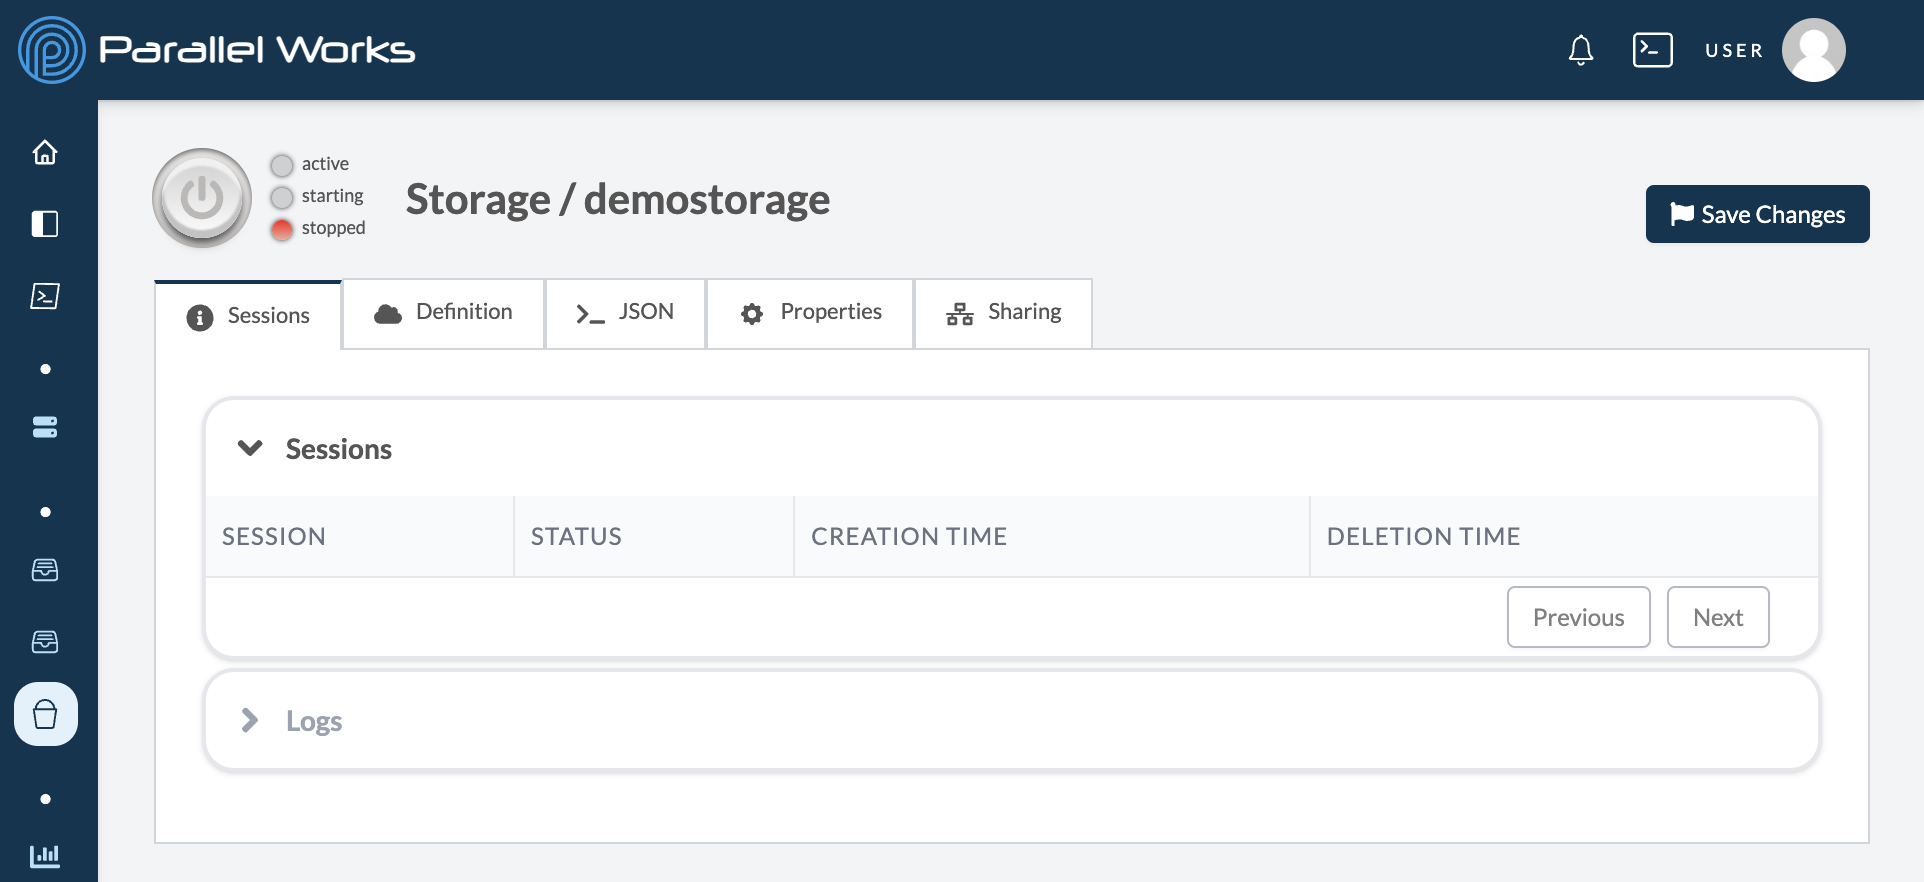
Next, you’ll see the default settings page for the new storage. Please see Configuring Storage for the next steps.
Note
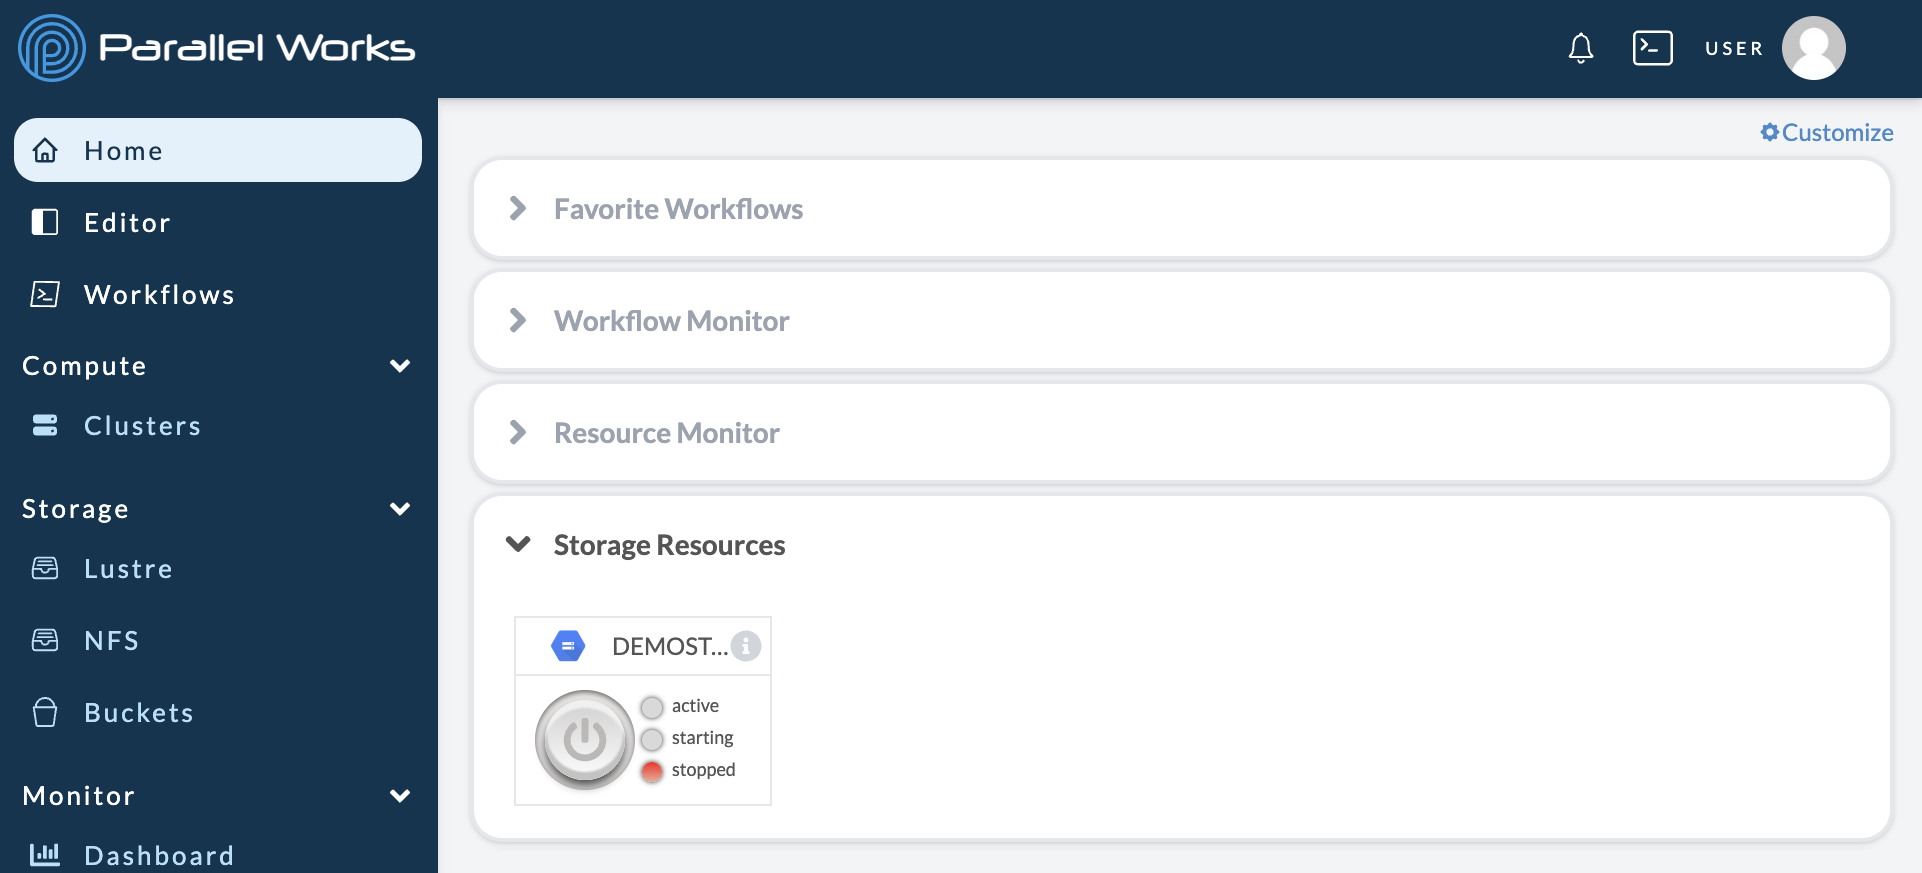
After you create a persistent storage resource, it will appear in the Storage Resources module on the Home page. You can hide storage resources from the Home page by clicking the eye icon on the Storage page.
However, ephemeral storage resources will not appear on the Home page because they cannot be started independently; they must be attached to a cluster, where the storage will be created, started, and deleted along with the cluster.
For more information, please see Storage Types.
Favoriting Storage
When you create a persistent storage resource, it will automatically be added to the Storage Resources module on your Home page.
You can also add frequently used storage resources to your Dashboard by clicking the slashed heart icon. The icon will change to a plain heart after you click it.
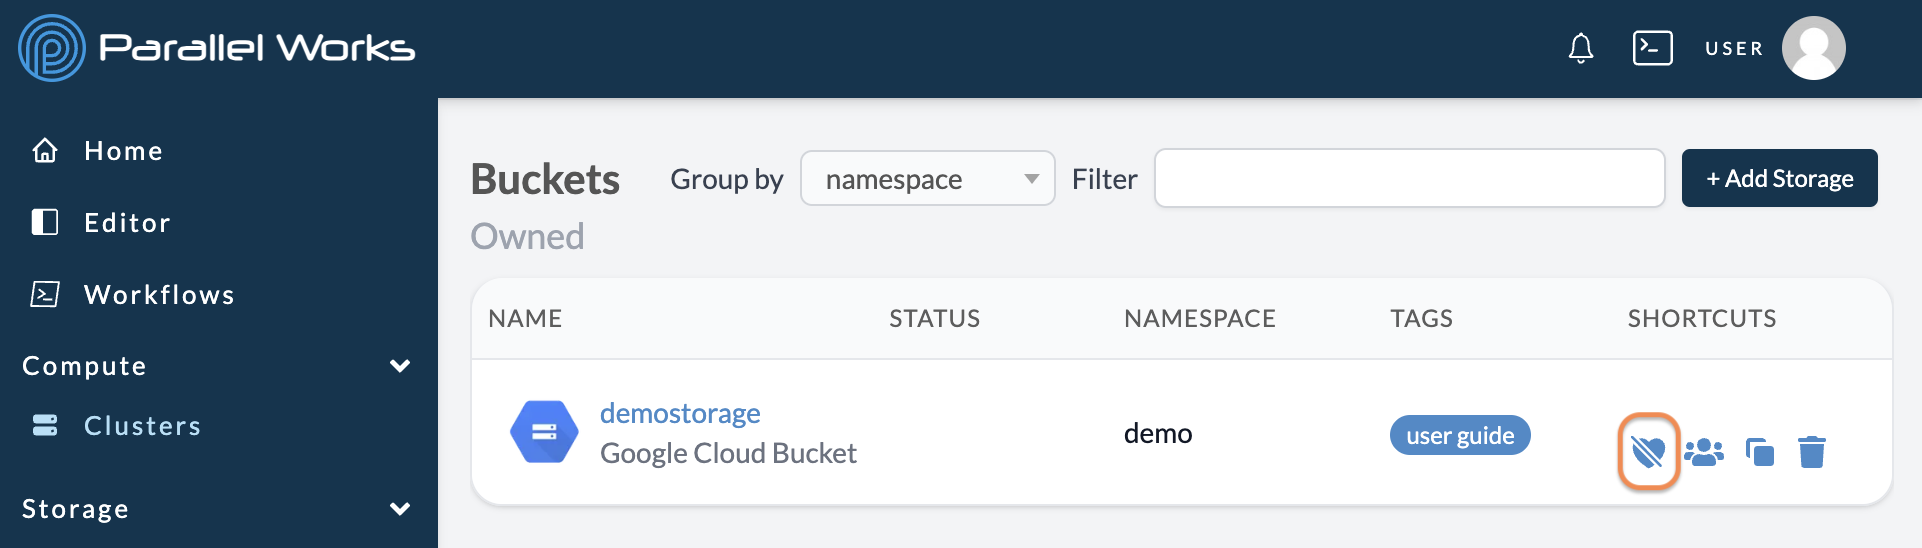
The storage resource will now appear in Storage Resources on the Dashboard.
Note
You cannot favorite ephemeral storage resources.
Which type of storage should I use?
Lustre is a high input/output filesystem, so we recommend using Lustre storage resources only when you're completing compute work that needs that type of performance.
The other storage resources work well for general use.