Attaching Storage
Attaching Storage
After you’ve created and configured a storage resource, you can attach it to one of your clusters.
Navigate to the Clusters page. Click the cluster you want to work with.
Click Edit.

In the Attached Filesystems section at the bottom of the page, click + Add Attached Filesystems.
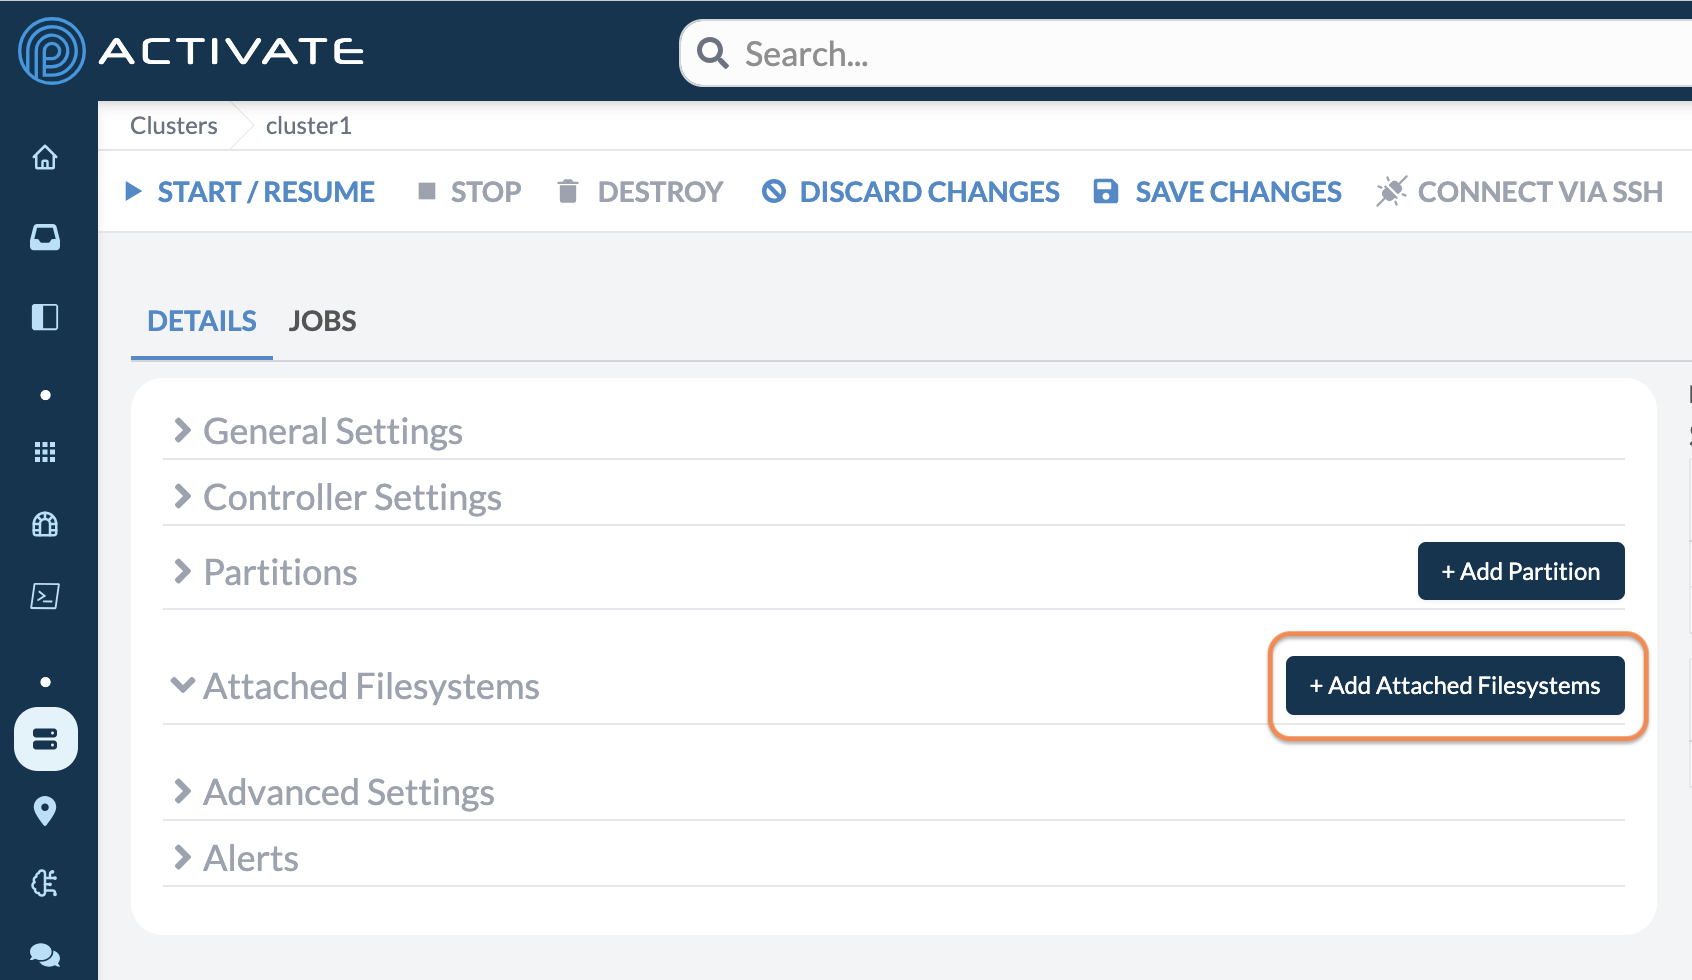
Two new parameters will appear: Storage and Mount Point.

Use the Storage dropdown menu to select which storage resource to attach to this cluster. Please note that only storage resources that match your cluster’s CSP will be shown (for example, an AWS cluster will only show AWS FSx for Lustre or AWS Elastic Filesystem).
Use the Mount Point field to enter the directory where the storage will be mounted in the cluster’s controller and compute nodes. Please note that the mount point should be an absolute path.
Note
You can add or remove persistent storage resources while a cluster is running. You cannot do so with ephemeral storages.
Verifying Storage Mounts
After you've logged in to your cluster, you can run the following command to verify that the storage is mounted correctly:
df -hAfter you enter the command, you should see the storage mounted at the Mount Point you defined.
Mounts are updated every 45 seconds. If you very recently attached a storage resource to a cluster, there may be a short delay before you see your storage in the mount list.