Configuring Cloud Clusters
This page explains the parameters of a cluster’s configuration page.
Most ACTIVATE users will work exclusively with elastic clusters. These clusters are made up of a controller node and compute nodes, with the controller delegating tasks to the compute nodes.
Clusters have several adjustable parameters for both controller and compute nodes, such as compute instance types and node count. Additionally, compute nodes are grouped together in partitions, which have their own settings. For more information, see Partition Settings below.
ACTIVATE also supports an optional parallel filesystem, Lustre. For more information on setting up Lustre for your account, see Configuring Storage.
Accessing Configuration Settings
You can access a resource’s configuration settings from the Clusters page. Click the name of the resource you want to configure.
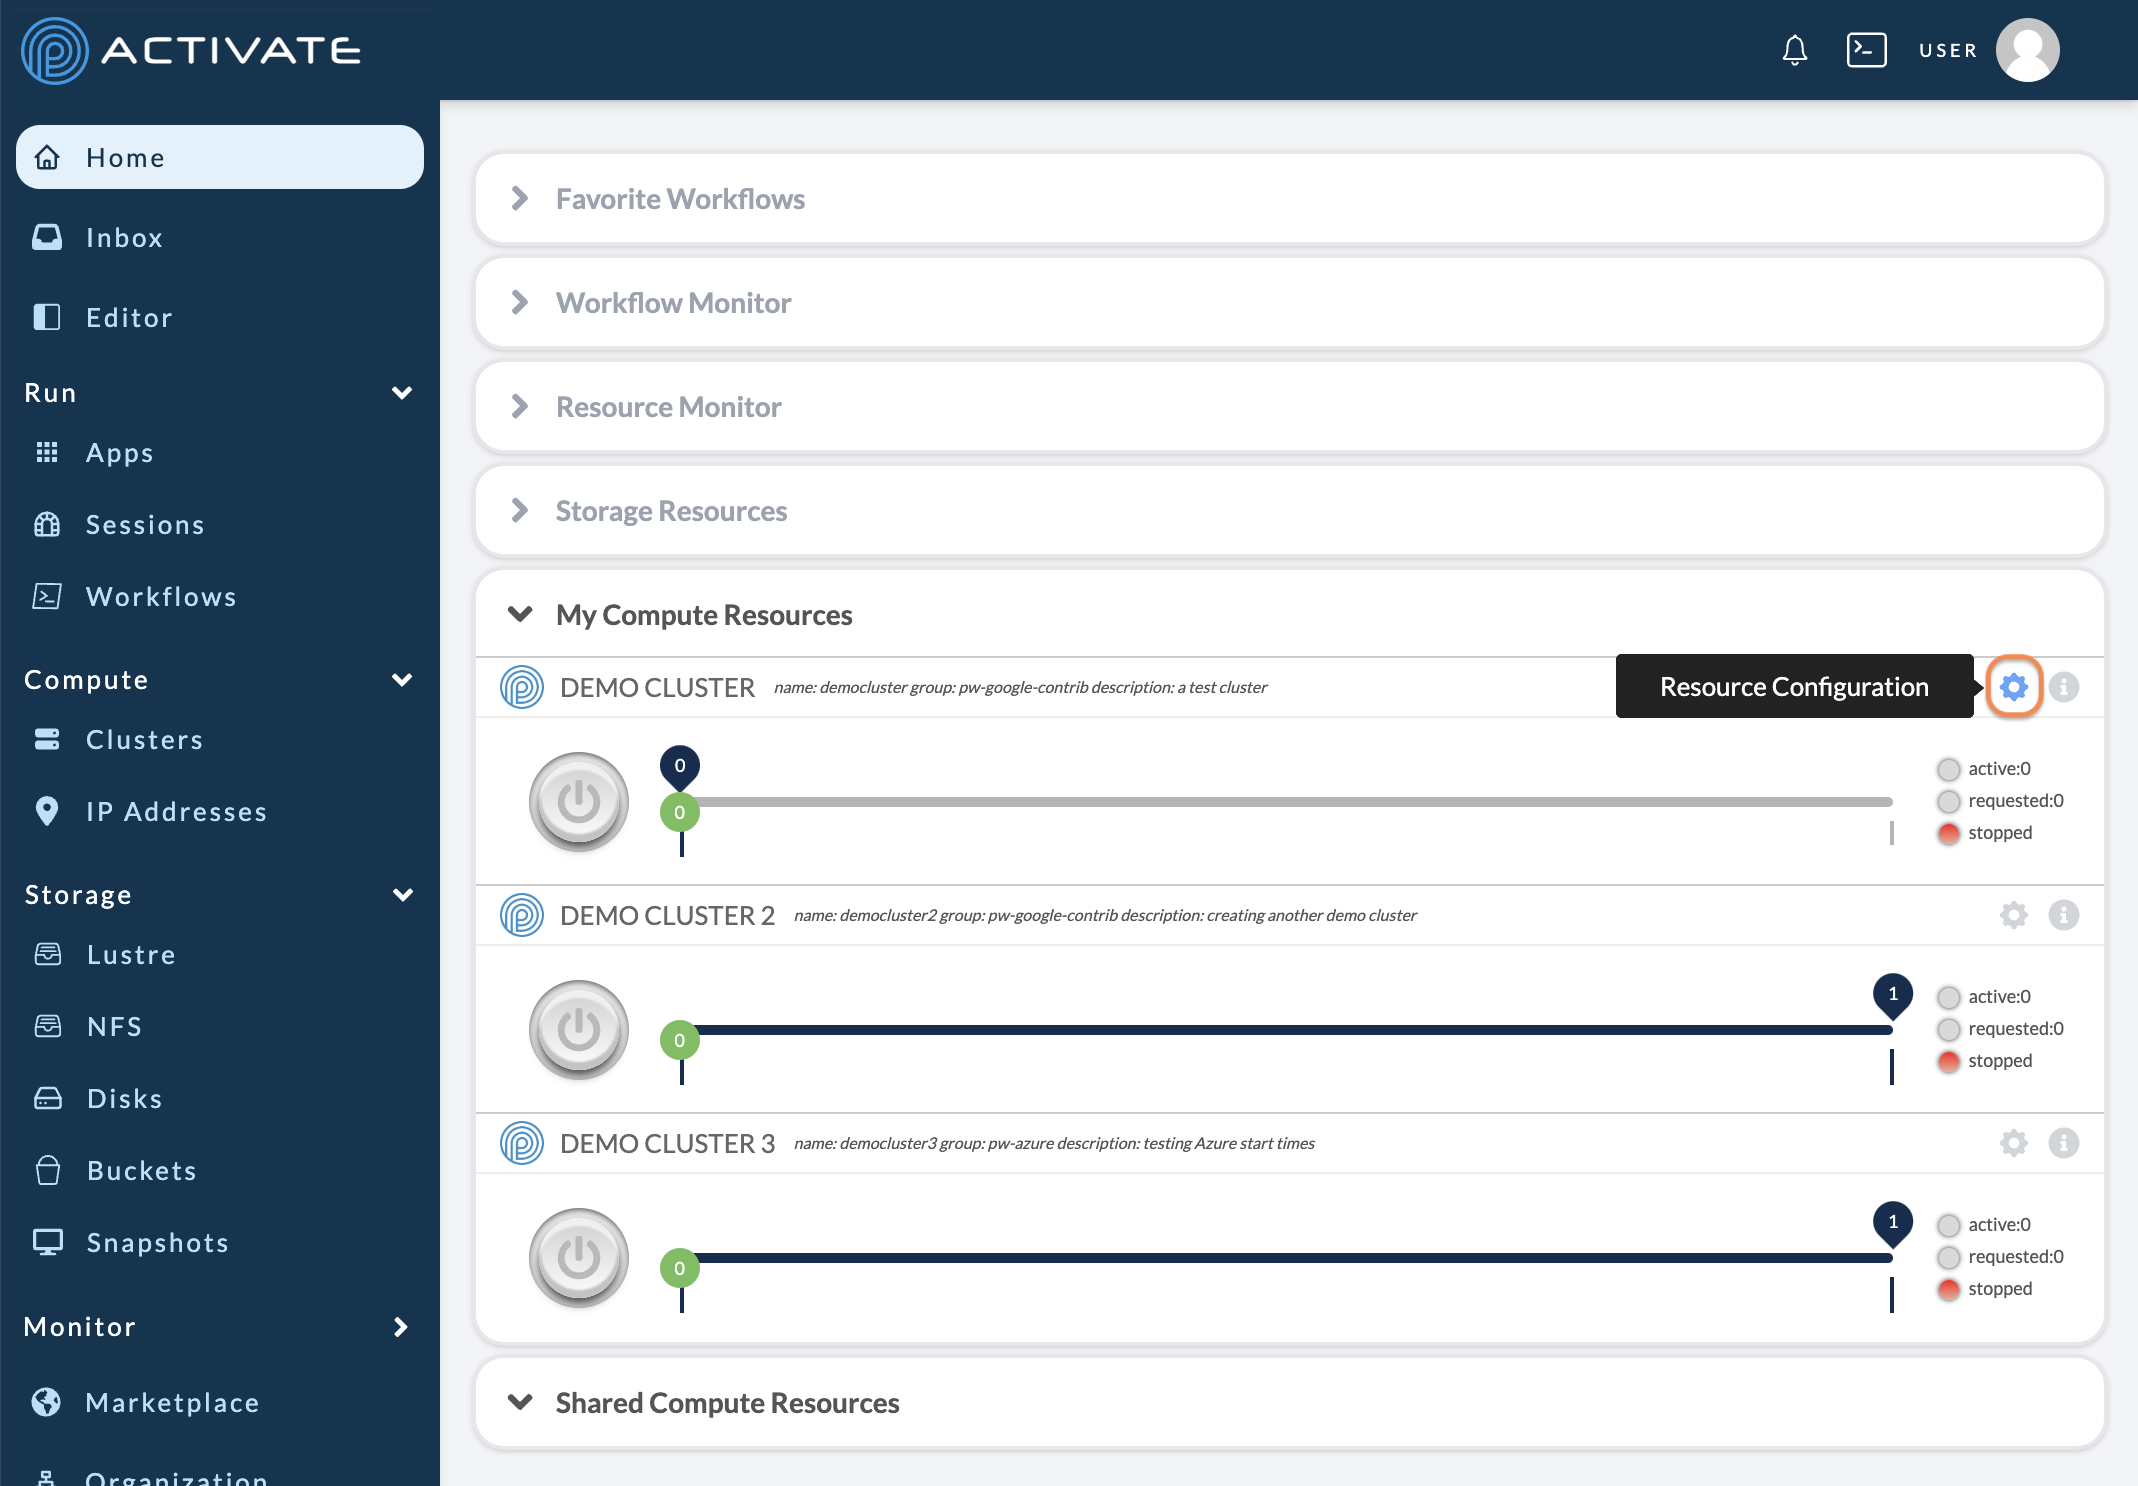
Alternatively, if you have the Compute module on your Dashboard, click the gear icon for the resource you want to configure.
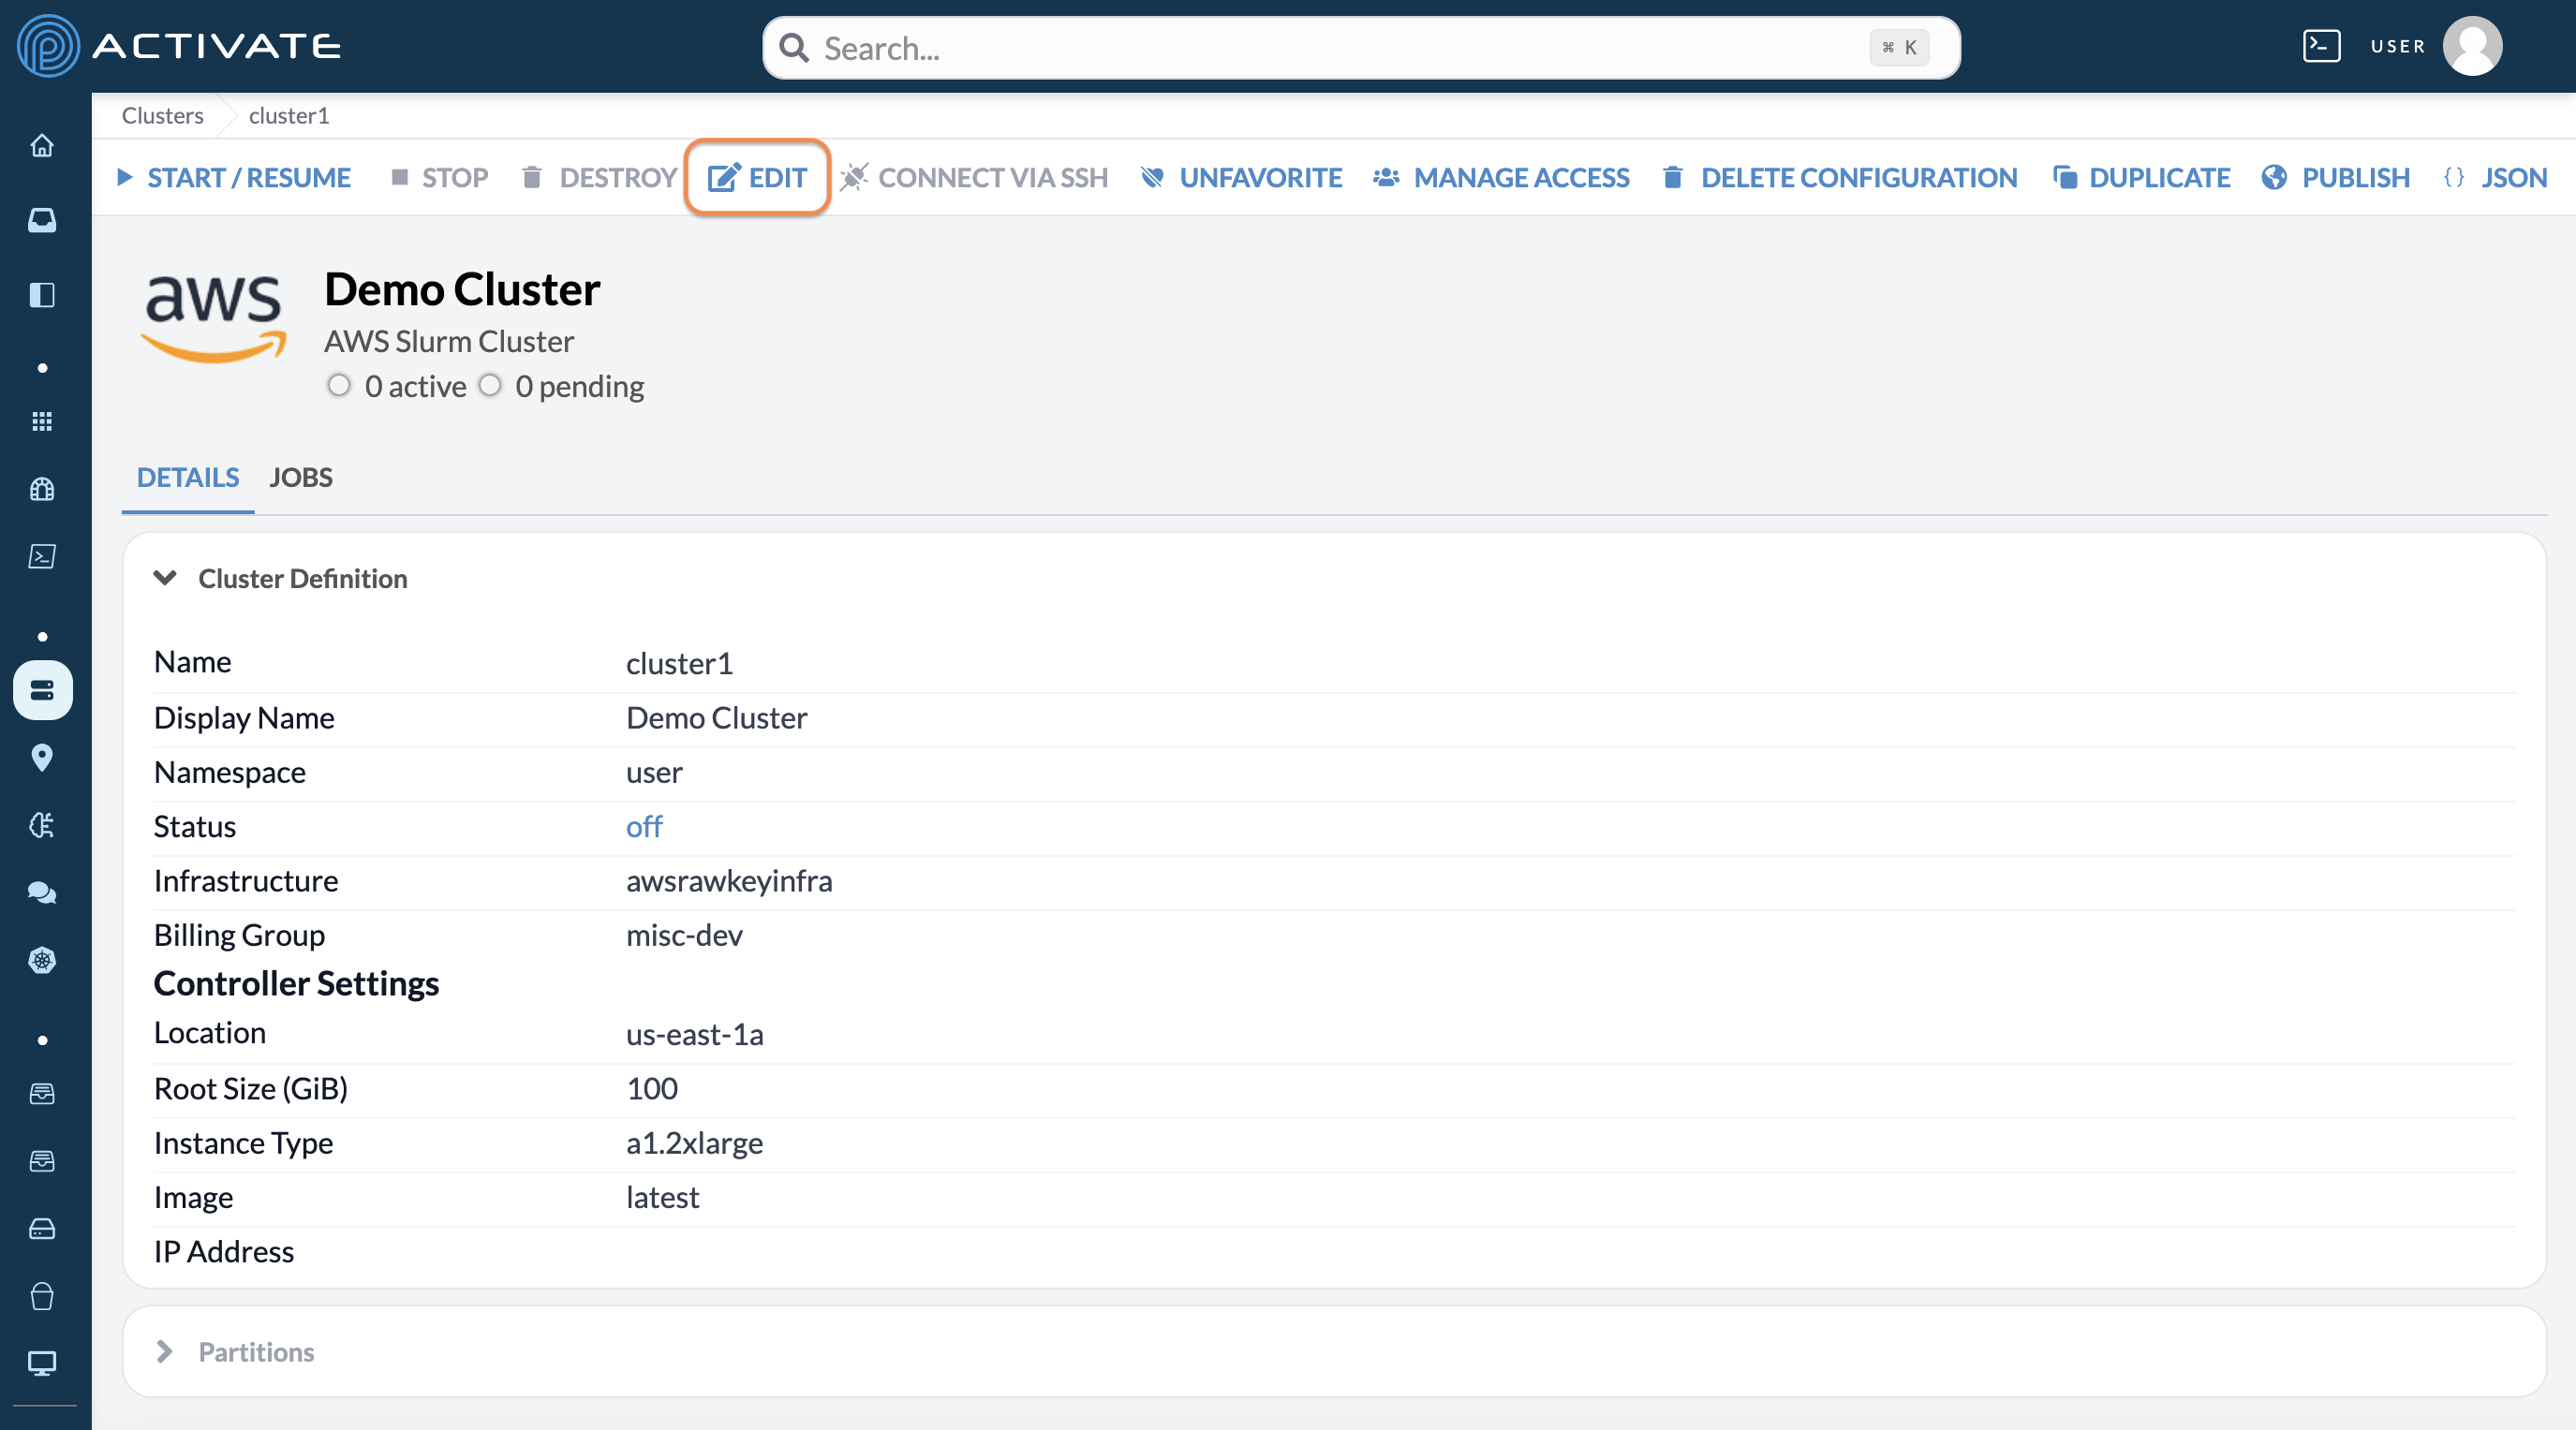
Once you've navigated to your cluster, click Edit.
About Saving
When you change settings for a cluster, you must click Save Changes.

About Live Updatable Settings
Some settings can be updated while a cluster is running. These settings are marked with a Live icon on this page.
When you change a live updatable setting, click Save Changes. A dialog box will appear with the message Changing configuration while cluster is running will make it unavailable until the changes are complete. Are you sure you want to save?
Click Save. Once your cluster updates, a notification will appear with the message Cluster [name] configuration updated successfully.
General Settings
Clusters will typically have these settings in the Definition tab of the configuration page. Settings with an asterisk * are required.
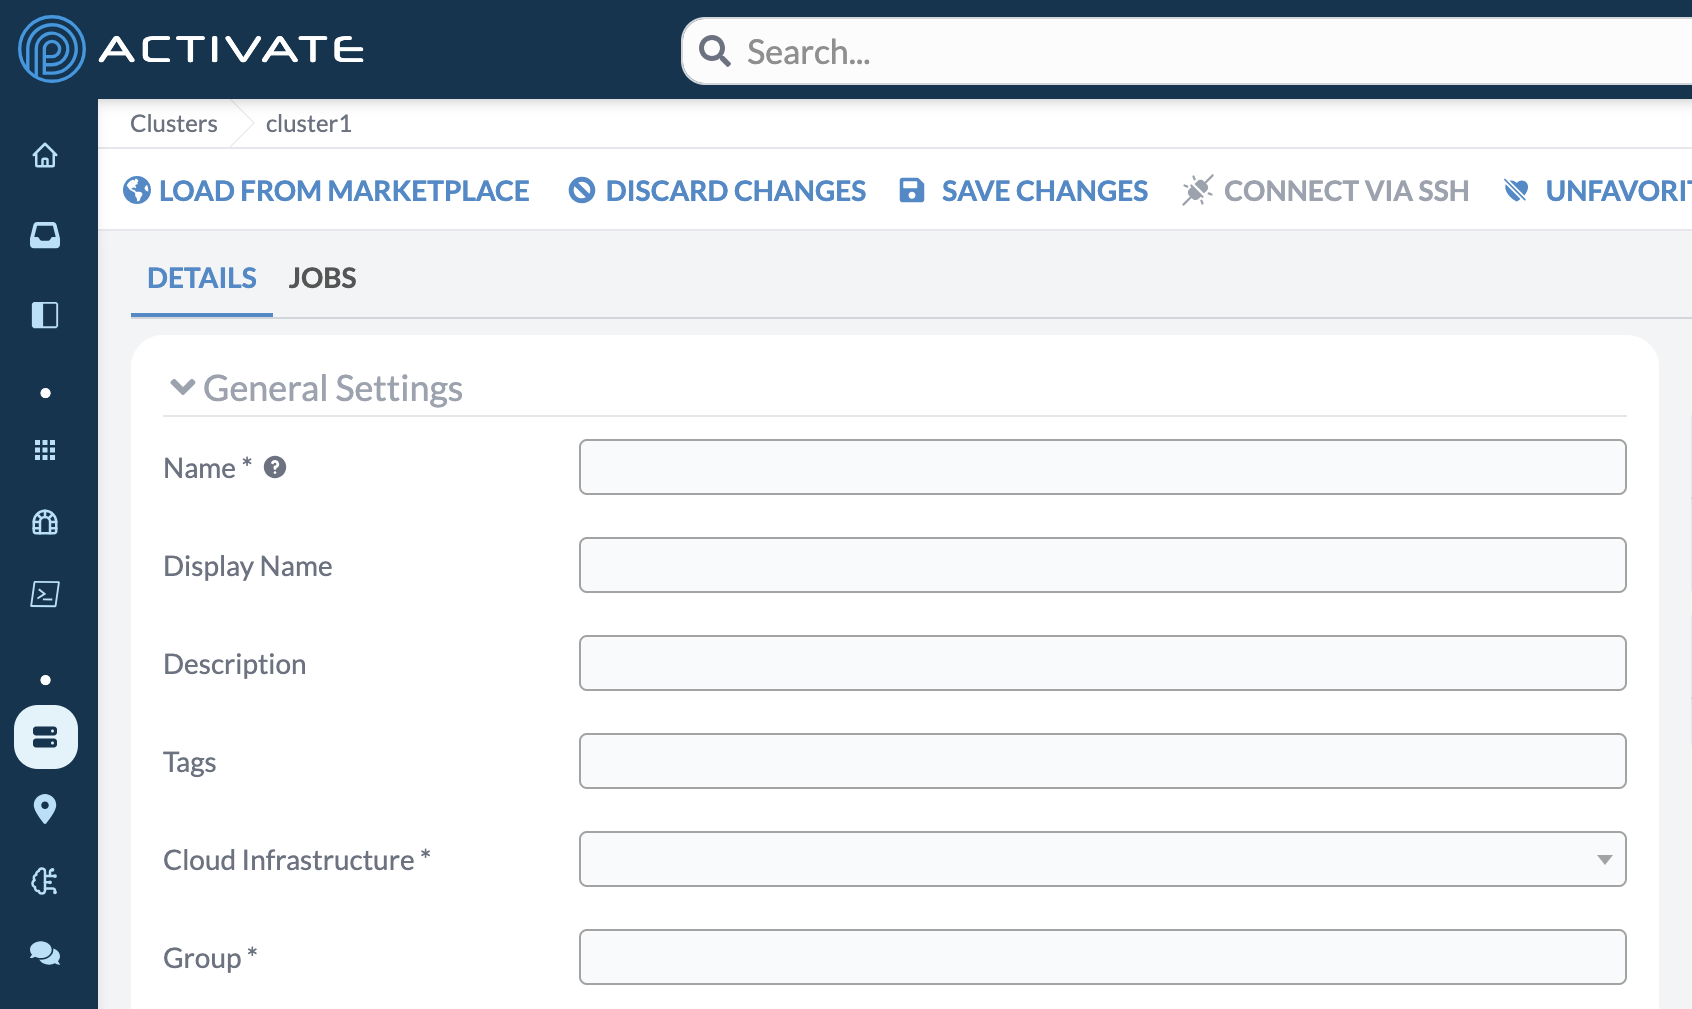
Name
Use this field to name the cluster. The name you choose must be unique across your account. For example, you cannot have both a cluster and a storage resource named "demo".
Display Name
Use this field to give the cluster a display name, which will appear at the top of the cluster's page, on the Clusters page, and on the Dashboard in the Compute module. If you leave this field blank, the value for the cluster's Name will be displayed instead.
Description
Use this field to give the cluster a description of 100 characters or fewer.
Tags
Use this field to add tags to the cluster. Tags appear on the Clusters page. They are useful for information at a glance (such as "user guide" tags on the clusters we use for our documentation).
Network
Use this dropdown menu to select the network that your organization uses for a specific cloud service provider. If you're not sure which one to select, please contact your organization's administrator. For more information about networks, see Networks.
Group
Use this dropdown menu to select the group name that your organization uses to allocate costs. This menu is especially important if your organization is running multiple groups simultaneously.
If you’re not sure which group to select, you can contact us or your organization’s ACTIVATE administrator.
Controller Settings
These settings define the configuration for the controller node, such as region, instance type, and OS image. Some settings will differ depending on which type of resource you’re using. For more information, see CSP-Specific Settings below.
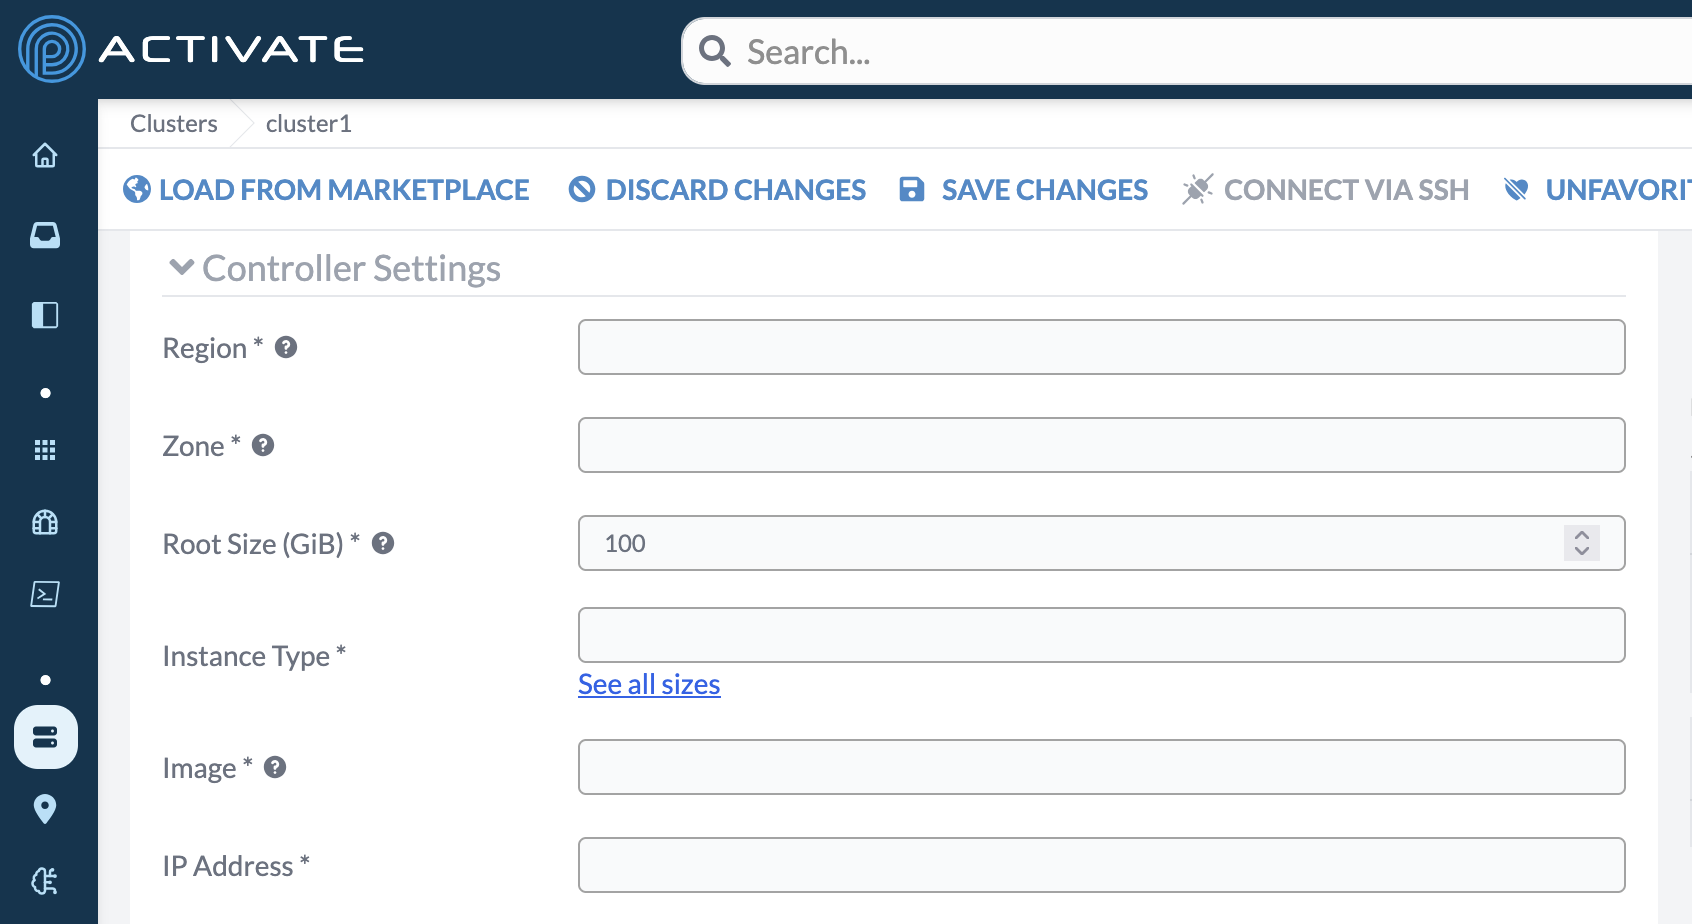
Region
Use this dropdown menu to select the region that your cluster will deploy computing resources into.
A region represents a geographic area.
Zone
Use this dropdown menu to select the zone to use for the controller.
A zone refers to an isolated location inside a region.
Root Size (GiB)
Use this field to specify the size of the root disk in gibibytes (GiB).
Instance Type
Use this dropdown menu to select the instance type of the controller. The instance type determines the CPUs and amount of memory available on the machine. Certain instance types may also have specialty hardware, such as GPUs or low-latency networking options.
To see a list of available instance types and their cost per hour, click See all sizes. From the instance type list, you can click an option to select it.
For more information about instance types and what their names mean, please see Choosing Instance Types.
Image
Use this dropdown menu to select the operating system (OS) image for the cluster's controller node.
If you're not sure which image to pick, we recommend using the latest version because this will ensure you have the most up-to-date software on your cluster; the latest image version includes OS updates and software required to connect to the ACTIVATE control plane.
You can also use this dropdown menu to select custom cloud snapshots.
IP Address
Use this dropdown menu to choose the IP address that will be assigned to the cluster. You can choose an automatically assigned IP address or an IP address that you've created.
For more information, please see Managing IP Addresses.
CSP-Specific Settings
Each cloud service provider (CSP) builds and configures their resources differently. Clusters on ACTIVATE have settings that correspond to each CSP’s model of cloud services. The CSP-specific parameters are outlined below.
Please note that these CSP-specific settings will also appear as options inside the partition settings on clusters.
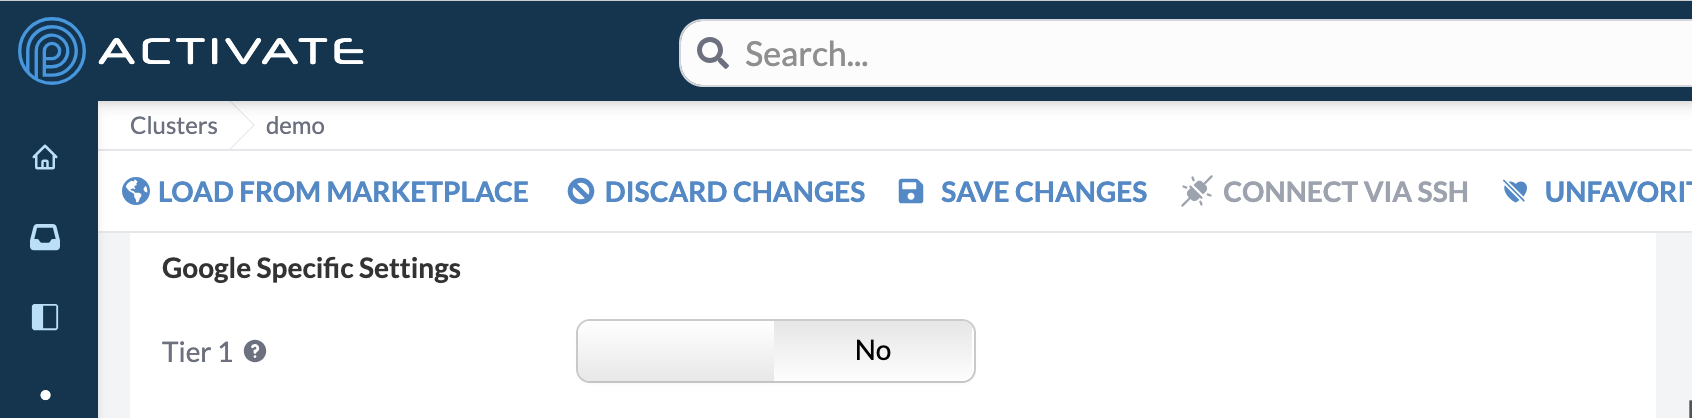
Tier 1
Use this toggle button to enable Tier 1, which increases maximum egress bandwidth (upload speed) to 50–100 Gps, depending on the size of the instance. If Tier 1 is off, the egress bandwidth will range from 10–32 Gbps.
For more information, see the Google documentation on Tier 1.
Partition Settings Live
You can create partitions in clusters to send your work to homogenously configured sets of worker nodes.
If you click + Add Partition, a list of new settings will appear. Typically, a partition will have the following configuration options. Some settings will differ depending on which type of resource you’re using. For more information, see CSP-Specific Settings below.
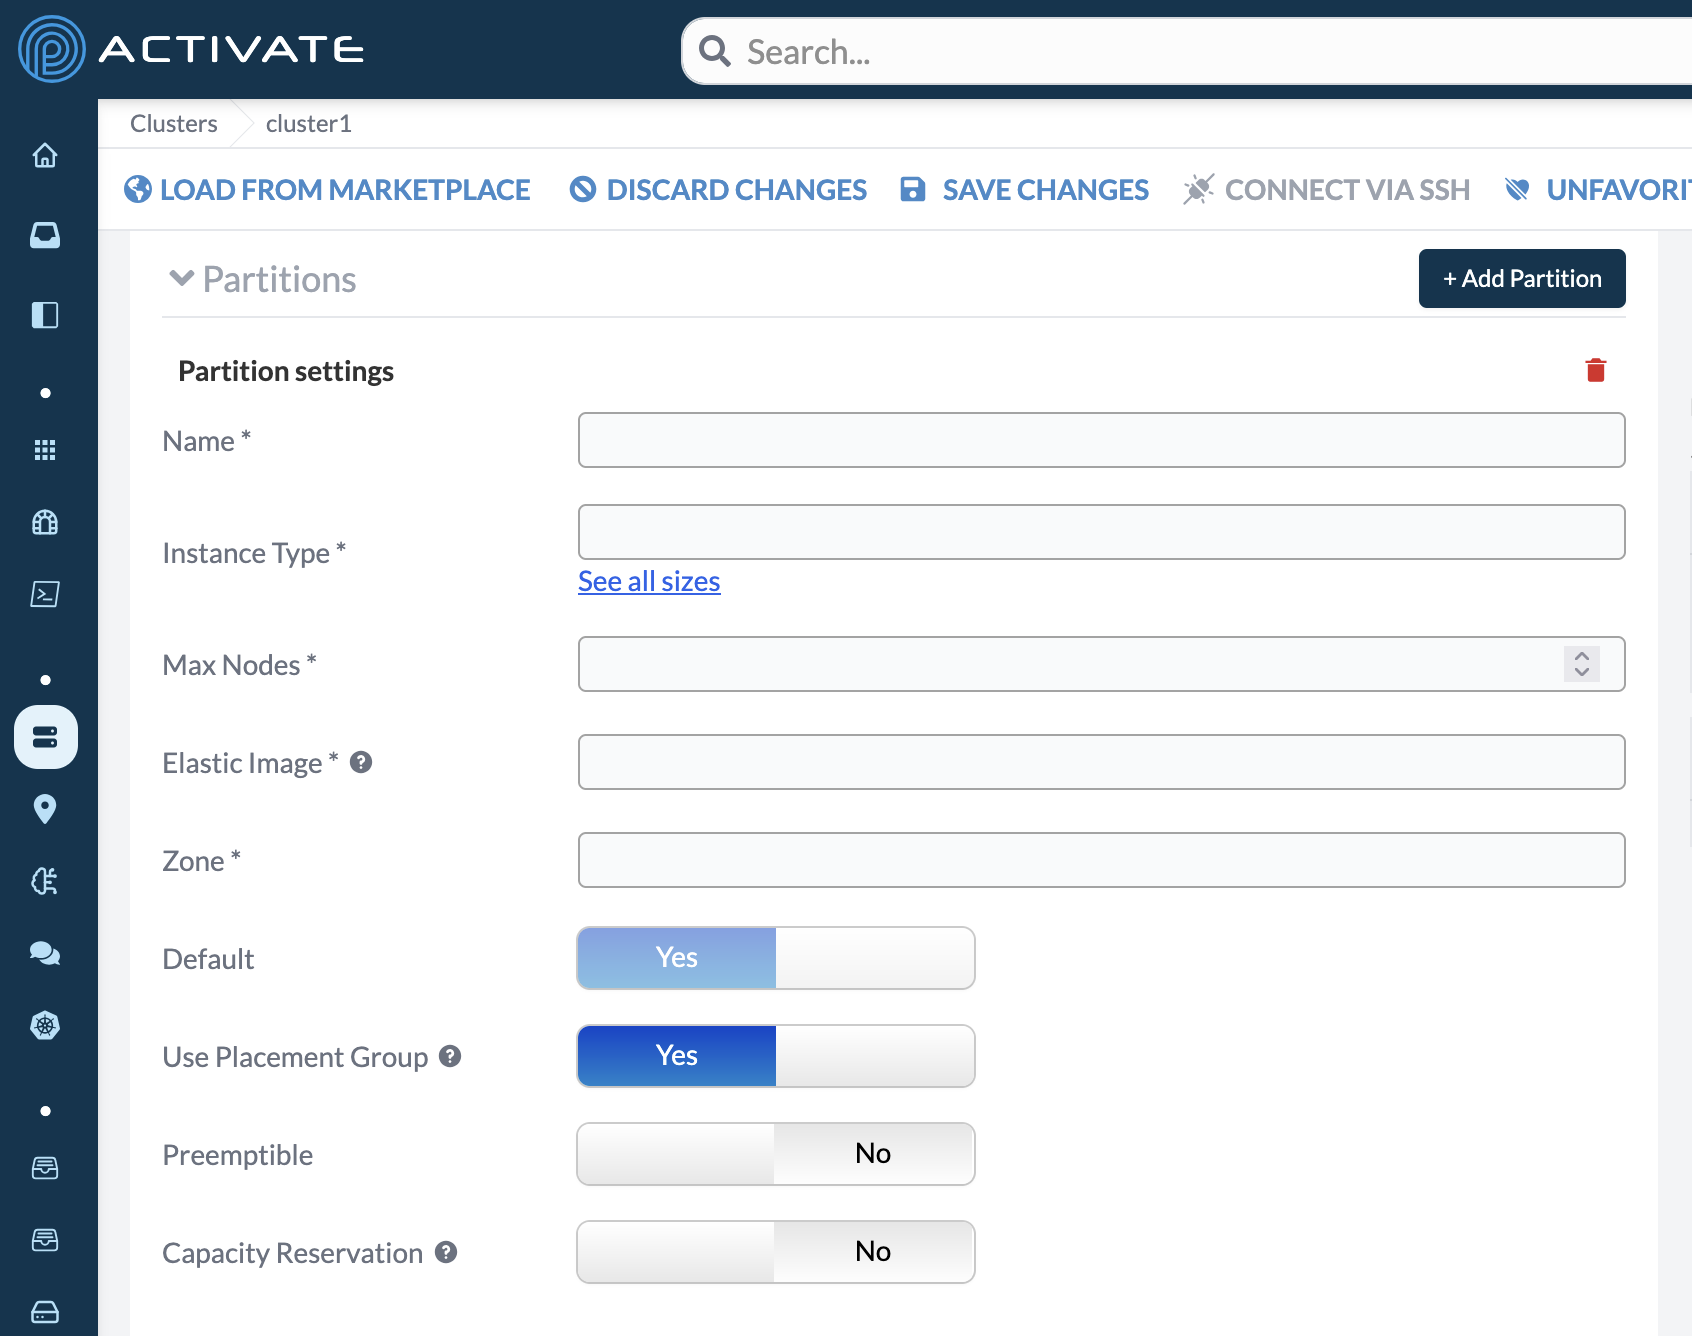
Name
Use this field to name your partition. You must use a unique name for each partition you create.
Instance Type
Use this dropdown menu to select the configuration of the partition. These options work in the same way that the controller instance types do.
GPU
Available on Google N1 instance types.
Use this dropdown menu to attach a GPU to the partition's instances. Only GPUs that are available in the selected zone(s) are shown.
Currently, only the NVIDIA T4 can be selected. Other GPU types are listed but disabled because the recent NVIDIA drivers baked into most of our node images support only newer GPU architectures (NVIDIA Turing and later); older GPUs such as the V100 (Volta) and P100/P4 (Pascal) are no longer supported by those drivers.
GPU Count Per Node
Use this field to set how many GPUs to attach to each node in the partition. It appears alongside the GPU dropdown on N1 instances.
Max Nodes
Use this field to enter the max number of nodes in a partition.
Elastic Image
Use this dropdown menu to select the operating system image for the partition. We recommend using the latest version.
MultiZone
Enable this toggle to provision nodes in multiple zones. If there is not enough capacity in one zone, we will try to provision nodes in a different zone. This can be helpful for obtaining instances that are in high demand.
The exact behavior depends on the cloud provider:
- AWS: All nodes in a single request are placed in the same zone. If a zone cannot fit every node in the batch, we move the entire batch to the next zone you selected and try again. When adding nodes to a running cluster, we try the zone that already holds the most of the cluster's nodes first; if the cluster has no nodes yet, we try the controller's zone first when it is one of your selected zones.
- Google: A single request is submitted at the region level, along with your list of allowed zones. Google Cloud then chooses zones from that list based on available capacity, so the request can spread or fall back across zones automatically.
- Azure: Azure clusters do not use the MultiZone toggle. Selecting Automatic from the Zone dropdown instead lets Azure distribute the partition's compute nodes across the region's availability zones for you.
Warning
If nodes are provisioned in multiple zones, there may be costs associated with data transfer between zones. For more information, see the AWS documentation on data transfer costs or the Google documentation on data transfer costs.
Zone(s)
Use this dropdown menu to select which zone(s) nodes will be provisioned in within your selected region. If MultiZone is enabled, you can select multiple zones.
Default
Use this toggle button to specify whether a partition is the default location for running jobs. For more information on running jobs on specific partitions, see Submitting Jobs.
Default Partition
This feature is important if you create multiple partitions. If you only create one partition, it will automatically be set to Default and cannot be changed, as shown in the screenshot above.
Use Placement Group
Currently available only on AWS and Google clusters.
Use this toggle button to enable the partition's instances to be launched as a placement group.
Typically, partition instances are launched throughout a zone. This strategy minimizes the chances of disprupting users' work: if one of the instances fails, especially from an outage or damage, the other instances are likely to remain unaffected.
With a placement group, the instances are instead launched close together. This strategy can improve network performance and is best suited for jobs that are small, short, or will not be affected by interruptions.
For AWS clusters, this setting is enabled by default.
Provisioning Mode
Available on AWS, Azure, and Google clusters.
Use this dropdown menu to choose how the partition's instances are provisioned. It defaults to Standard.
- Standard: On-demand instances that run for any duration you set. Ideal for most workloads.
- Preemptible: Lower cost, but can be reclaimed by the cloud at any time. Ideal for fault-tolerant workloads. Because another user can take over the resource at any time, use preemptible instances at your own risk.
- Flex-start (Google clusters only): Queued provisioning for scarce GPU capacity. May take hours or days to be fulfilled, then runs for up to 7 days. Available only on GPU or H4D instance types. Built on Google's Dynamic Workload Scheduler.
Flex-start and Dynamic Workload Scheduler
Flex-start is available only on Google clusters and is built on Google Cloud's Dynamic Workload Scheduler (Flex-start VMs). Instead of failing immediately when in-demand GPU capacity is unavailable, a flex-start request is queued and fulfilled once capacity frees up — which can take minutes, hours, or longer. Once capacity is granted, the node runs for up to 7 days. Flex-start is best suited to GPU workloads that can tolerate a delayed, non-deterministic start in exchange for better access to scarce hardware.
Flex-start Wait Time (seconds)
Appears when Provisioning Mode is set to Flex-start (Google clusters).
Use this field to set how long to wait for flex-start capacity before giving up. This is required for flex-start and accepts a value from 30 seconds to 7 days (604,800 seconds). It defaults to 300.
Max Run Duration (seconds)
Use this field to set the maximum time a node runs before it is deleted automatically.
For Flex-start partitions this is required and must be between 600 seconds and 7 days. For other provisioning modes it is optional — leave it empty for no limit.
Capacity Reservation*
Before you can use a capacity reservation on ACTIVATE, it must first be configured by an administrator in your organization. After this initial step, your administrator can distribute the values for Reservation ID and, if necessary, Placement Group.
Use this toggle button to enable on-demand capacity reservations, which reserve a set amount of compute capacity.
When Capacity Reservation is enabled, a Reservation ID dropdown menu will appear. For AWS, you will also enter the Placement Group.
Attached Filesystems Settings
Use this section to attach any of your configured storage resources. For more information, please see Attaching Storage.
Advanced Settings
Admin Settings
Debug Mode
Use this toggle button to disable clean-up for provisioning failures. The cluster owner will also have root access to the nodes for debugging purposes (ssh root@).
Script Settings
Optionally, you can set scripts to execute when you start a cluster.
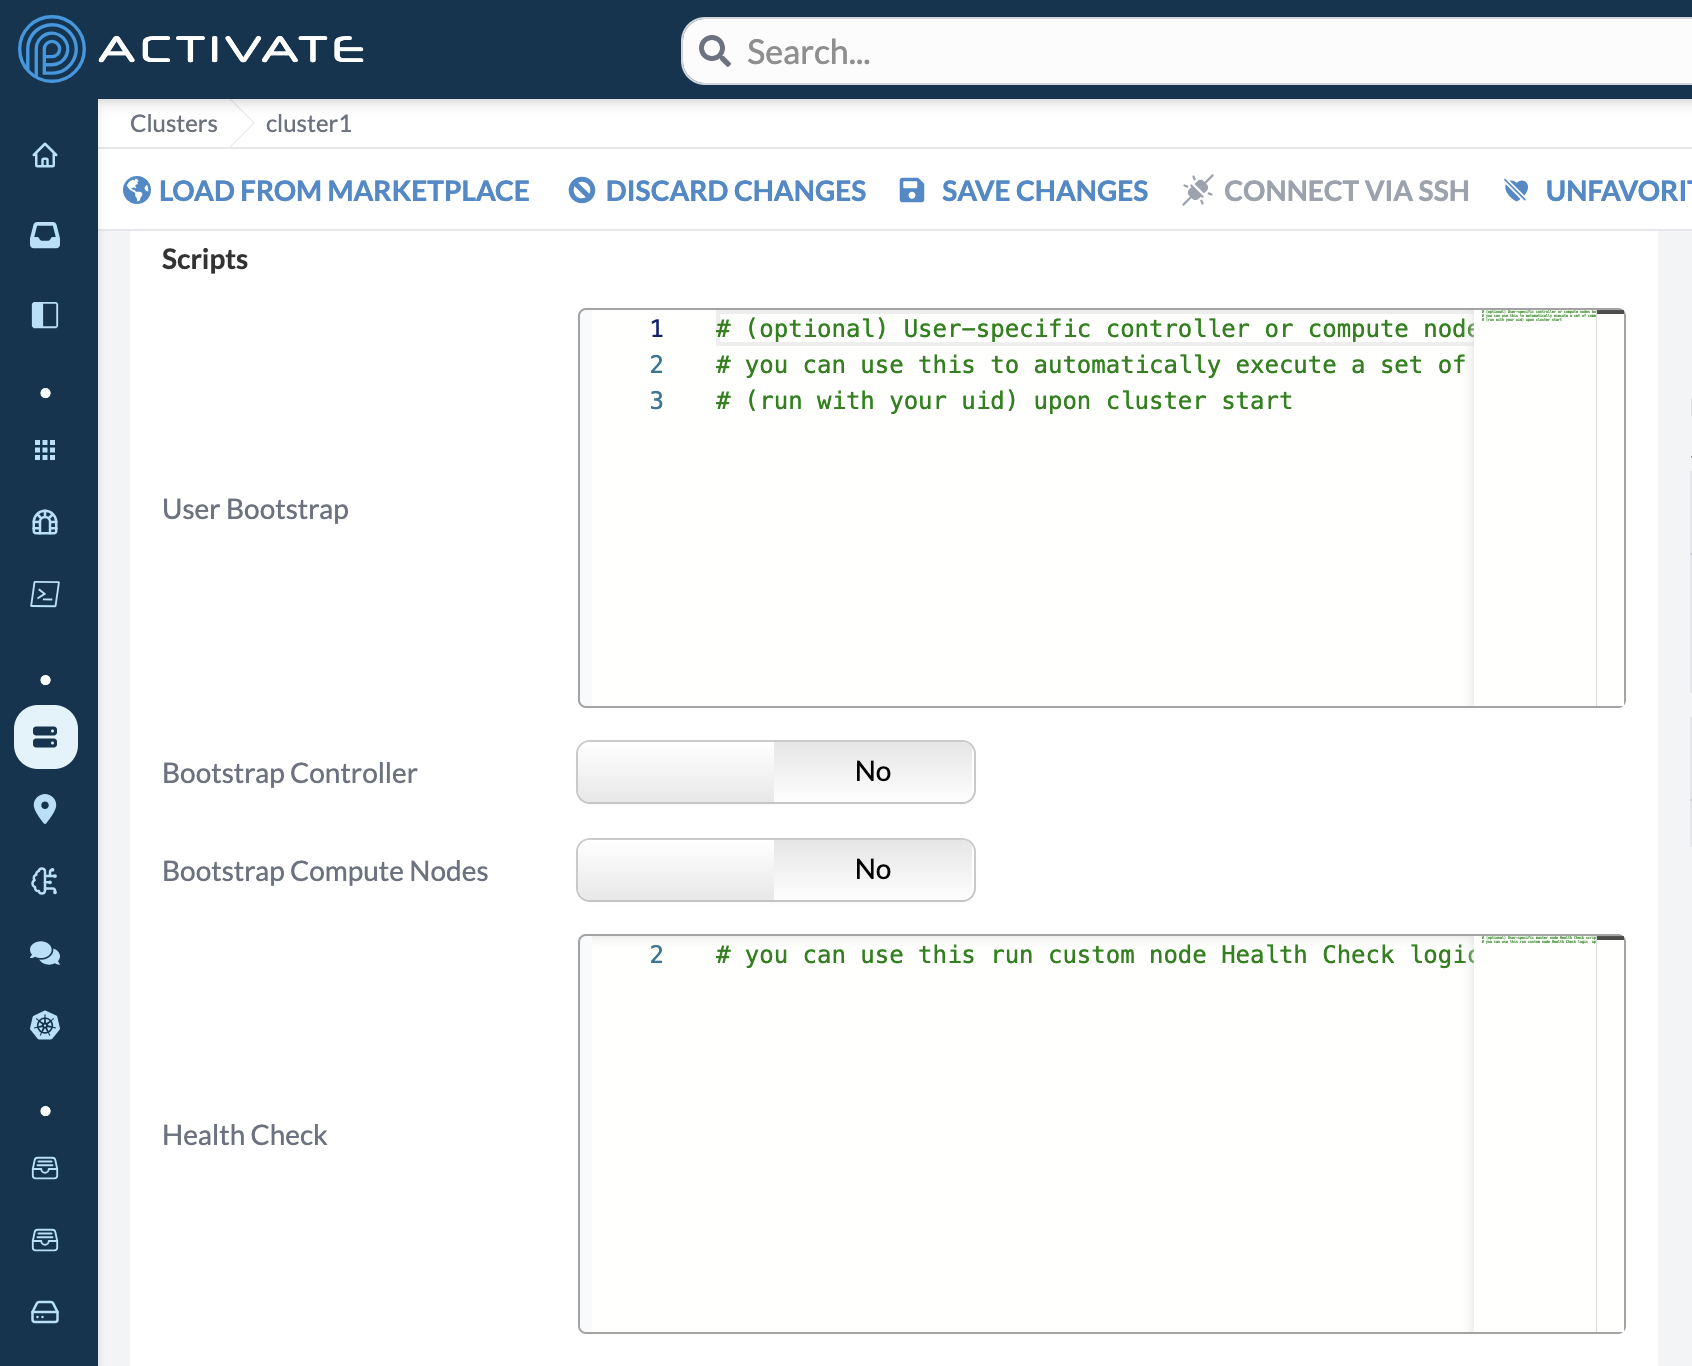
User Bootstrap
Use this text box to set a script that executes once a controller node has started. For example, you can set files to automatically move into a specific folder.
Bootstrap Controller
Use this toggle button to specify whether your bootstrap script will run on the controller node.
Bootstrap Compute Nodes
Use this toggle button to specify whether your bootstrap script will run on compute nodes.
Health Check
Use this text box to set a script that runs a health check on a controller node. When the script is done running, you’ll see any error codes in red or an exit code of 0 in green if there are no errors.
For more information, see Health Checks (coming soon).
Scheduler Settings
ACTIVATE uses Slurm to manage jobs on controller and compute nodes. The settings below determine how Slurm behaves for your cluster's nodes.
Please note that numerical values you enter in these fields are measured in seconds.
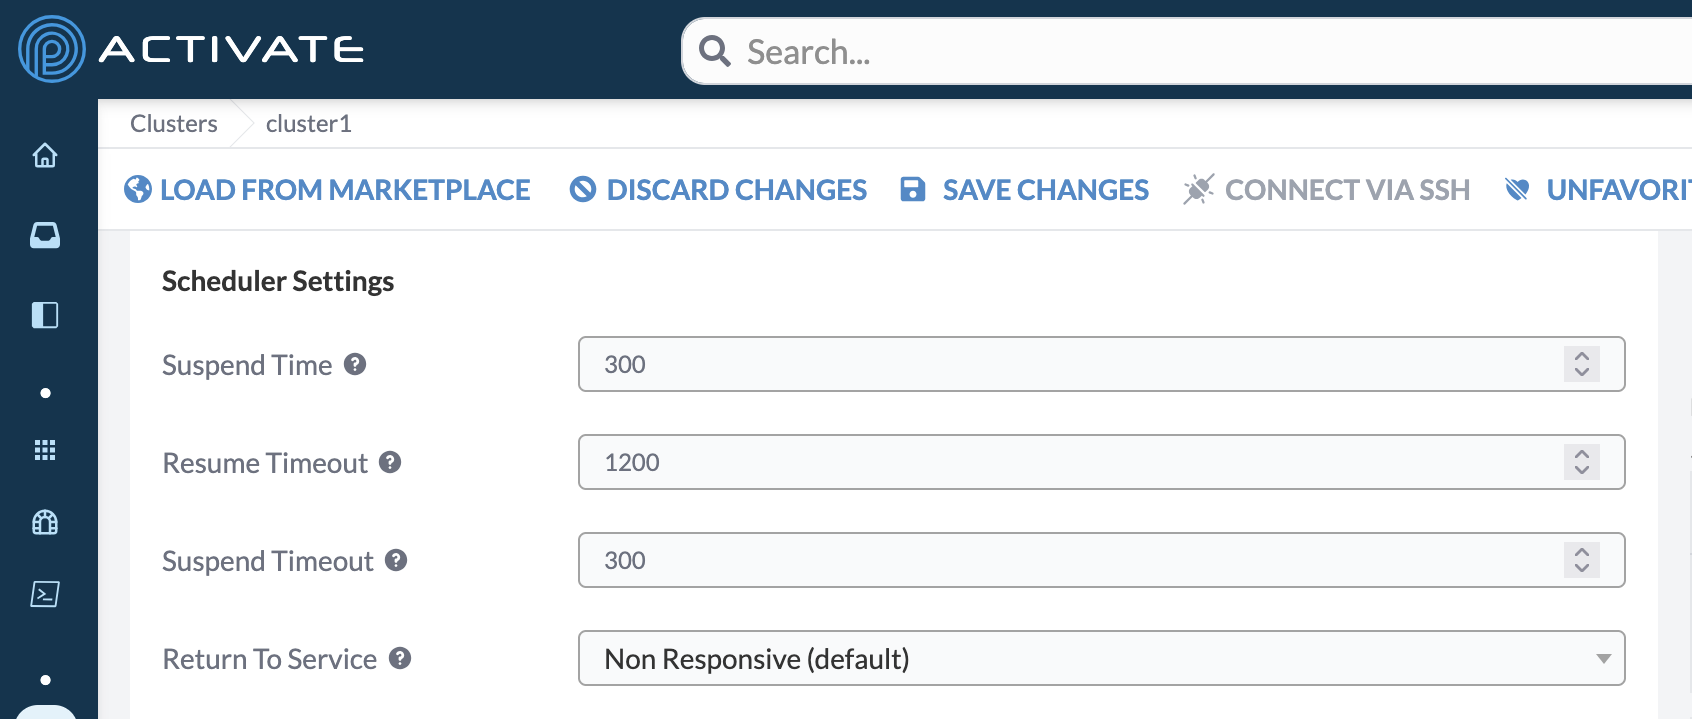
Suspend Time
Use this field to set how long Slurm will wait before shutting down idle nodes. This field is set to 300 by default.
Resume Timeout
Use this field to set the maximum amount of time Slurm will try to start nodes. If the nodes don’t start by the end of the set time, Slurm will end the initialization attempt. This field is set to 1200 by default.
Suspend Timeout
Use this field to set how long Slurm will wait to make nodes available again after shutting them down. This field is set to 300 by default.
Return To Service
Use this dropdown menu to select when down nodes are returned to service.
The Non Responsive option means that down nodes will become available only if they were set to down because they were non-responsive.
The Any Reason option means that down nodes will become available if they were set to down for any reason, including low memory, an unexpected reboot, or being non-responsive.
This field is set to Non Responsive by default.
User Workspace Mount Points
You can specify multiple mount points for your cluster, which makes it easier to view, upload, and edit cluster files in the ACTIVATE Editor and terminal.
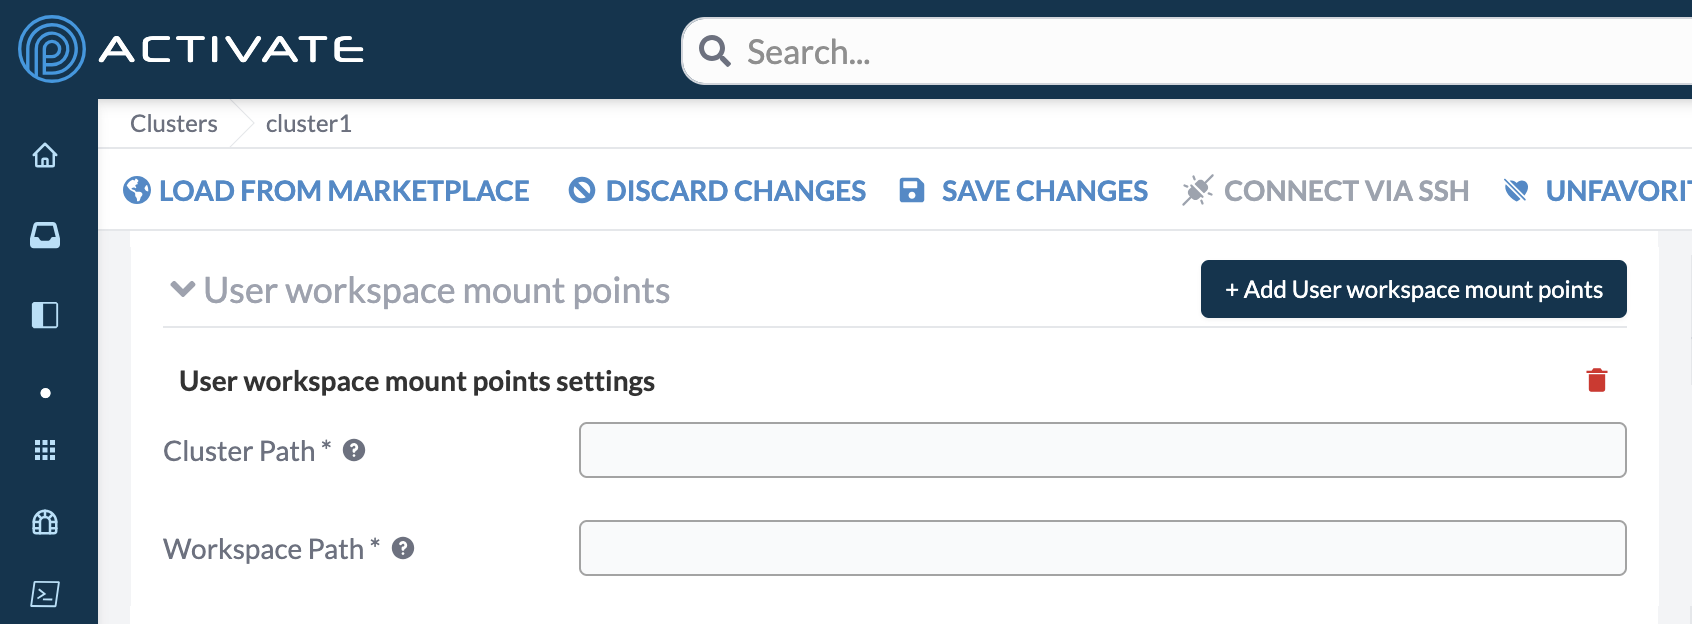
Cluster Path
Use this field to enter the path that will be mounted from your cluster to your user workspace. You can use the following substitutions:
__HOME__is the user home directory on your cluster.__USER__will be replaced by your cluster's remote username; this username may be the same as your ACTIVATE username in some cases.
Workspace Path
Use this field to enter the path to mount the cluster inside your user workspace. You can use the following substitutions:
__HOME__is the user workspace home directory.__USER__will be replaced by your ACTIVATE username.__CLUSTER__will be replaced by your cluster's name.
Alerts
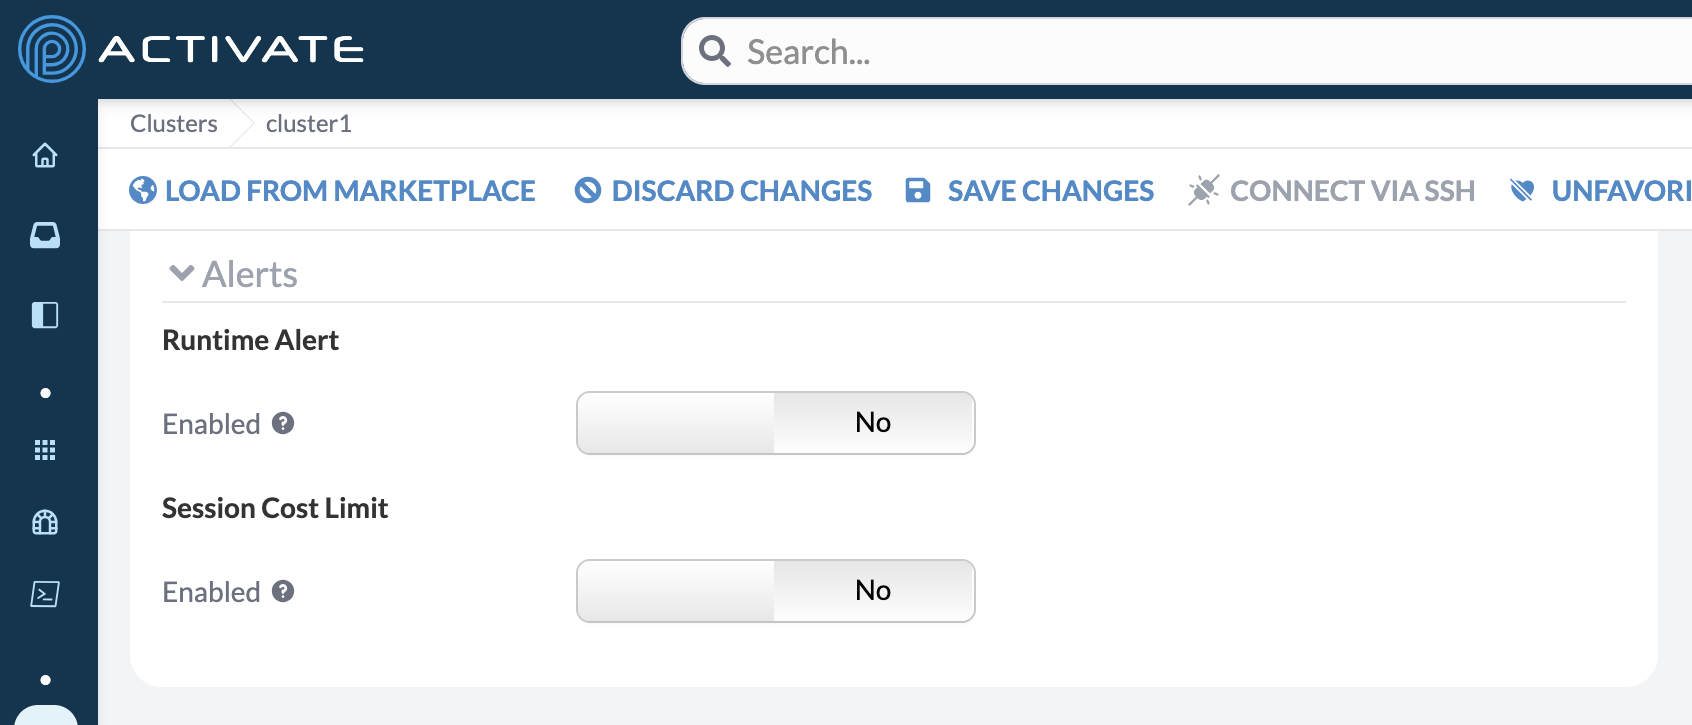
Runtime Alert
Use this toggle button to enable runtime alerts. When enabled, you'll receive an automated email from noreply@parallelworks.com at a set hourly interval, reminding you that your cluster is still running:
Dear {username},

This is an automated message to inform you that your cluster {cluster_name} has been running for {time} hours. Please take note of the following details:

Cluster name: {cluster_name}
Cluster start time: {start_date}
Total run time: {total_time}
Next alert time: {next_alert}

This alert can be turned off in the resource's properties page.

Sincerely,

Parallel Works
Session Cost Limit
Use this toggle button to enable a session cost limit. When enabled, your cluster will be destroyed and you'll receive an automated email from noreply@parallelworks.com:
Dear {username},

This is an automated message to inform you that the current session for your cluster {cluster_name} has exceeded the cost limit. Please take note of the following details:

Resource name: {cluster_name}
Resource start time: {start_date}
Total run time: {total_time}
Current session cost: {current_cost}
Session cost limit: {cost_limit}

Your cluster will be terminated. Data saved on this resource is not recoverable. This automated action can be turned off in the resource's properties page under Session Cost Limit.

Sincerely,

Parallel Works
Load From Marketplace
You can load pre-configured settings from existing resources in the Marketplace.
First, add an item from the Marketplace.
Next, create a new resource or navigate to an existing resource's settings. Click Edit, then Load From Marketplace.
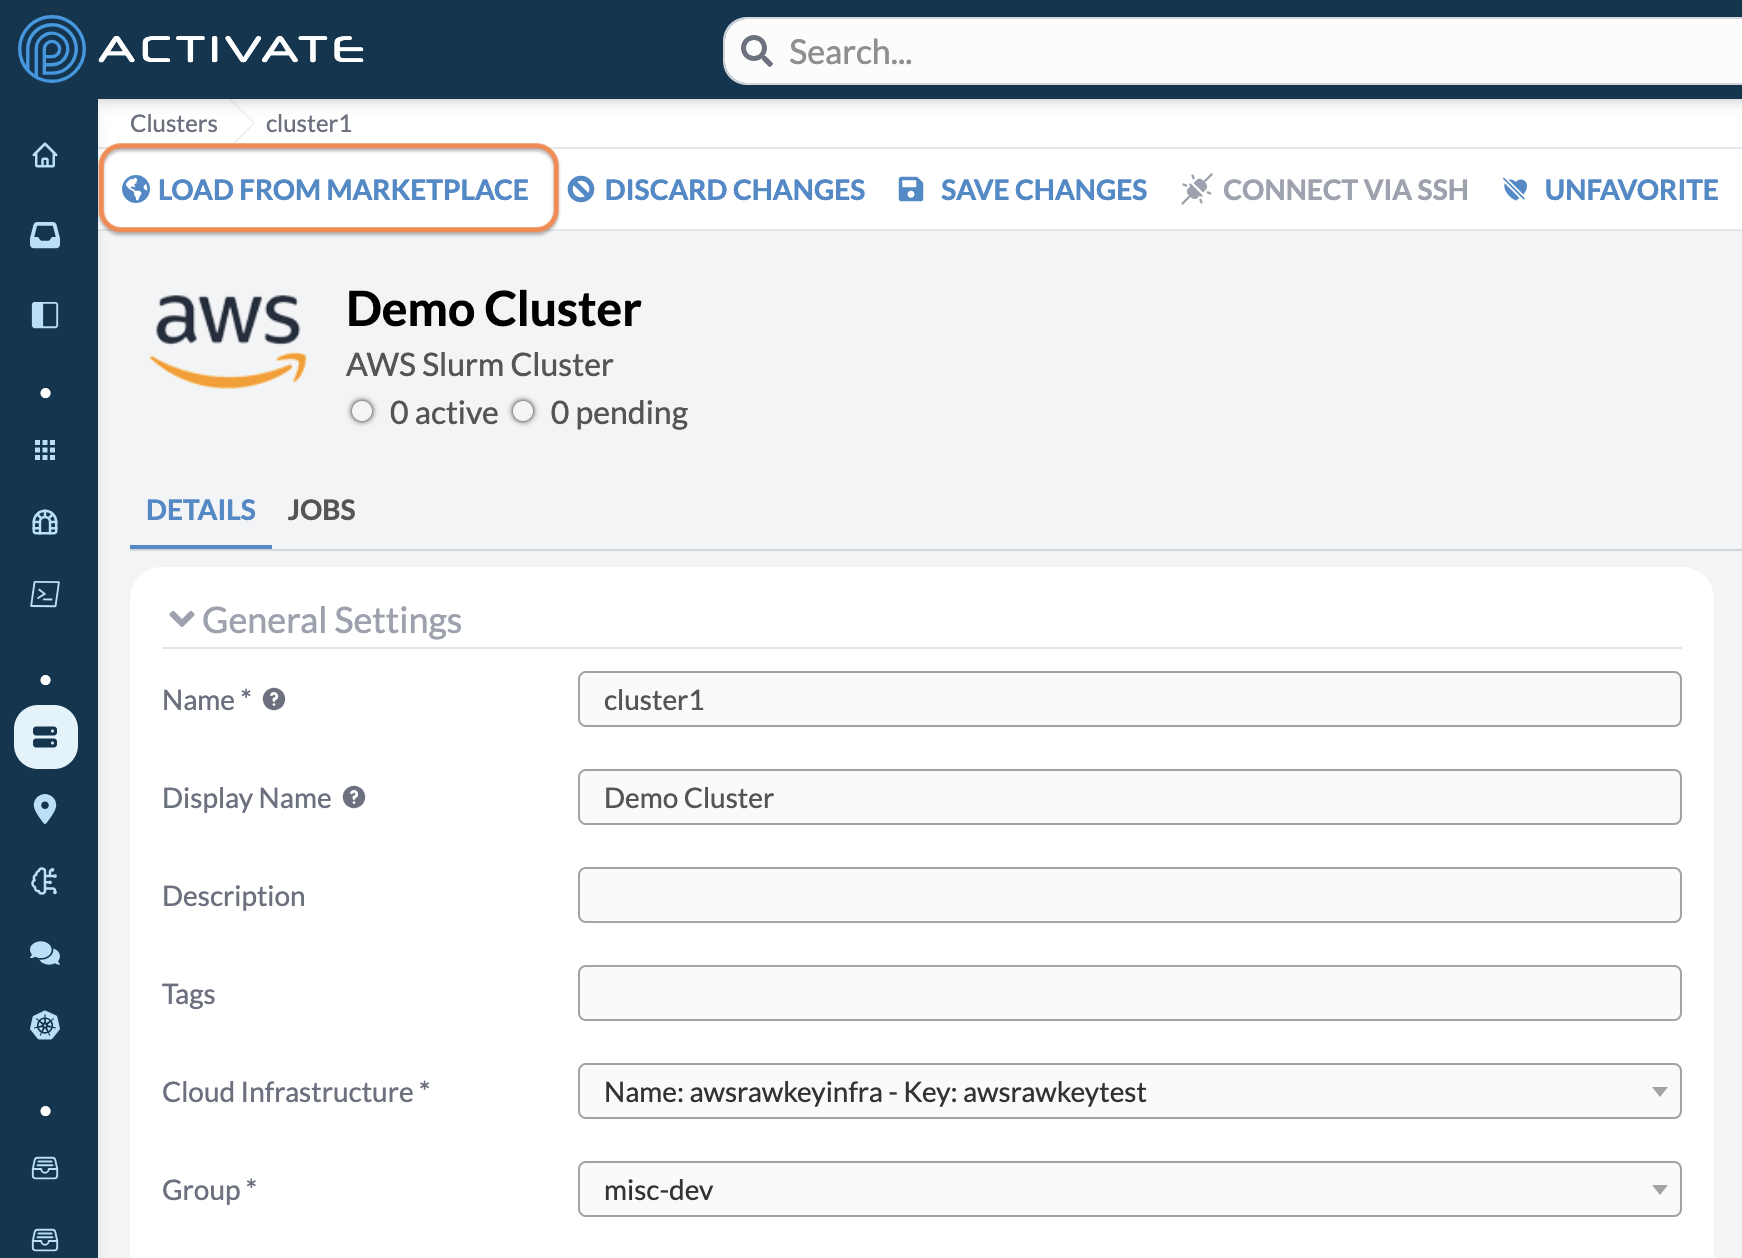
After you click Load From Marketplace, a dialog box will appear with more information: This will change the cluster settings to a configuration from the Marketplace. Restoring will overwrite all changes you have made to these sections. Filesystems are configured separately. For more information, see the documentation.
Choose your resource from the dropdown menu, then click Restore.