Configuring Existing Clusters
ACTIVATE allows users to access the capabilities of an existing HPC cluster remotely.
Creating a Cluster Definition
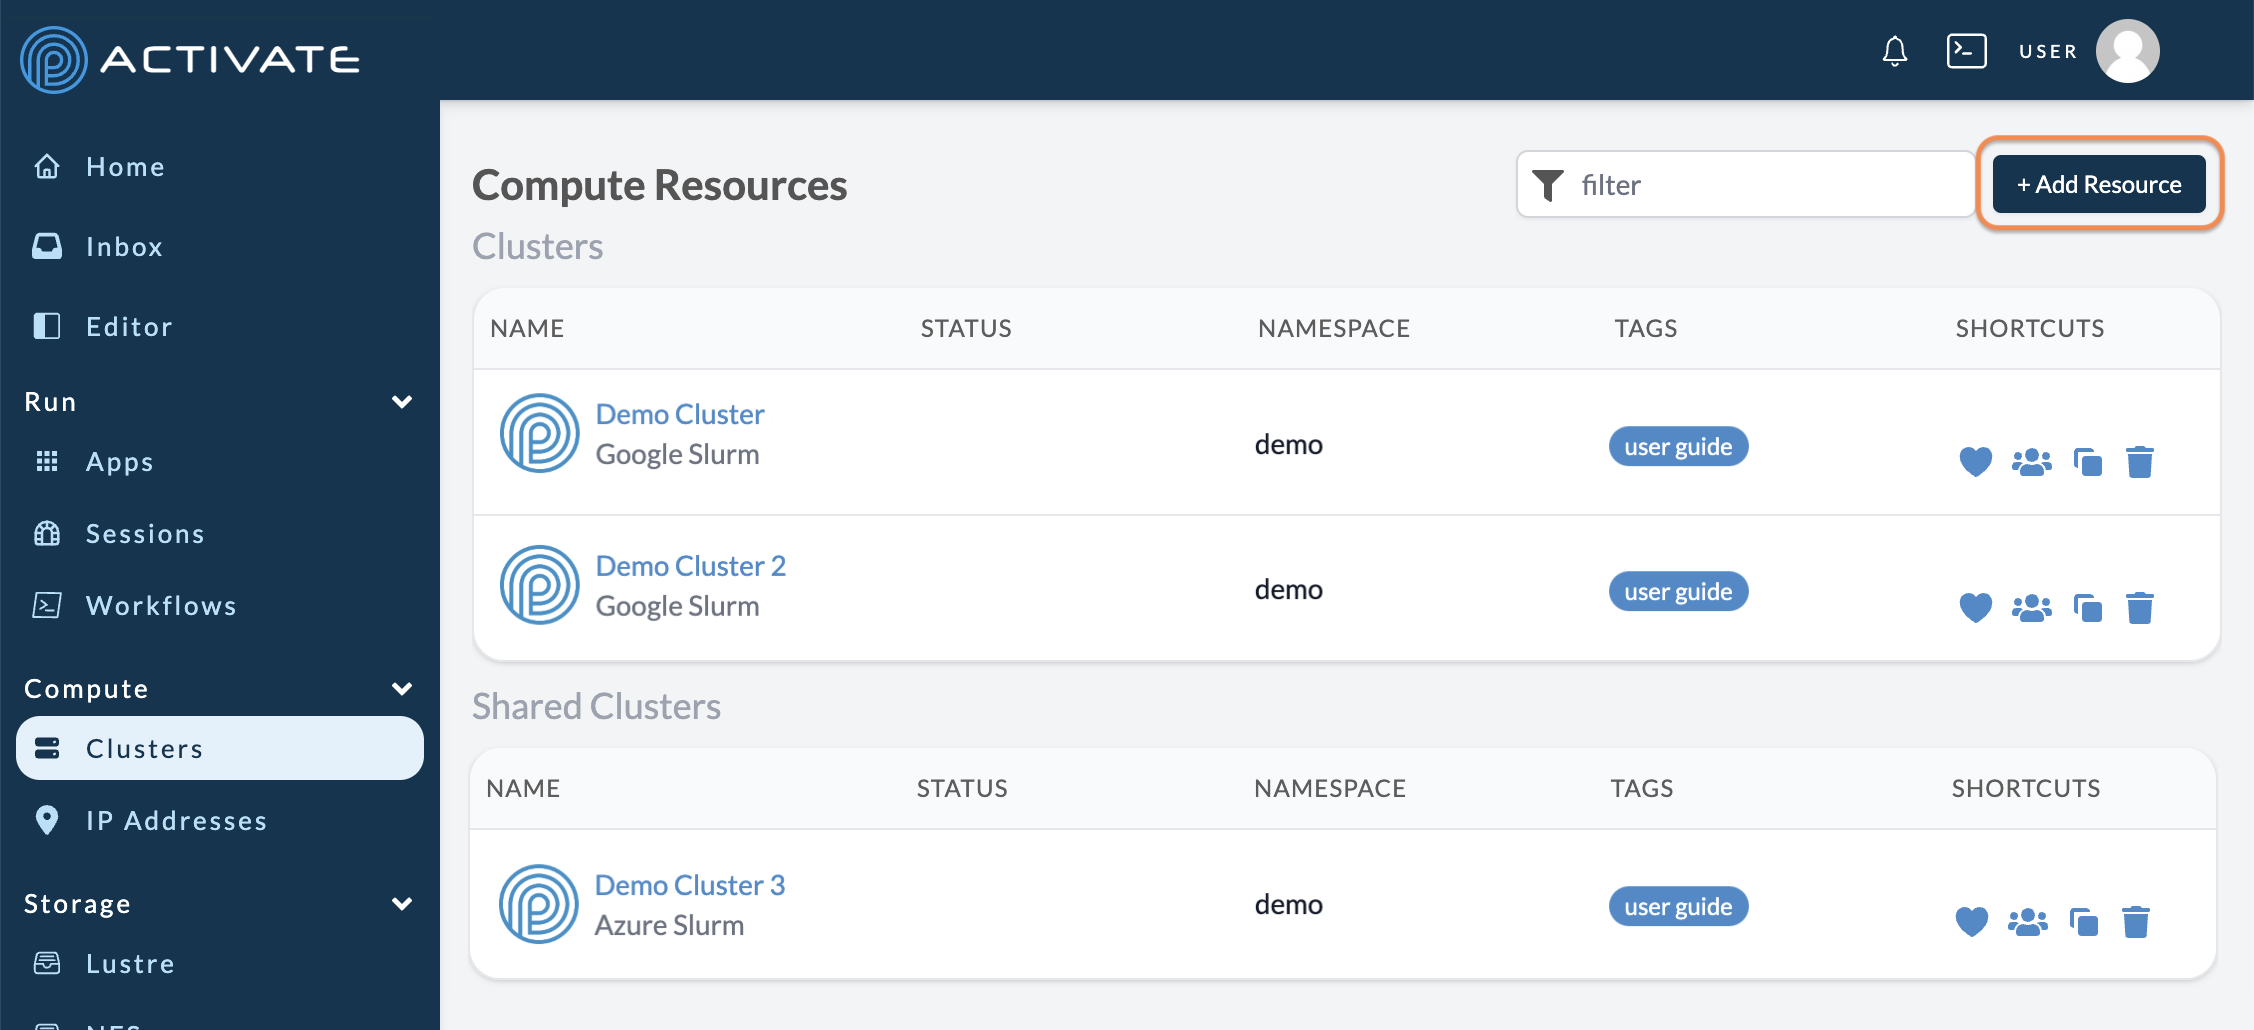
Navigate to the Clusters page under the Compute tab.
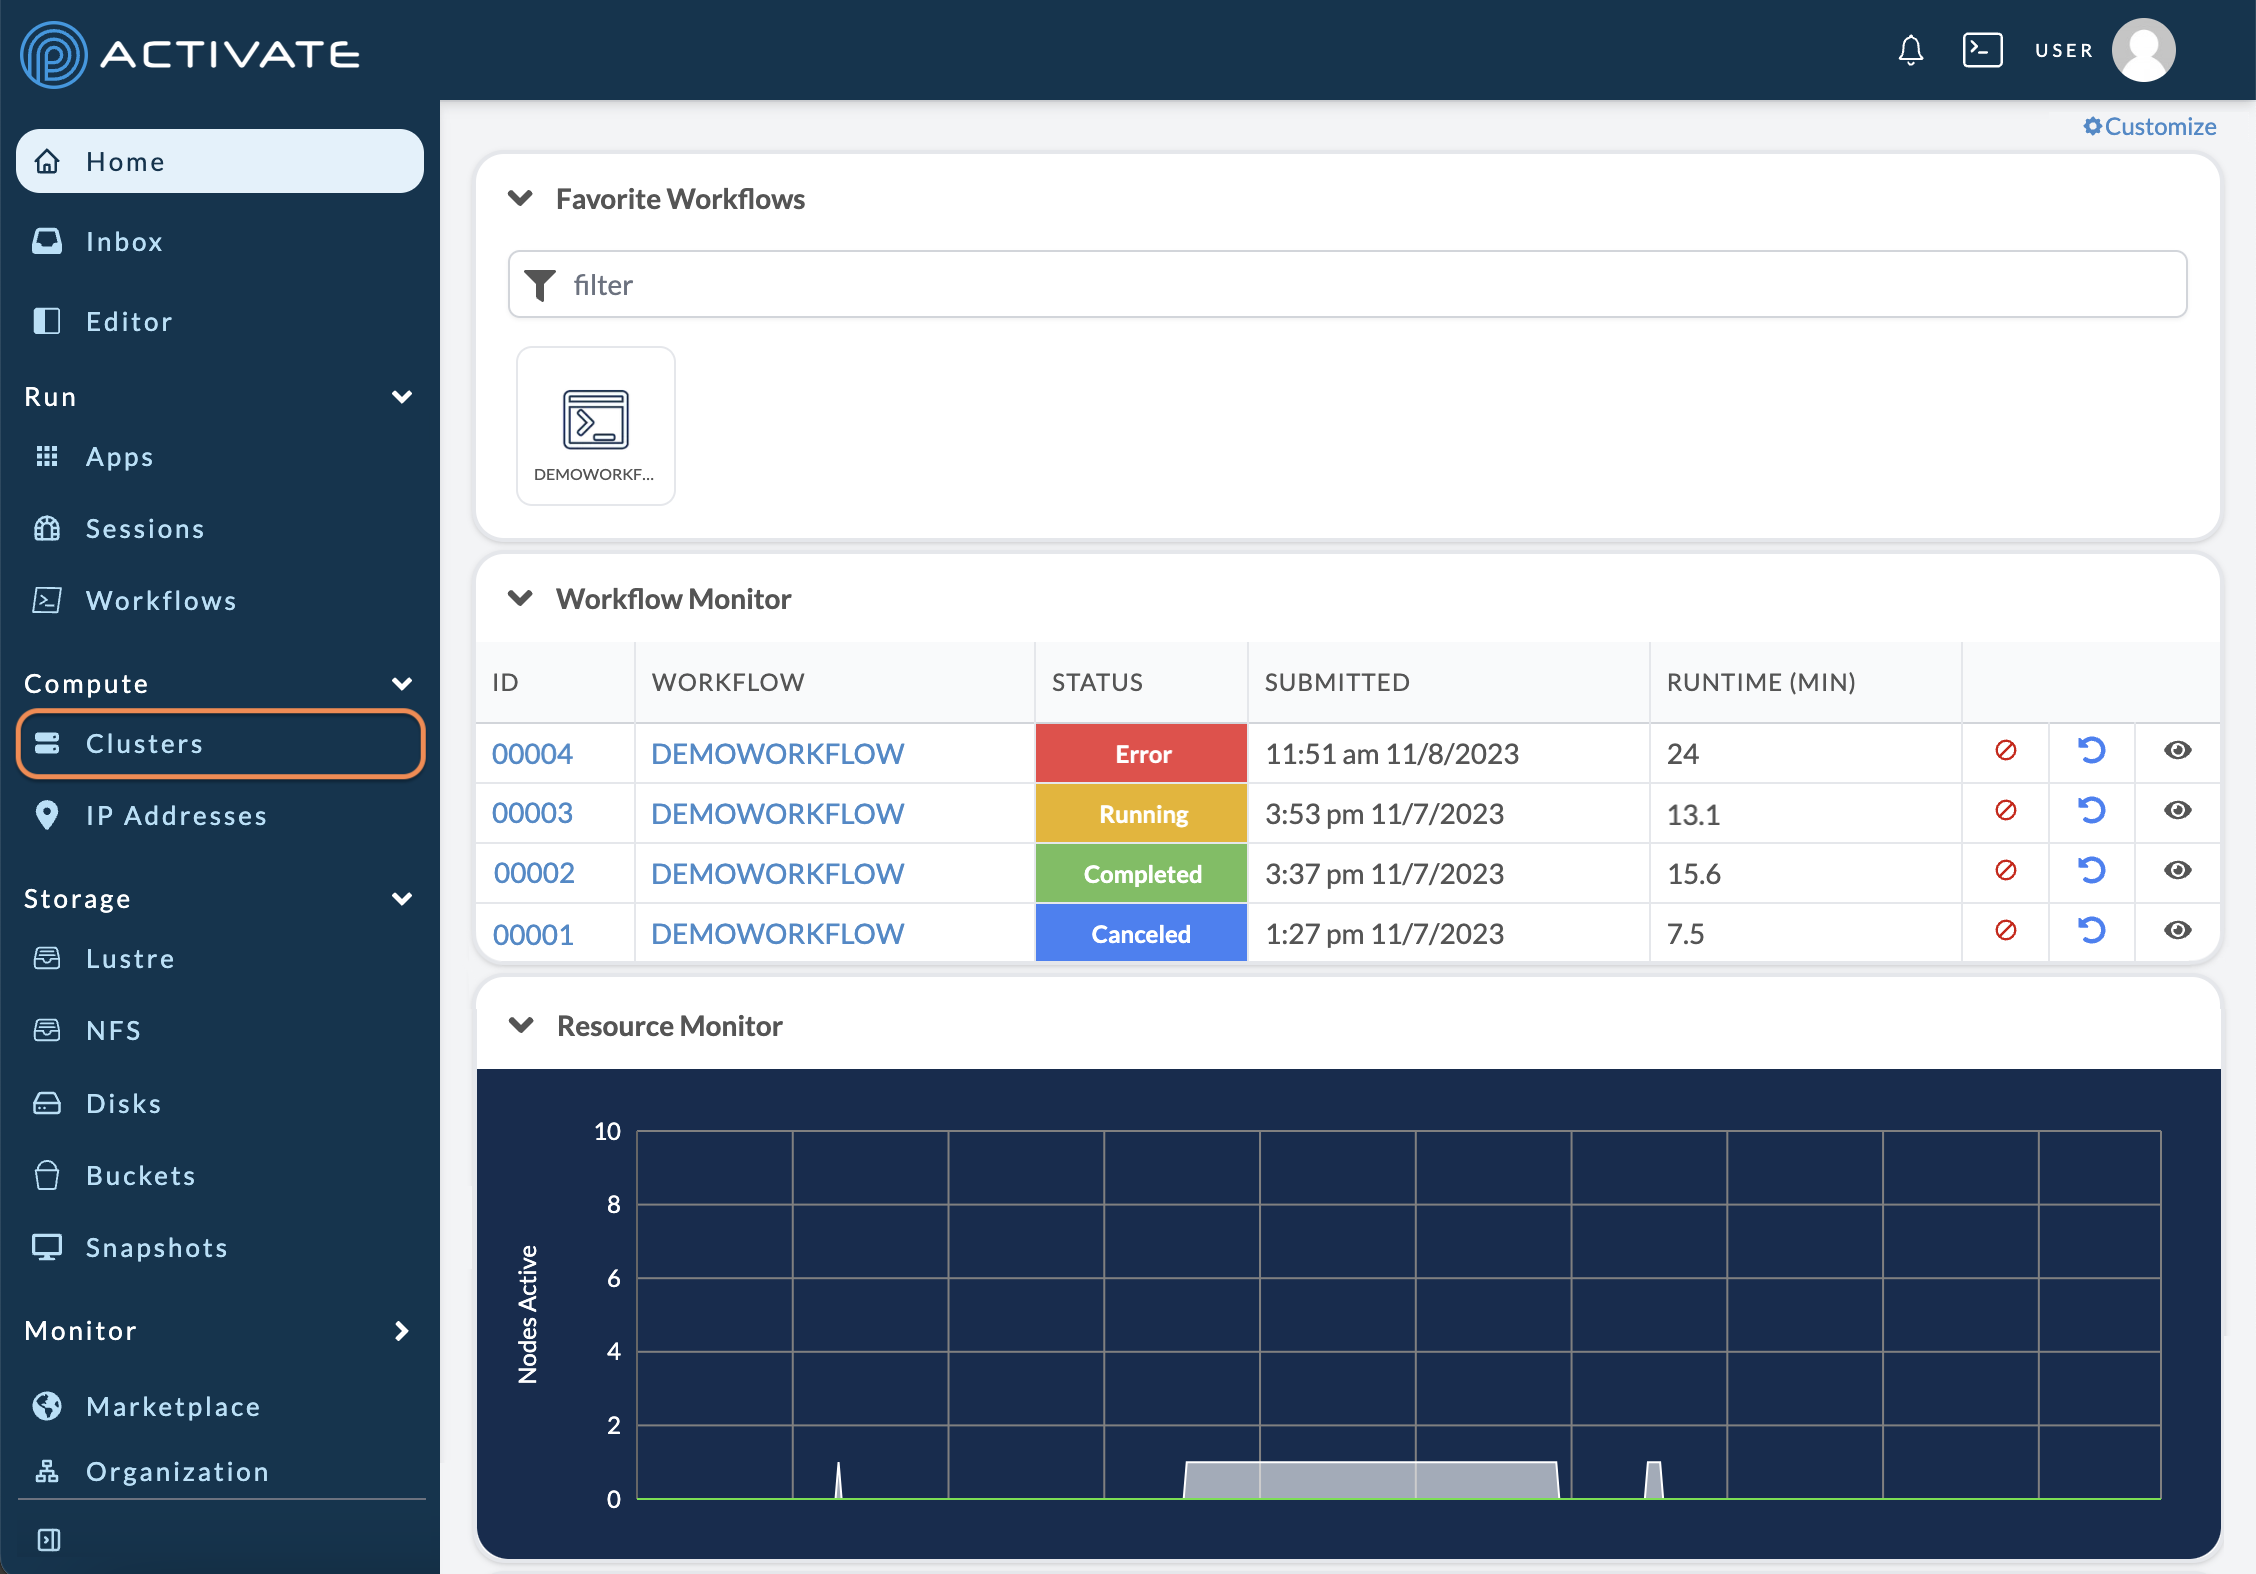
Click the + Add Resource button
Select Existing Cluster.
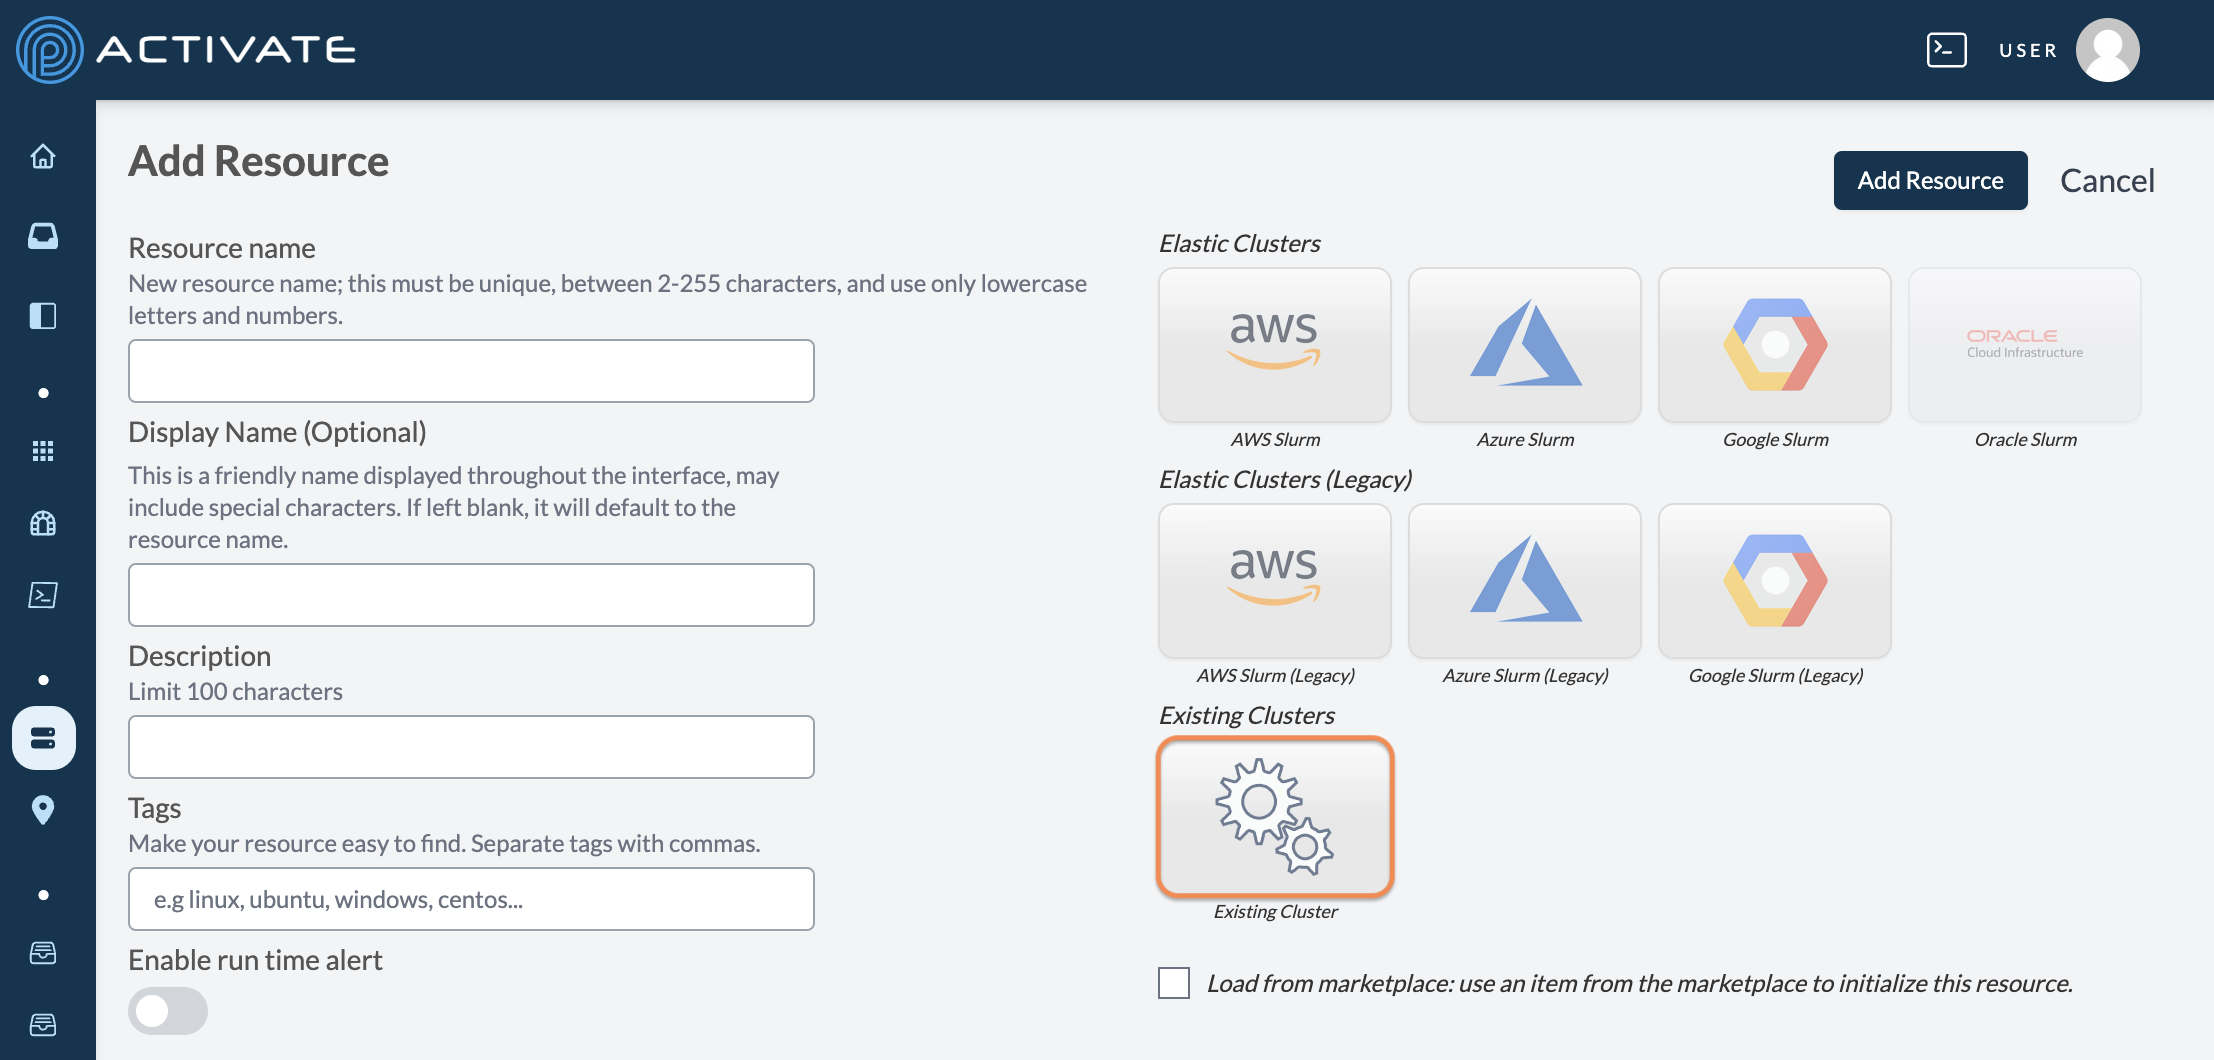
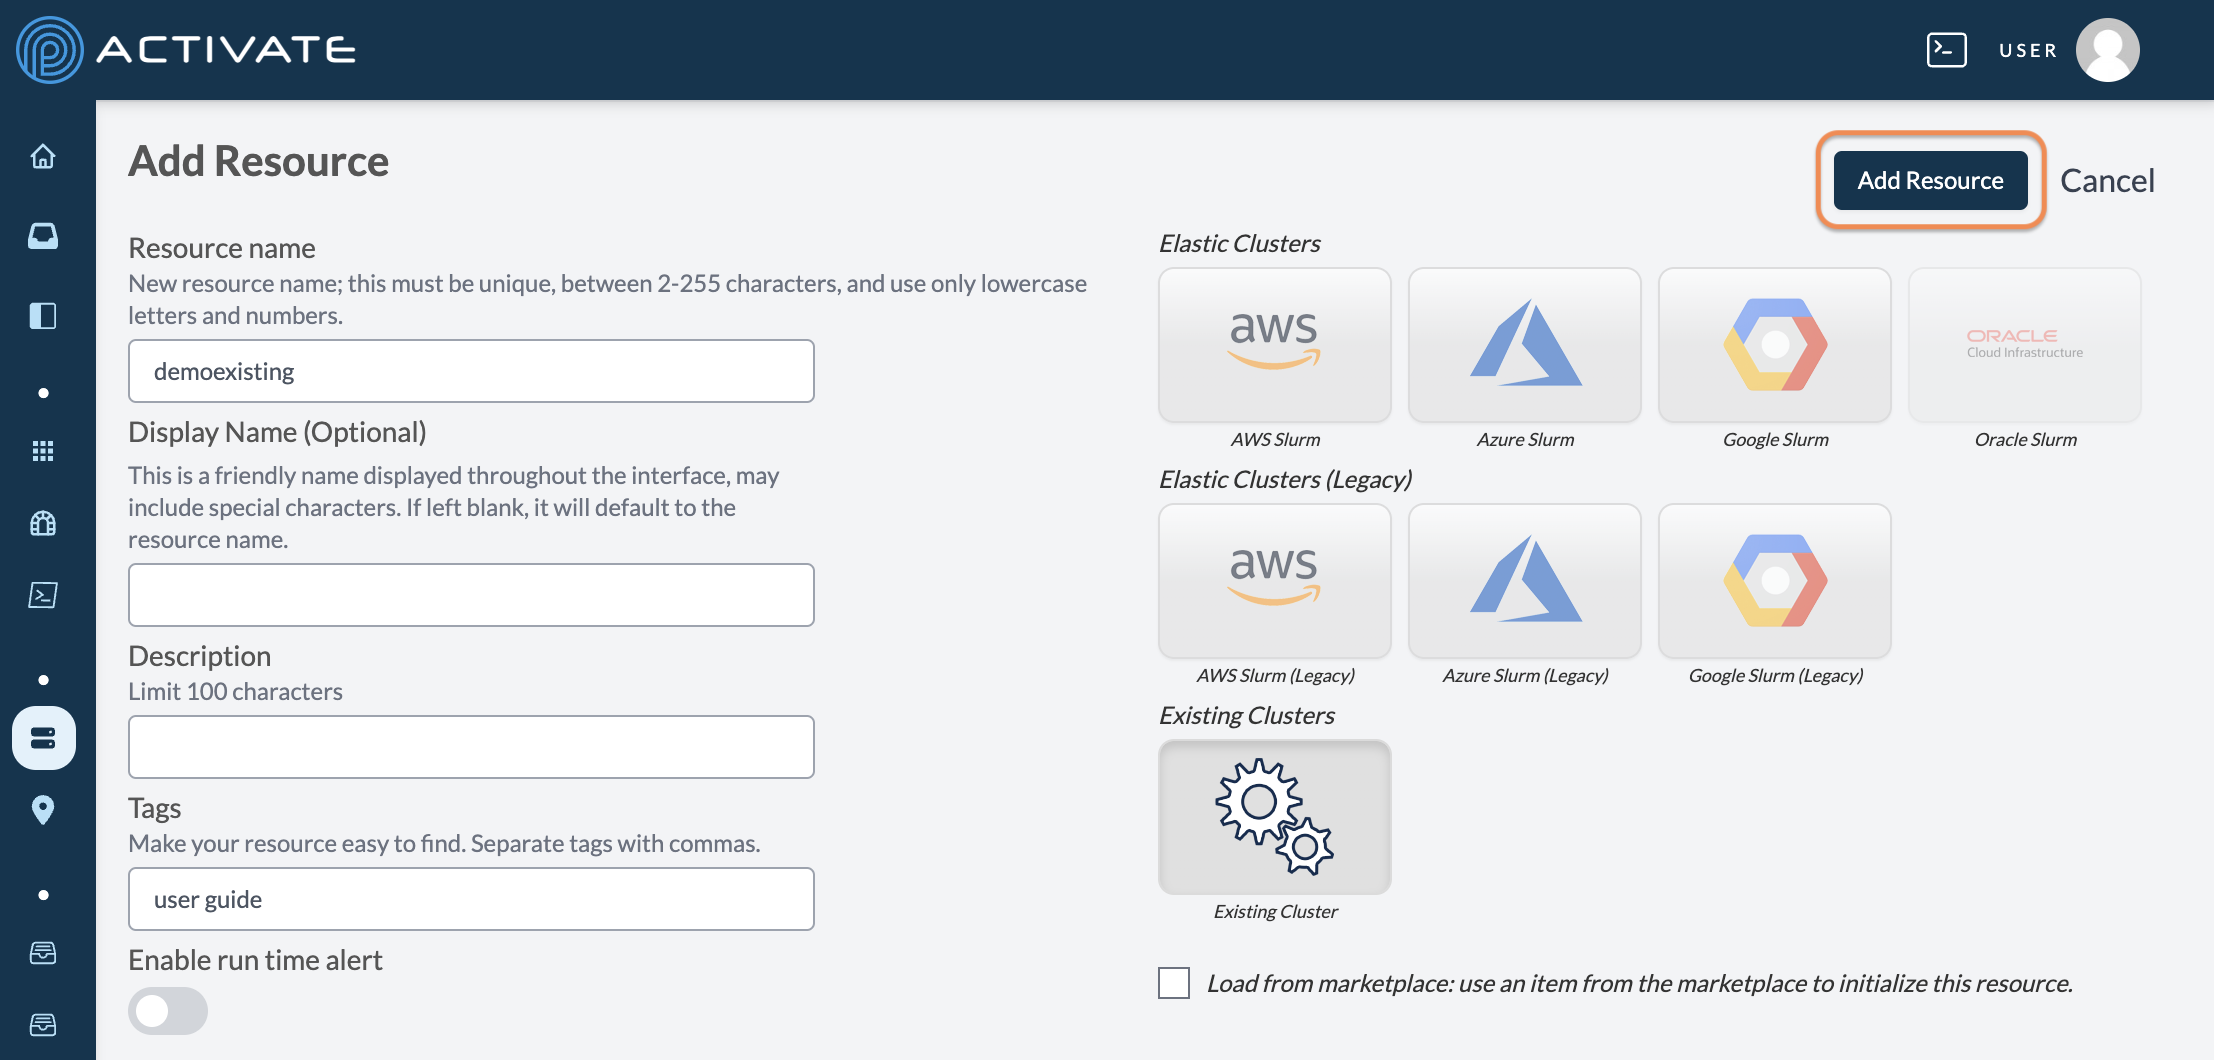
You must enter a Resource Name. The Display Name, Short description, and Tags are all optional.
Click the Add Resource button.
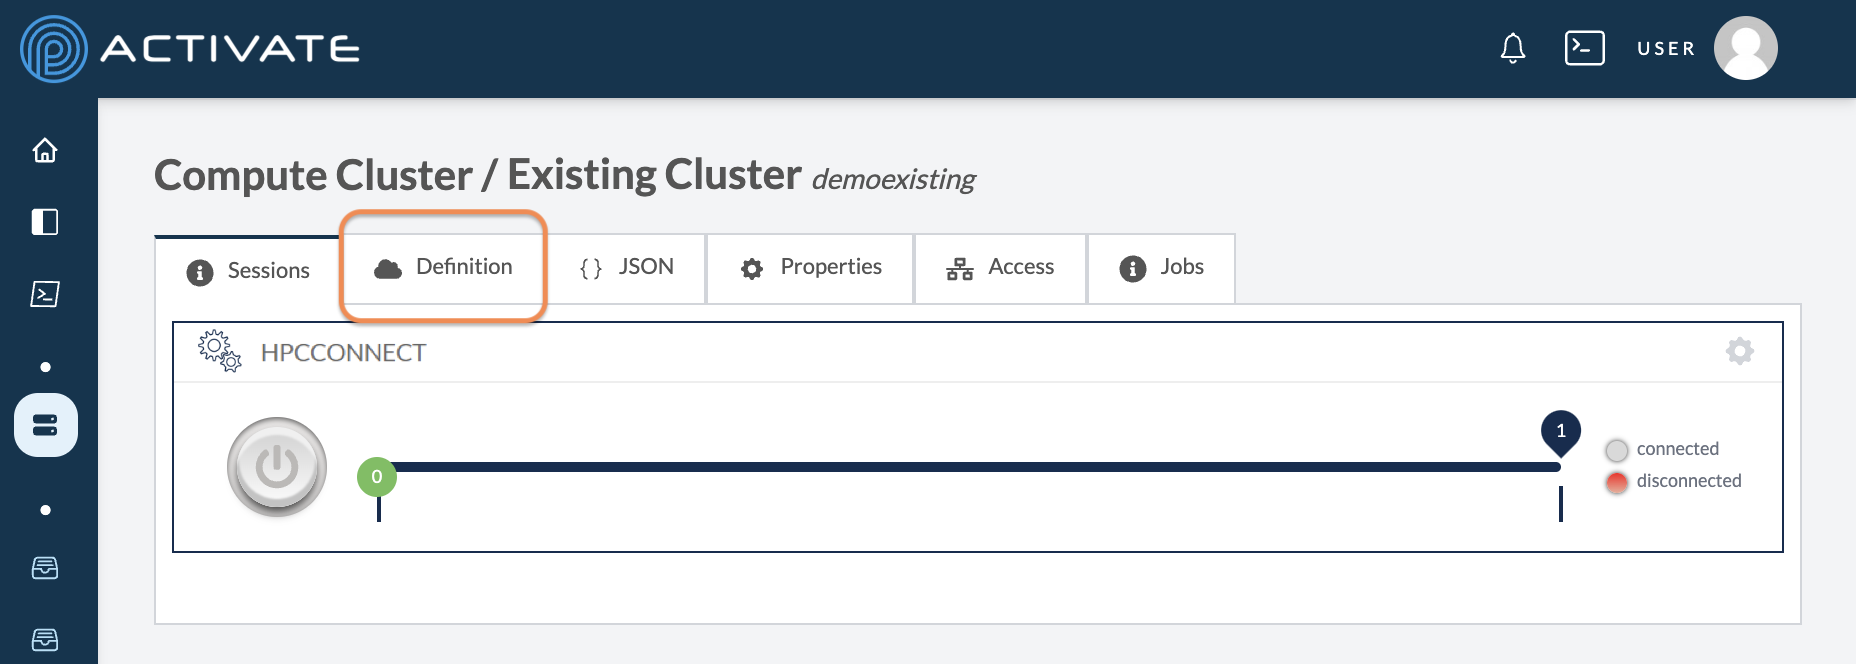
On the next page, click the Definition tab.
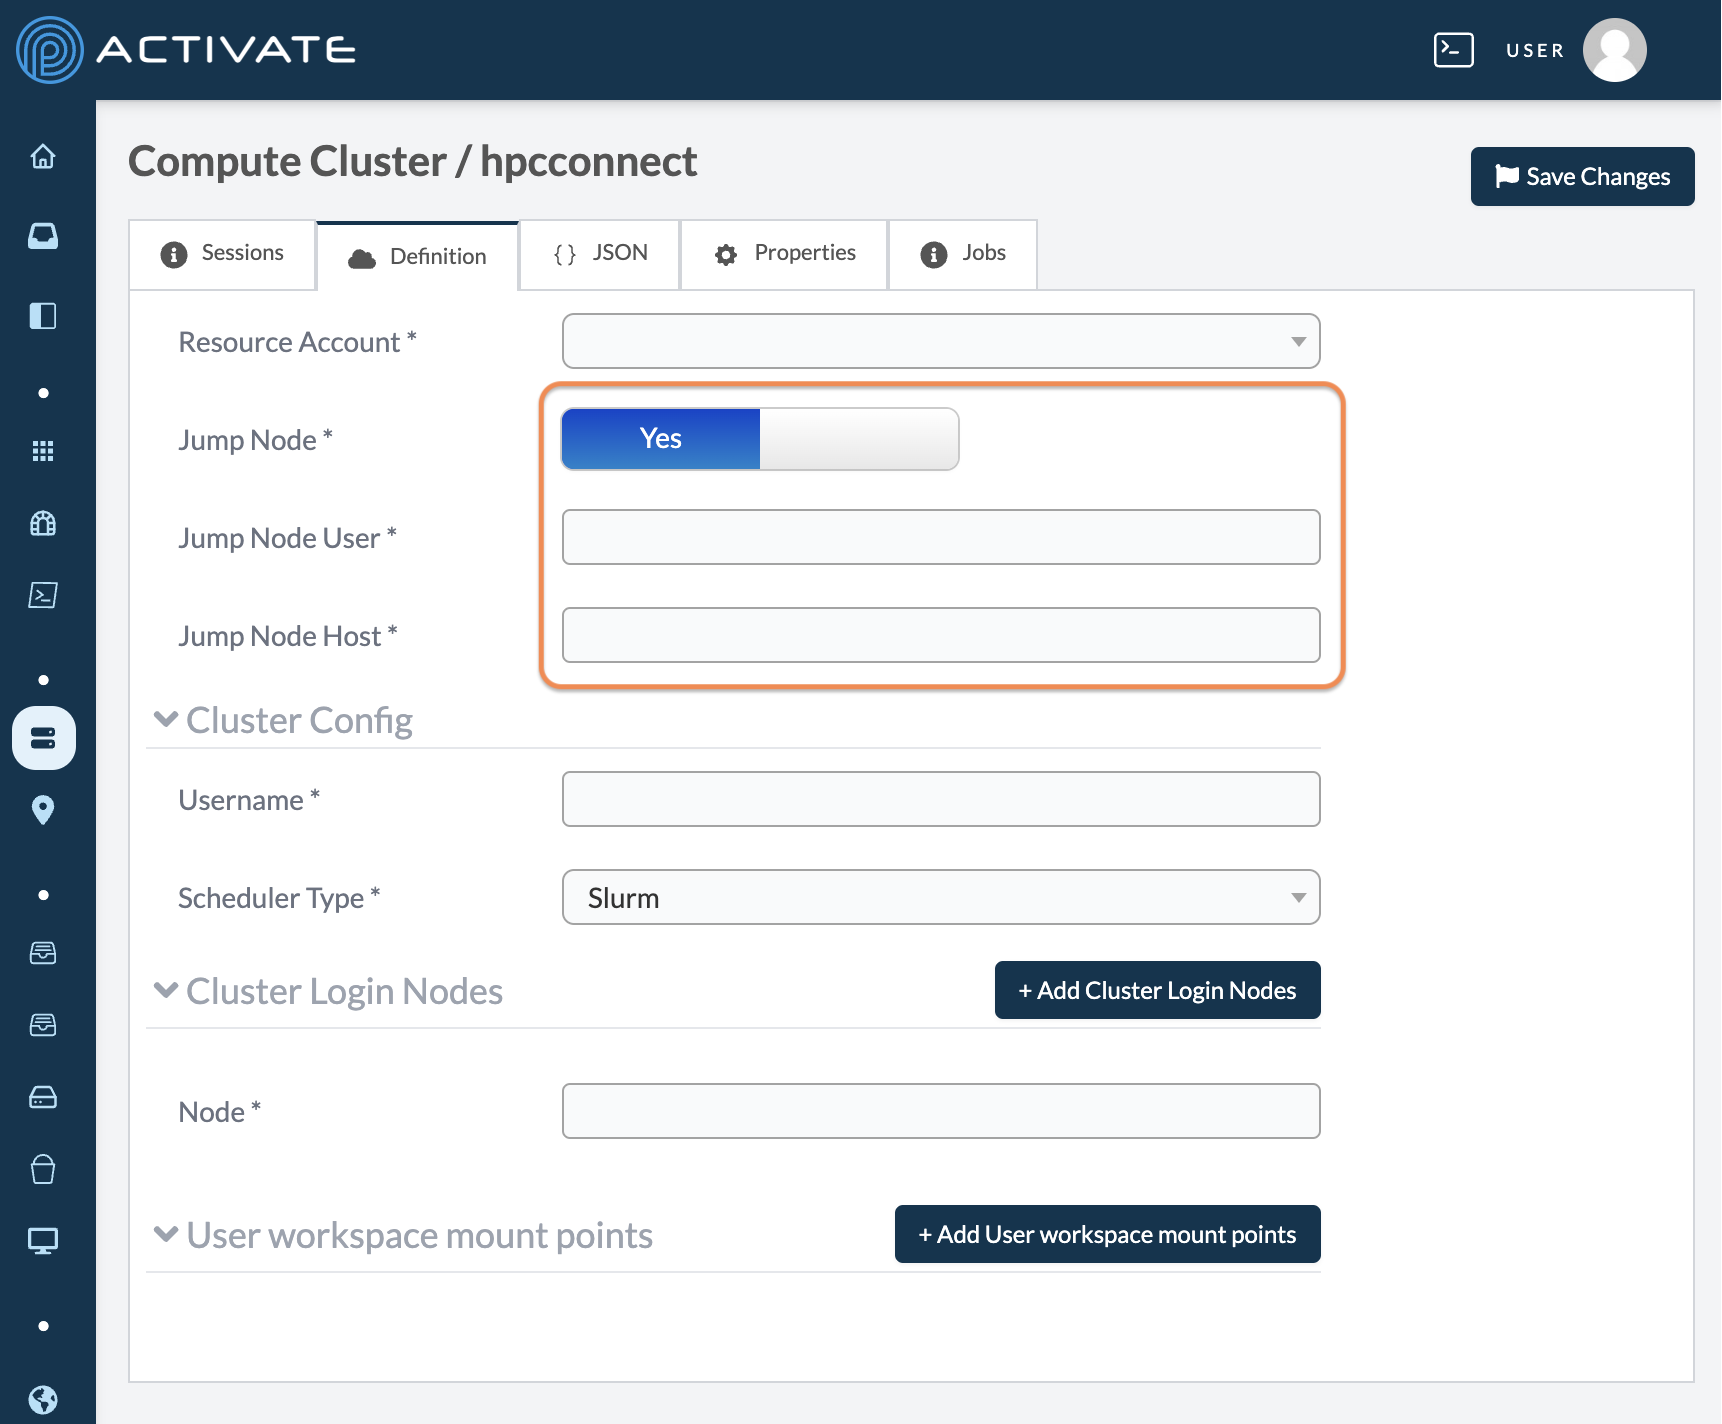
If the existing cluster you wish to connect to utilizes a jump host, select Yes for the Jump Node option. Enter the proper Jump Node User and Jump Node Host information to continue.
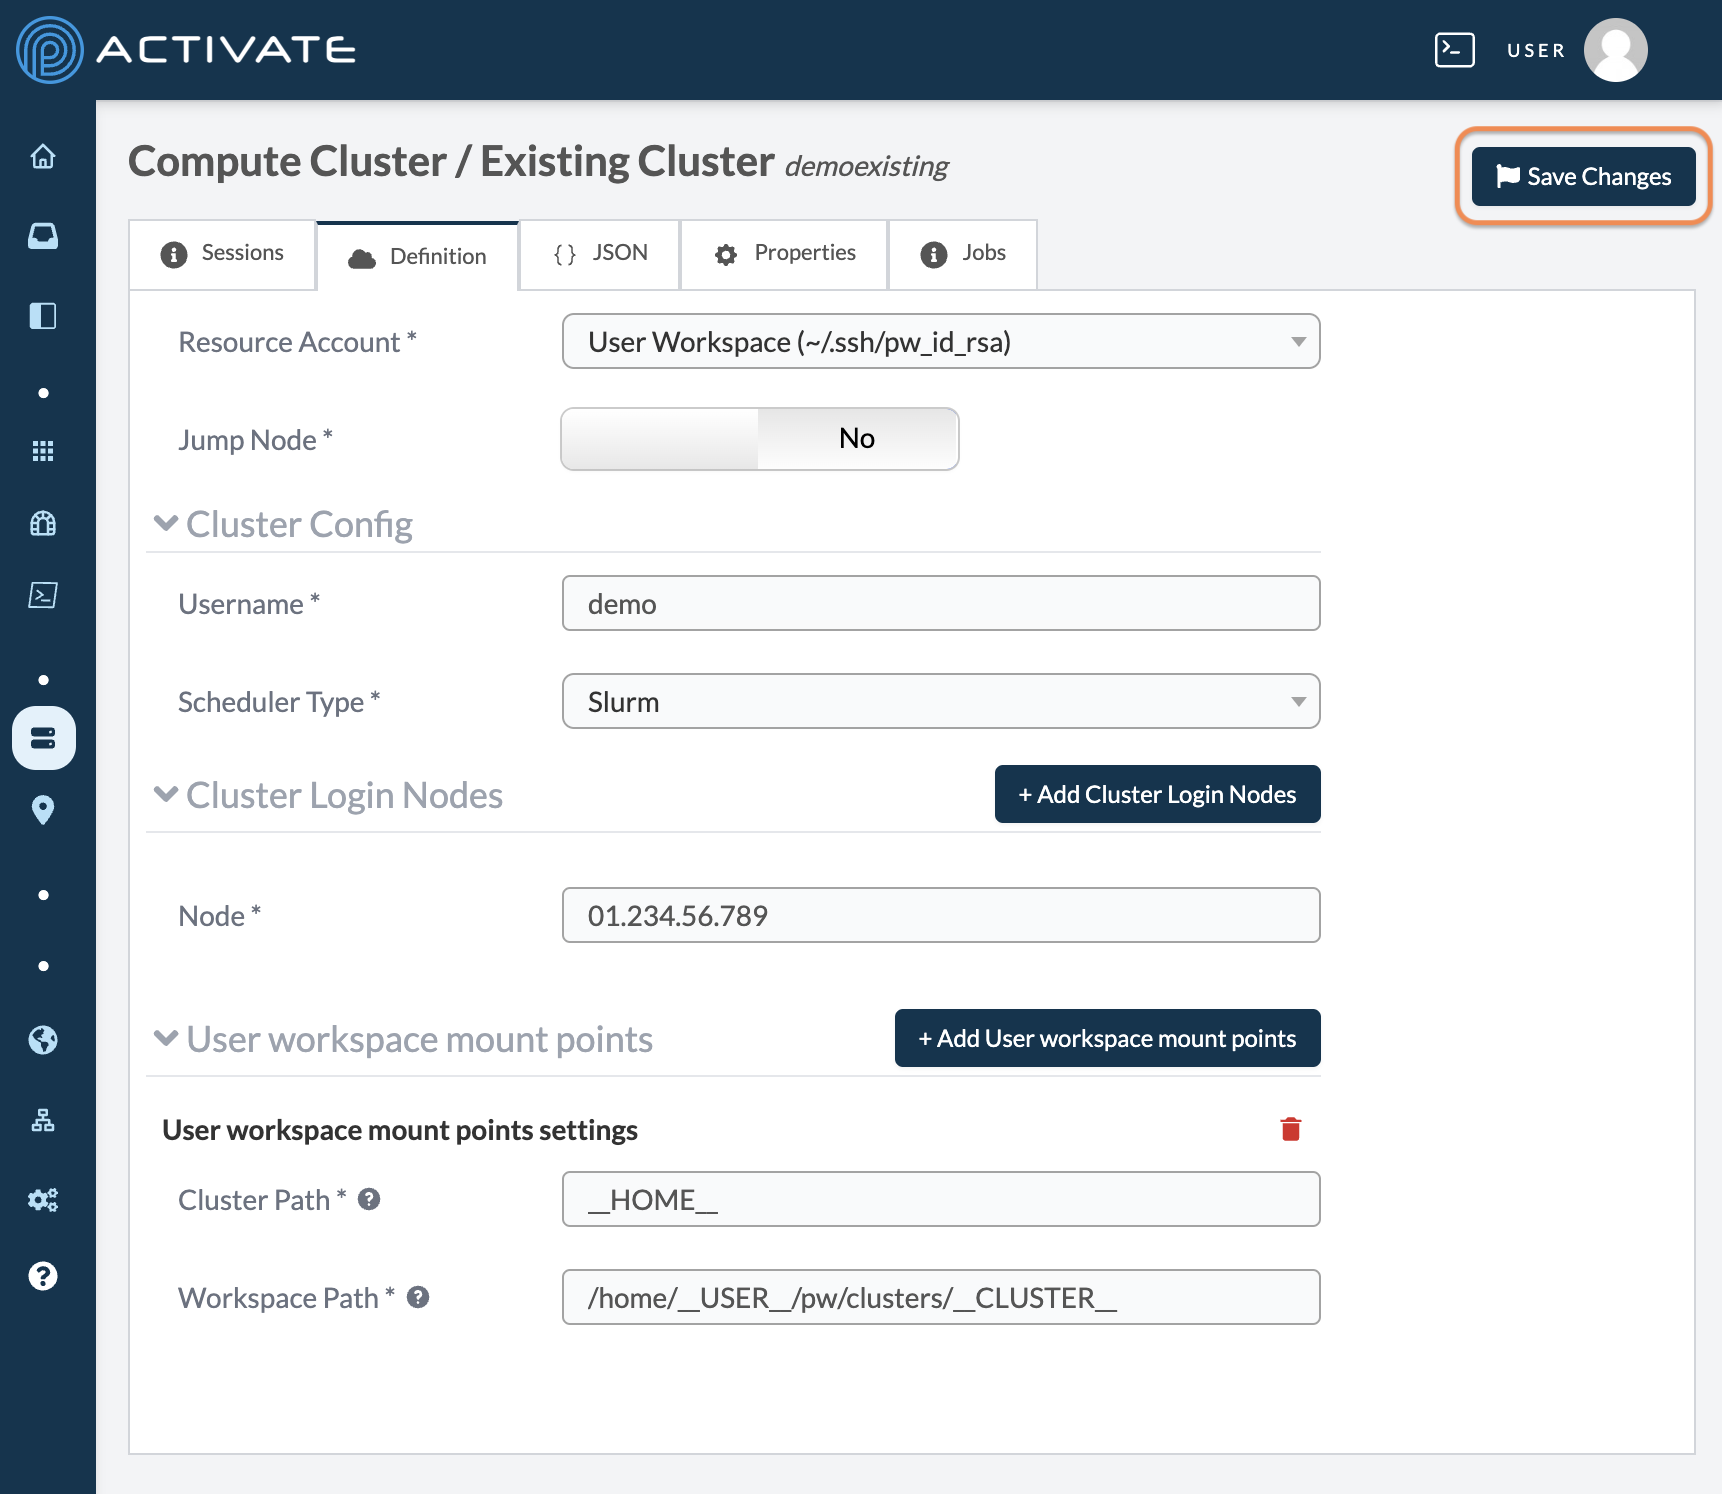
In the Cluster Configuration section, enter the Username and Cluster Login Node. Typically, the Cluster Login Node refers to the IP address of the cluster you wish to access. Your organization should have provided this information to you.
Click Save Changes.
Connecting to the Cluster
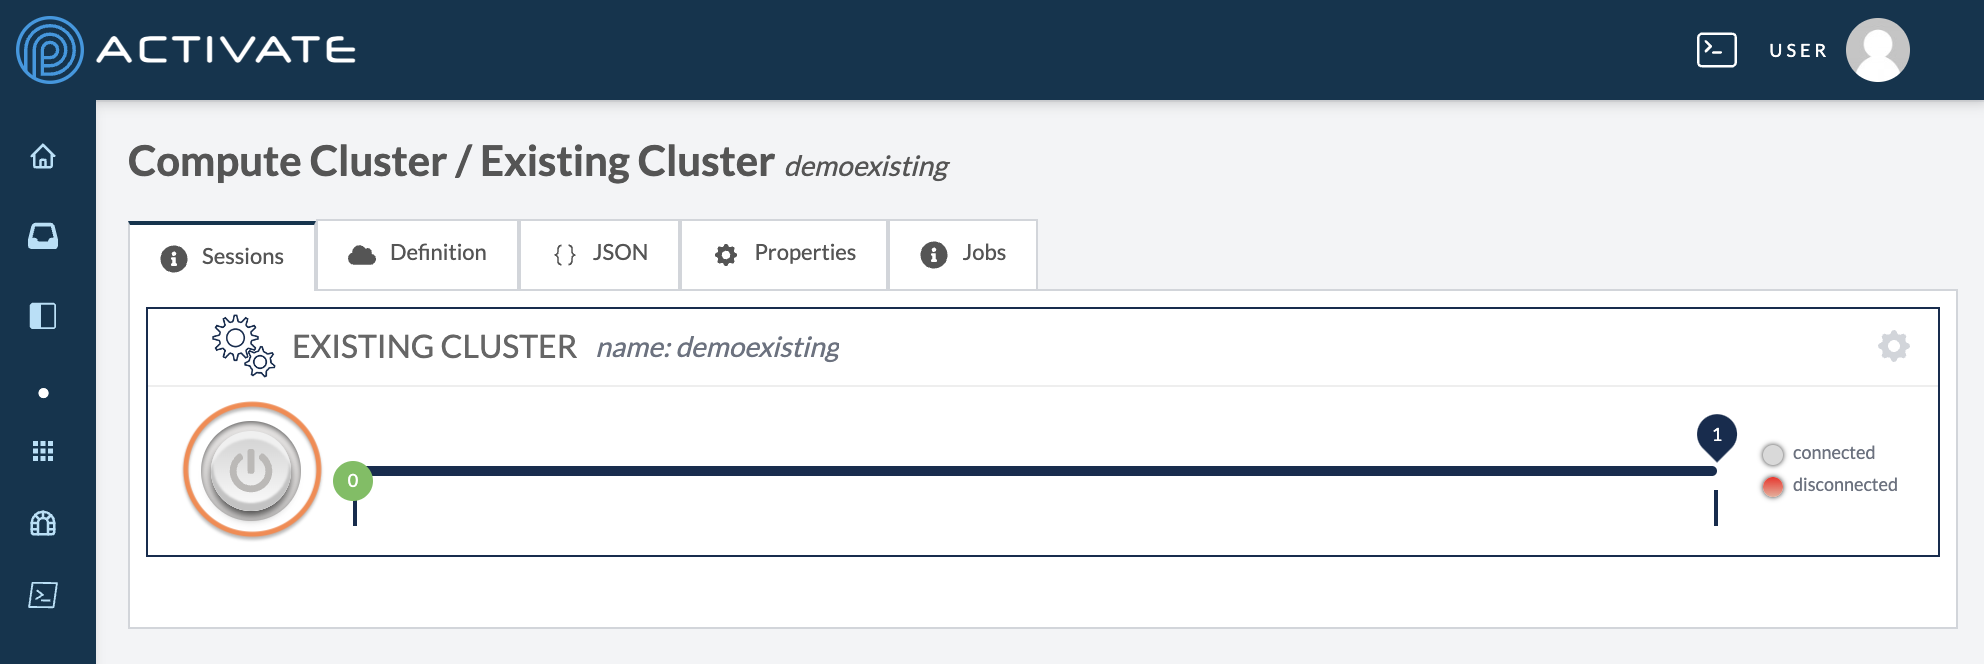
After configuring the cluster, navigate to the Sessions tab and click the power button.
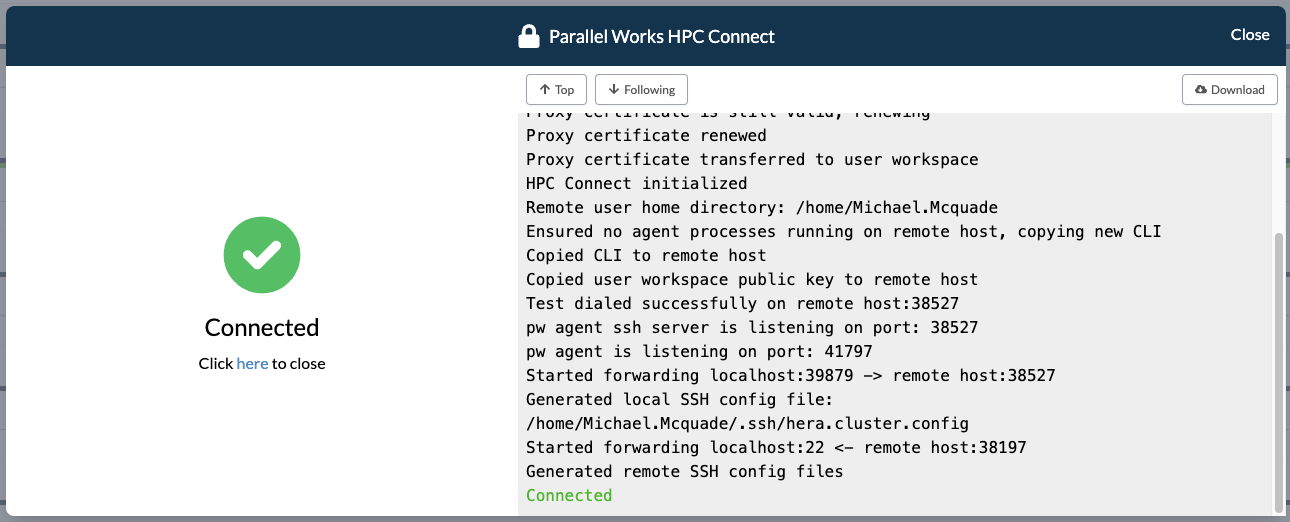
A dialog box will appear that will show HPC Connect authenticating your connection.
If your organization uses multi-factor authentication, you will be prompted to enter a token. This may be an RSA token, YubiKey, or other type of token that’s specific to your organization.
This prompt will also appear if you use a passphrase protected key instead of the default workspace key.
If no token is required, you will be connected to the cluster immediately.
Once you're logged in to the cluster, you can run workflows as well as browse, edit, and upload files using the Editor.
Disconnecting
After you've finished utilizing the cluster, click the power button in the Sessions tab. A dialog box will appear. Click Turn Off.
A notification will appear in the bottom right corner of your screen with the message Stopping [cluster name].
Configuring Settings
Typically when you create an existing cluster, you’ll be connecting to an on-premises cluster associated with your organization. However, the instructions here for existing clusters can be used with any pre-created Slurm cluster. The settings that are specific to this type of cluster are outlined below. If you’re unsure what to choose for these options, contact your organization’s ACTIVATE administrator.
General Settings
Resource Account
Use this dropdown menu to select how ACTIVATE will connect to the existing cluster.
The User Workspace (~/ssh/pw_id_rsa) options means that ACTIVATE will try to SSH to the cluster by using only your account’s SSH key, which is stored at ~/.ssh/pw_id_rsa. For more information about your SSH key, see our documentation.
Jump Node
Use this toggle button if you’re connecting to a cluster that has a jump node enabled. A jump node—also called a host node, bastion node, or login node—is a high-security server that allows a user to access a private machine or network.
If you enable this feature, two new fields will appear for Jump Node User and Jump Node Host. Your organization will have these credentials if you need them.
Cluster Configuration Settings
Username
Use this field to enter the username assigned to you for this cluster.
Username substitution
On existing clusters, you can enter __USER__ into any box and ACTIVATE will automatically substitute your username for that field. For example, if your username is jdoe, ACTIVATE will automatically substitute __USER__ for jdoe in the Working Directory field.
Cluster Login Node
Use this field to enter the IP address or host name of the cluster.
Scheduler Type
Use this dropdown menu to select the type of job scheduler the cluster uses. Currently, the Existing Cluster resource type supports Slurm and PBS.