About Sessions
This page includes information about running, sharing, and deleting sessions.
What is a Session?
A session is a way to access an application or environment — running on a resource, or on your own machine — through the platform. ACTIVATE supports several kinds of sessions:
- VS Code sessions give you a code editor on a resource — in your browser or connected to your local VS Code. See VS Code Sessions.
- Desktop sessions give you a graphical desktop on a resource, streamed to your browser. See Desktop Sessions.
- Tunnel sessions expose an application running on a port of a remote compute resource or user workspace.
- Link sessions point to an application hosted outside of ACTIVATE.
- Endpoint sessions expose an app running on your own machine through ACTIVATE — the
pwCLI dials out, so no inbound access to your machine is required. See Endpoint Sessions.
The rest of this page focuses on tunnel and link sessions.
Tunnel Sessions
A tunnel session is a secure tunnel that exposes an application running on a remote compute resource or user workspace to the platform. You can then access it through ACTIVATE. Sessions are created when you run a workflow that includes a sessions definition in its YAML file, but you can also create sessions manually.
For example, if you have a simple web application running on port 3000 of a remote compute cluster, you can create a session that exposes the application to the platform. Once the session is created, you can access the application in your web browser through ACTIVATE.
Link Sessions
A link session is a simple URL that points to an application running outside of ACTIVATE. You can create one manually by providing a name and a URL. This is useful when the application is hosted externally but you want to link to it from ACTIVATE.
Running a Workflow Session
Any workflow can generate a session as long as its YAML file contains a sessions definition. Below is an example of a YAML file with a sessions definition, with a session named desktop:
sessions:
  desktop:
You can check for sessions in the workflow's Build tab. For more information, please see Workflow Sessions.
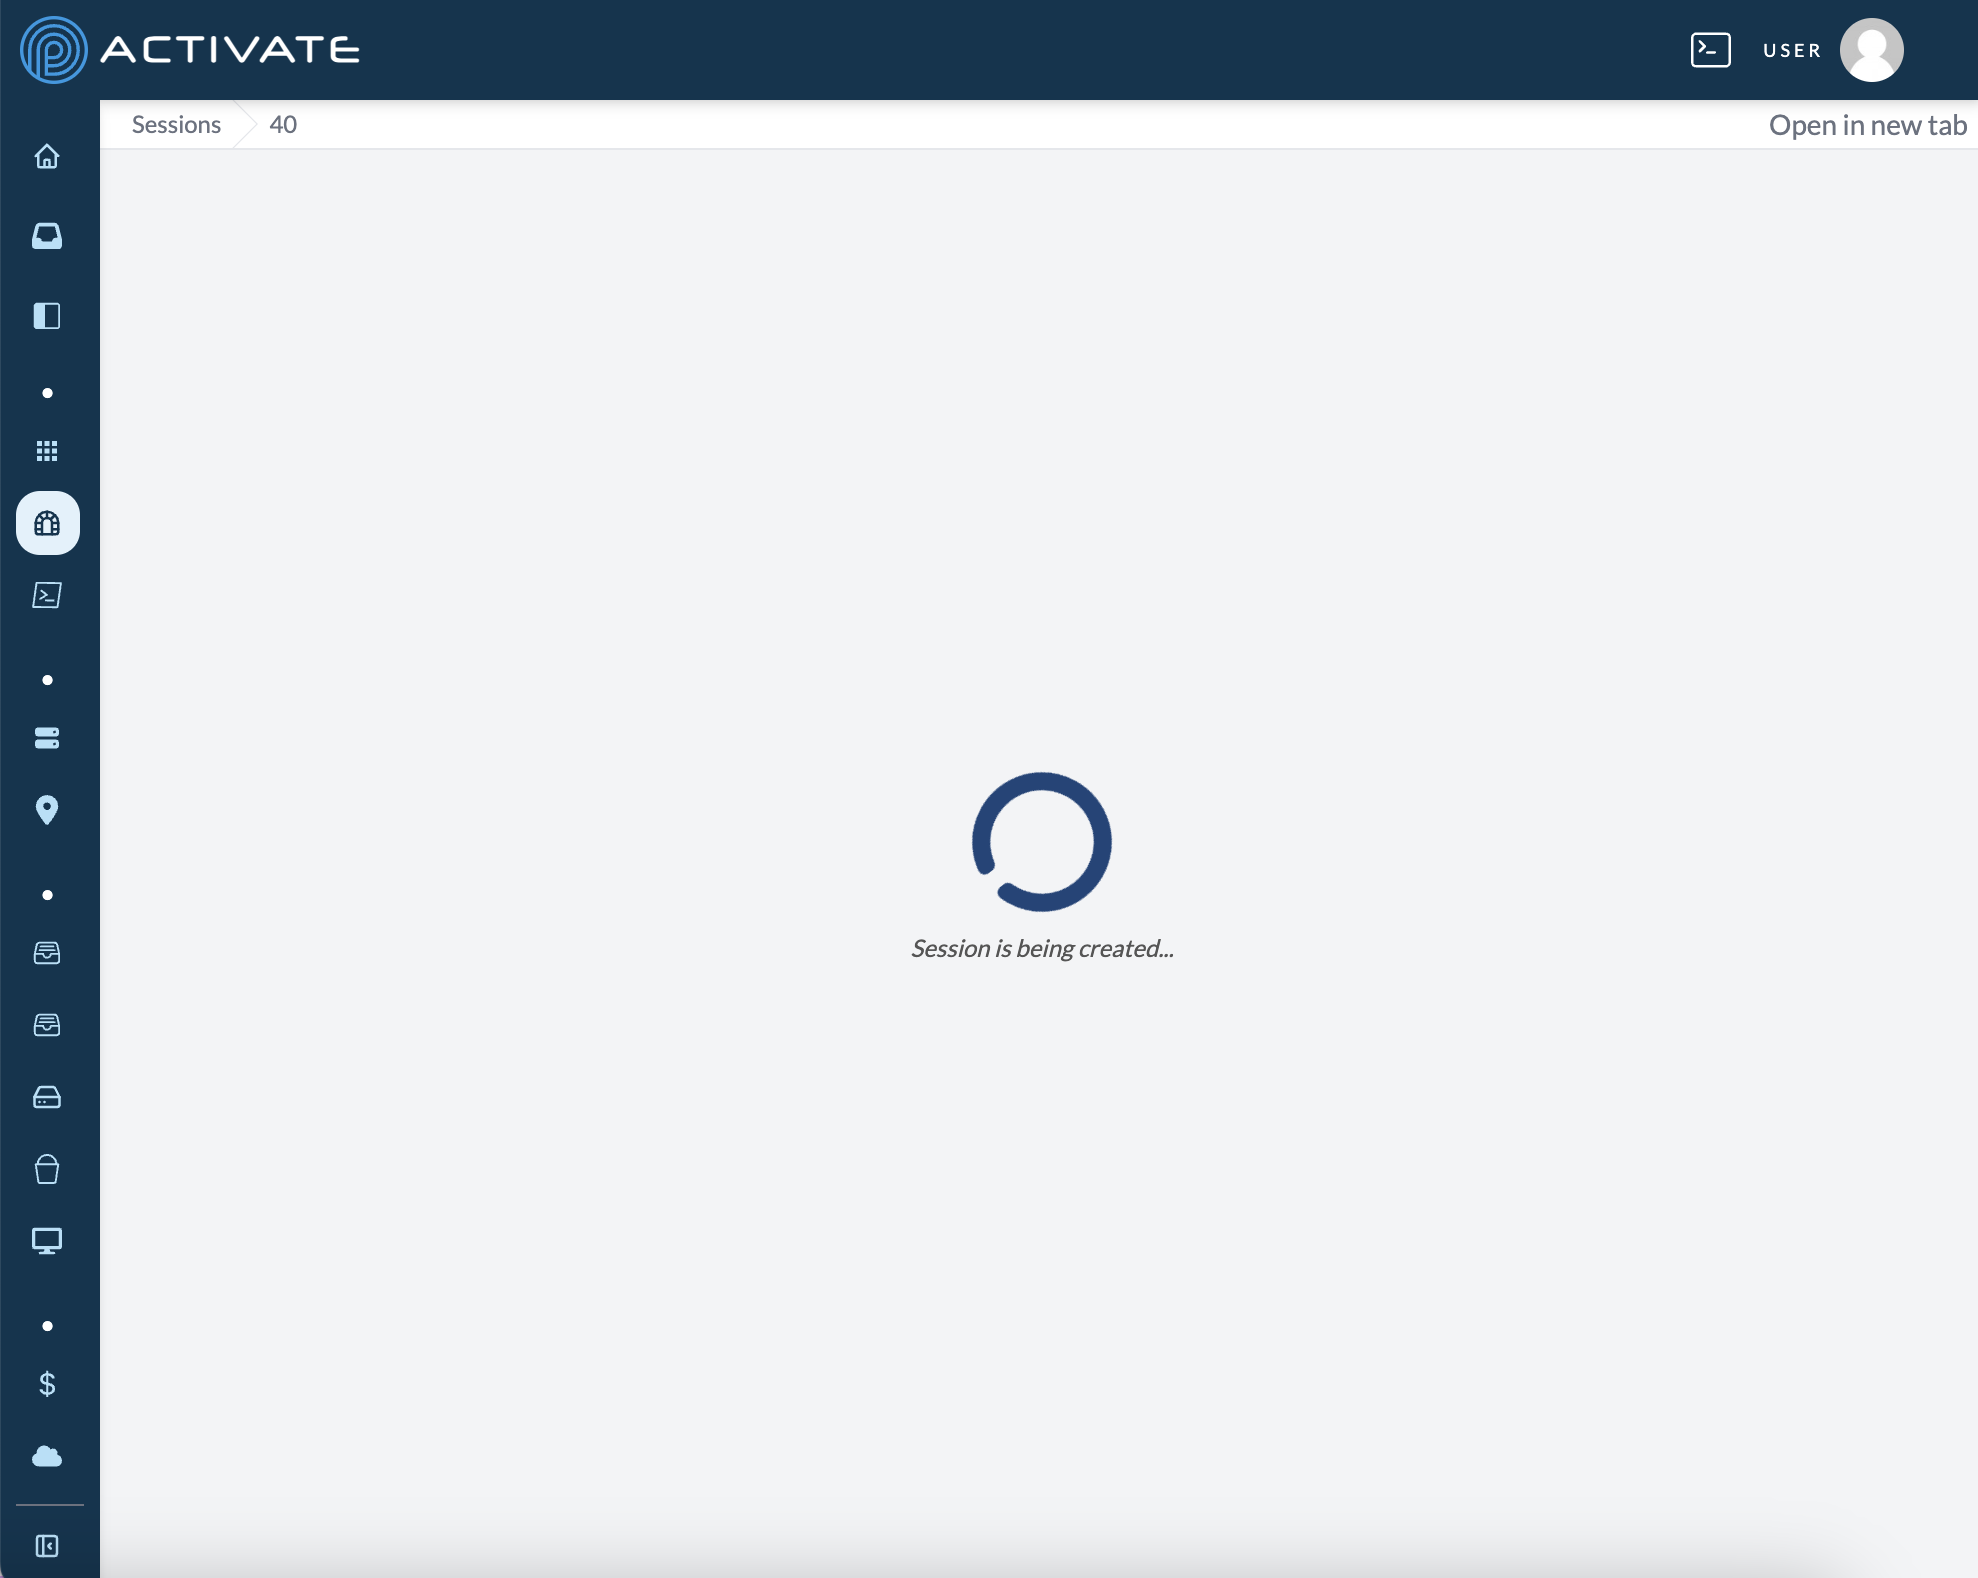
Start your workflow. A notification will appear with the message Executing workflow [name]. You'll also be redirected to the Sessions page.
Once the session has been created, the page will display the session, status, local port, and remote port.
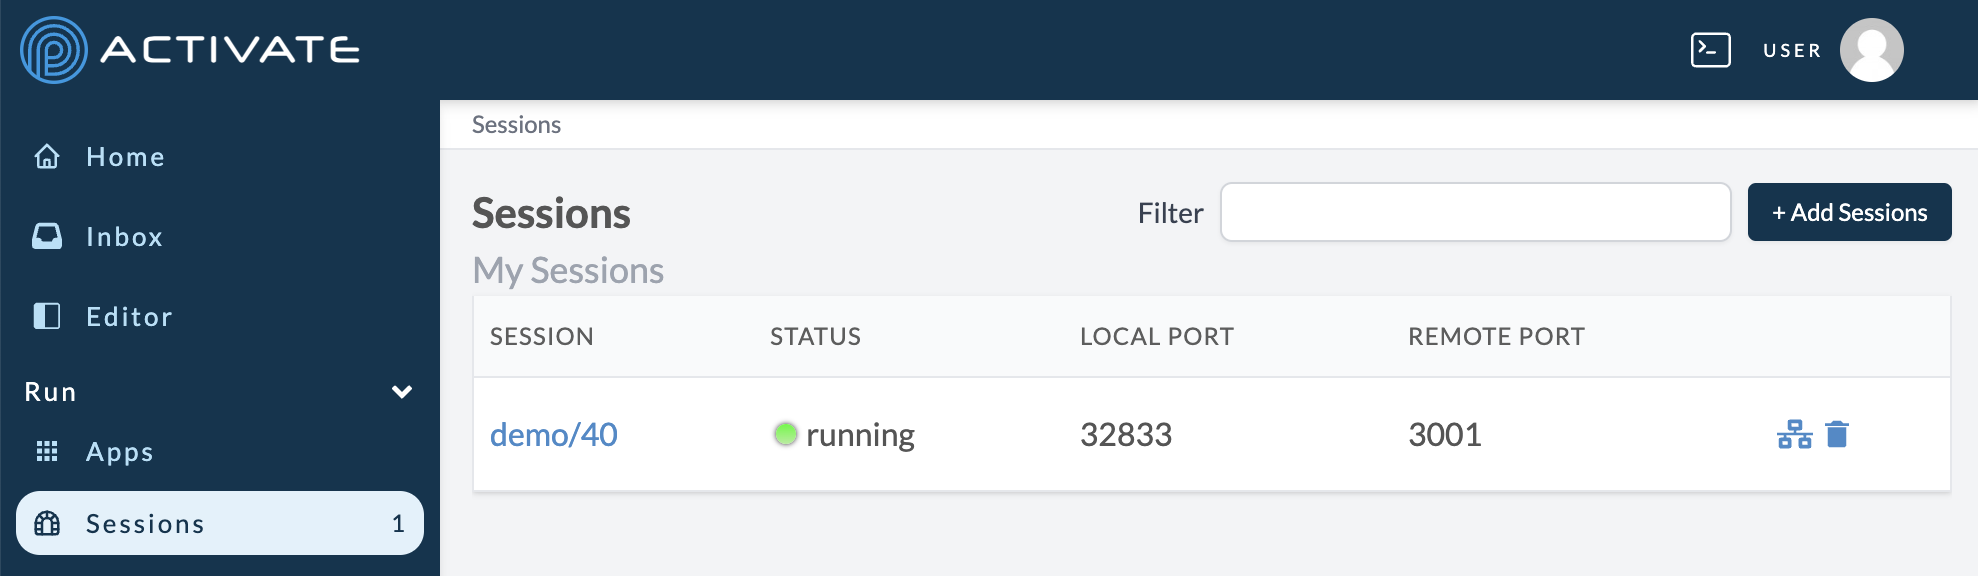
When your navigation bar is expanded, your number of running sessions will appear next to Sessions.
Click the session name to see view the exposed application.
Running a Manual Session
You can create any type of session manually, which does not require a running workflow. Manually created sessions are the same as sessions created by workflows, except they are not tied to the lifecycle of a workflow and need to be manually removed when you're done with them.
To create a session manually, navigate to Sessions. Click Add Sessions.

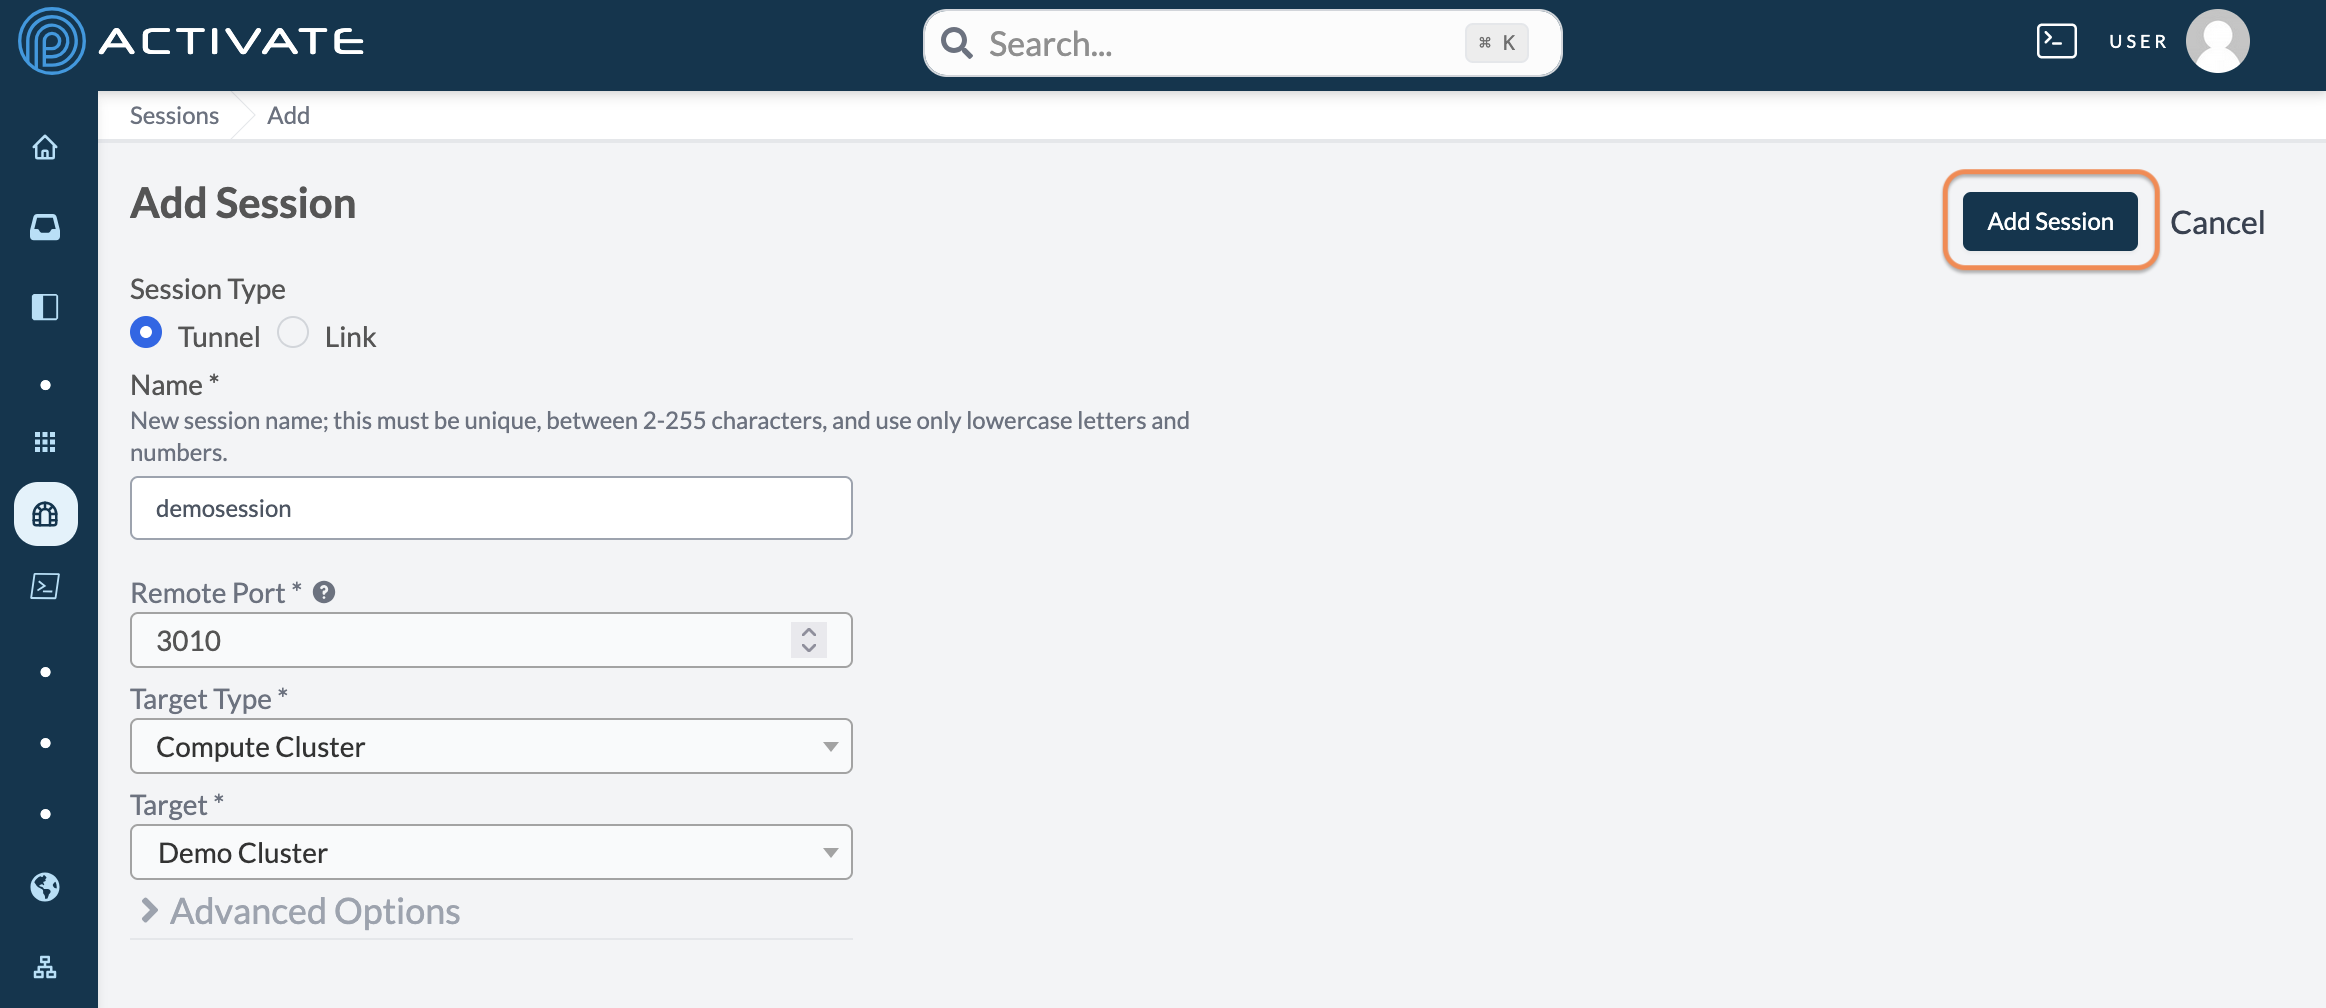
On the next page, select Tunnel or Link.
Link sessions only require a Name and a URL. After setting these parameters, you can click Add Session.
Tunnel sessions require a Name, Remote Port, and Target Type.
After selecting a Target Type, you must select a running resource to launch the session.
- Compute clusters only require one field, Target, which refers to the running cluster.
- Kubernetes clusters require Kubernetes Cluster (the running cluster), the Resource Type (pods, deployments, or services), and a Resource Name.
Advanced Options
All parameters in this section are optional.
The Workspace Port refers to the port in your workspace that the session will be forwarded to. You can leave this field blank or enter 0 to choose a random port.
The Slug will be appended to the URL when accessing the session. This parameter is useful for applications whose basePath is not /.
The Remote Host is the hostname of the application's running location. This parameter is set to localhost by default.
Application Uses HTTPS? determines whether the session will use HTTPS to access the application running on the forwarded port. Please note that you should only select use HTTPS if the application you are running is using HTTPS. This does not affect encryption between your browser and ACTIVATE.
Use Custom Domain determines whether the session's URL will use a custom domain to access the application running on the forwarded port. If you're using the SaaS version of our platform, the URL will take the form of *.activate.pw where * is the session domain. For standalone deployments of ACTIVATE, the URL will vary.
After configuring these settings, click Add Session.
You will be redirected to the Sessions page as the session starts. When the session's status displays running, click its name to access the session.
Sharing a Session
On the Sessions page, click the share icon.
On the next page, select the group(s) you want to share the session with. You'll see the message Permission updated successfully.
About Sharing
Only share a session with groups you trust. Sharing is the same as allowing users in the group to run the workflow as you.
Deleting a Session
On the Sessions page, click the delete icon.
A dialog box will appear with the message Are you sure you want to delete this session?
Click Delete.
A notification will appear with the message Session deleted.
Note
Please note that deleting a session does not cancel the workflow that created the session. You must cancel the workflow separately.