Adding Workflows
Adding Marketplace Workflows
In the ACTIVATE Marketplace, we have pre-configured workflow tools and templates you can use to complete your work.
Note
This section is a quick-start guide for adding workflows. For more detailed information about the Marketplace, please see Navigating the Marketplace.
Click Marketplace.

Click the workflow you want to add.

Click Add to account.

A confirmation message will appear in the corner of your screen.
On the Workflows page, the workflow will appear in the Marketplace Workflows section. The workflow's version will be included in its Name and Tags.

Creating Local Workflows
Local workflows have their YAML defined within the ACTIVATE platform.
Navigate to the Workflows page.

Click + Add.

On the next page, enter a Name and select the Local workflow type. Optionally, enter a Display Name, Description, and Tags.
Click Add Workflow.

For the next steps, please see Building Workflows.
Creating Remote Workflows
Remote workflows have a remotely defined YAML file and import files from a remote repository every time the workflow is executed. With this approach, workflow files are updated automatically whenever changes are saved in the remote repository.
Navigate to the Workflows page.
Click + Add.
On the next page, enter a Name, select Remote as your workflow type, and enter the Repository URL. Optionally, enter a Display Name, Description, and Tags.
Click Add Workflow.

The repository can be hosted on GitHub or on a GitLab server your organization has registered. For GitLab, enter the project's URL, for example https://gitlab.example.com/research/cfd-pipeline. ACTIVATE reads the project as you, so connect your GitLab account on that server first; public projects on a registered server can be read without a connection.

For the next steps, please see Building Workflows. For connecting your account, running repository workflows from the CLI, and calling them from other workflows, please see Workflows from Git Repositories.
Favoriting Workflows
You can add frequently used workflows to your Dashboard for easy access.
On the Workflows page, click the slashed heart icon to favorite a workflow. The icon will change to a plain heart after you click it.

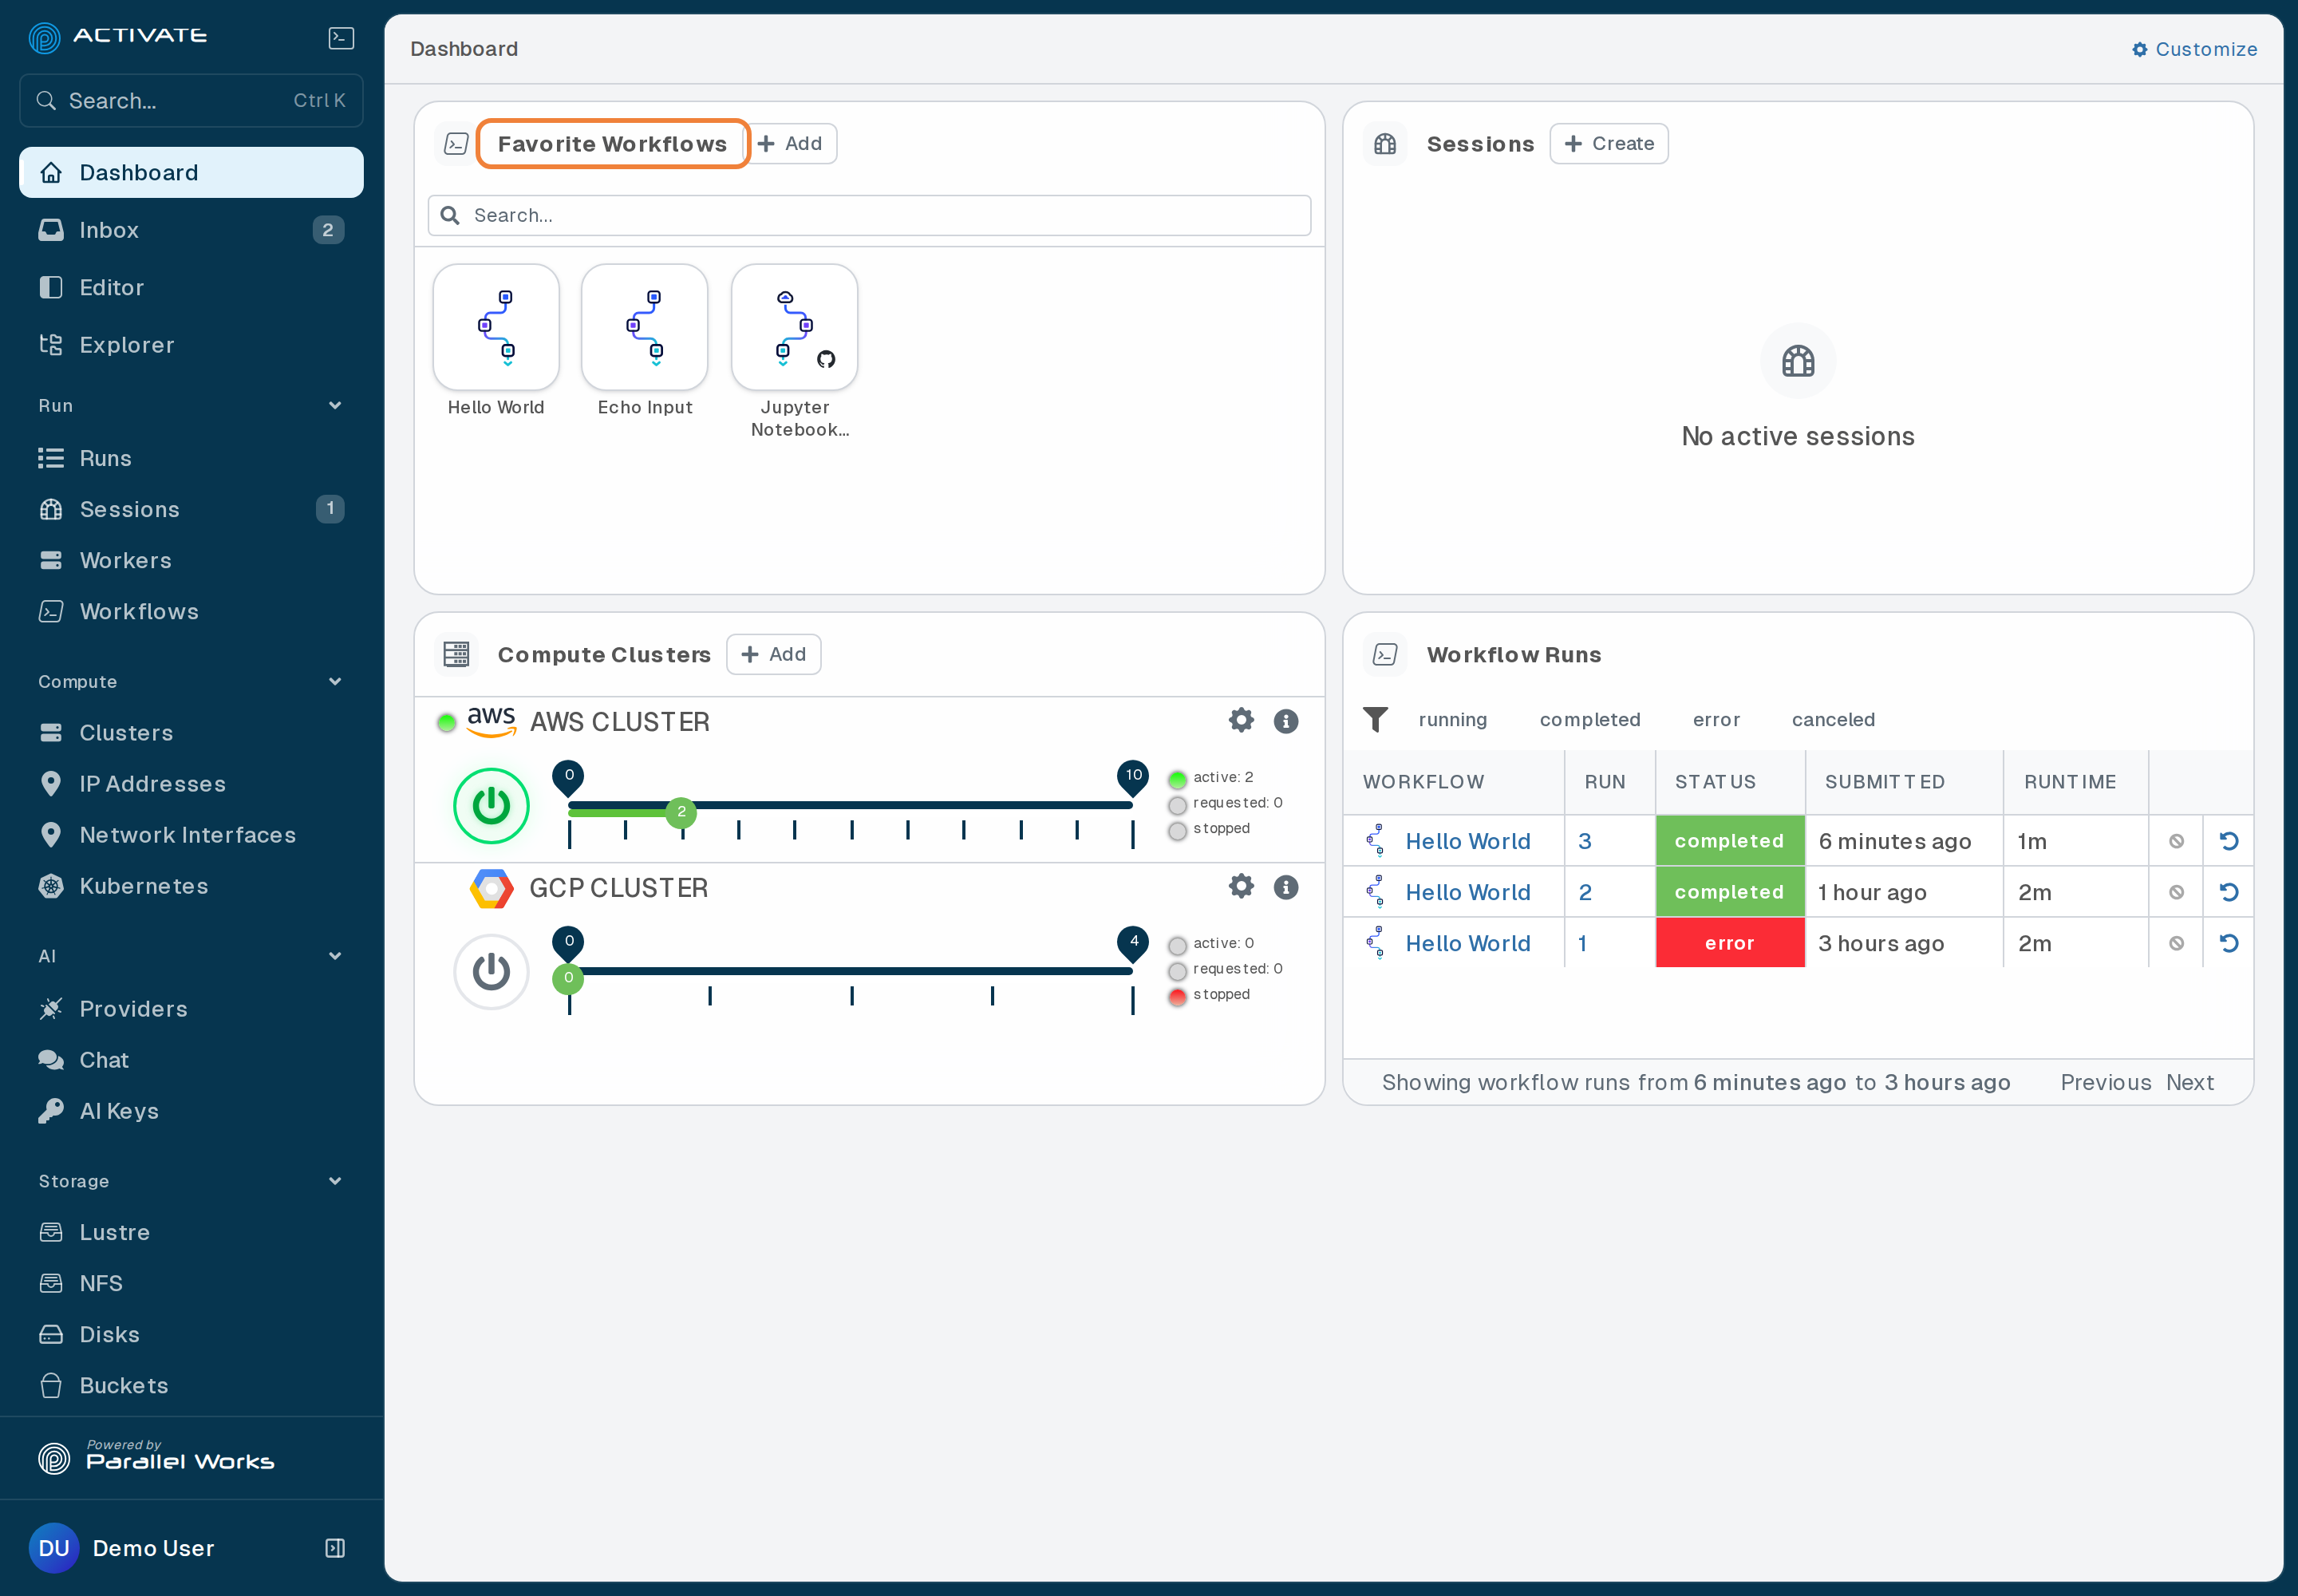
The workflow will now appear in Favorite Workflows on the Dashboard.